Key Takeaways
-
Surface preparation is non-negotiable: wood must be clean, sanded, and dust-free before applying any finish, as skipping this causes peeling, bubbling, and uneven coverage.
-
Match the finish type to both the wood species and the surface's function: high-traffic areas need durable finishes like polyurethane, while decorative spaces can use lower-maintenance options.
-
Always test finishes on a small patch first to verify color appearance in your specific lighting and check for adhesion or absorption issues before full application.
-
Apply thin, even coats with proper drying time between applications and light sanding between coats to achieve professional results and prevent air traps and drips.
-
Understand the maintenance requirements of your chosen finish before committing: oil finishes need periodic reapplication while lacquers require minimal upkeep, affecting long-term satisfaction.
-
Avoid mixing incompatible products like oil-based and water-based finishes together, as this causes adhesion failures and finish breakdown.
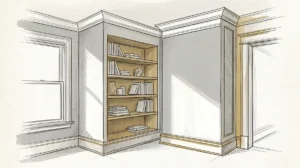
Creative finishes can make or break the look of any carpentry project. The right finish brings wood to life. It adds warmth, depth, and style to your space. But the wrong choices? They can ruin even the most beautifully crafted woodwork.
Many homeowners, interior designers, and developers make costly mistakes when it comes to finishing. These errors are often avoidable. Knowing what to watch out for saves you time, money, and frustration. Whether you’re working on custom cabinets, crown molding, or built-in shelving, the finish matters just as much as the craftsmanship itself.
This guide covers 13 common creative finishes mistakes in custom carpentry. Read on to protect your investment and get results you’ll love for years to come.
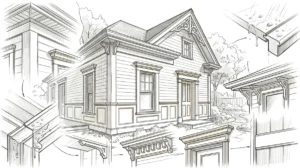
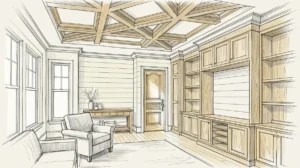
Why Creative Finishes Matter in Custom Carpentry
A finish does more than just look good. It protects wood from moisture, scratches, and daily wear. It also sets the tone for an entire room. A well-chosen finish ties together your wall enhancements, trim, and cabinetry into one cohesive design. To learn more about carpentry and how finishes play a role, understanding the basics helps you make smarter decisions.
Creative finishes in carpentry include stains, paints, lacquers, glazes, and specialty coatings. Each one serves a specific purpose. Choosing the wrong type — or applying it poorly — leads to problems that are hard and expensive to fix.
The 13 Creative Finishes Mistakes to Avoid
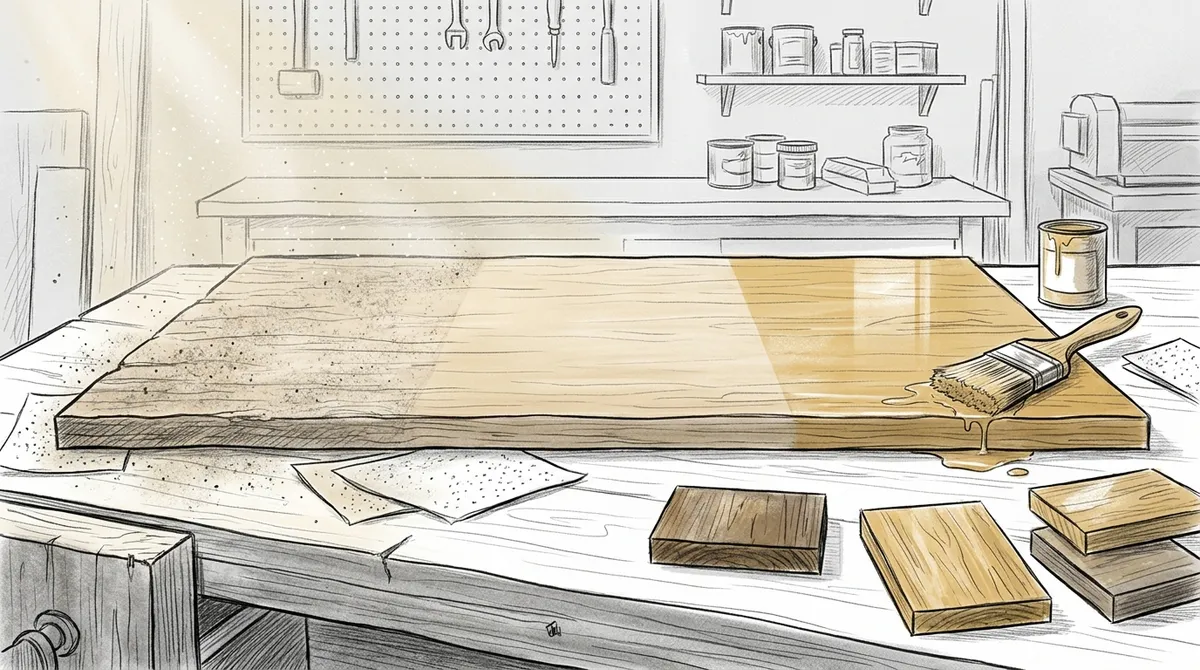
1. Skipping Surface Preparation
This is the most common mistake. No finish looks good on a poorly prepared surface. Wood must be clean, sanded, and free of dust before any product is applied. Skipping this step leads to peeling, bubbling, and uneven coverage.
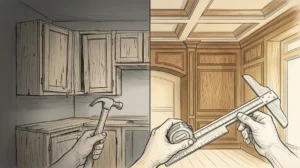
2. Choosing the Wrong Finish for the Wood Type
Not all finishes work on all wood types. Some woods have oils that prevent adhesion. Others absorb stain unevenly. Always match the finish to the specific species of wood being used. This is especially important for custom flooring and built-in cabinetry projects.
3. Ignoring the Environment
Humidity and temperature affect how finishes cure. Applying a finish in a damp or cold space can ruin the results. In Tampa Bay’s humid climate, this is a particularly important factor. Always work in controlled conditions whenever possible.
4. Applying Too Many Coats at Once
More coats do not mean a better finish. Applying thick layers traps air and causes drips. Each coat needs time to dry fully before the next one goes on. Thin, even coats always produce the best results.
5. Mixing Incompatible Products
Oil-based and water-based products do not mix well. Using them together causes adhesion failures and finish breakdown. Always confirm compatibility before layering different products. This applies to primers, stains, topcoats, and sealers.
6. Neglecting Grain Direction
Always apply finishes in the direction of the wood grain. Going against the grain traps product in the fibers. This creates a streaky, uneven appearance. For detailed molding details and trim work, this step is critical.
7. Using Low-Quality Application Tools
Cheap brushes leave bristle marks and streaks. Low-quality rollers create texture problems. Invest in good tools for clean, professional results. The tools you use are just as important as the finish product itself.
8. Skipping a Test Patch
Never apply a finish to a full surface without testing it first. A small test patch shows you how the color looks in your specific lighting. It also reveals any adhesion or absorption issues. This simple step prevents major regrets later.
If you need help choosing the right approach, reach out to our expert team for guidance before your project begins.
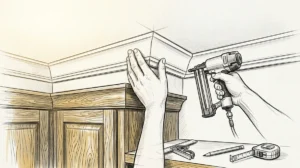
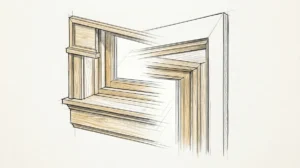
9. Overlooking Edge and Corner Coverage
Edges and corners are often under-finished. These areas take the most wear and tear. Leaving them under-coated leads to early chipping and damage. Pay extra attention to these zones during every application.
10. Rushing the Drying Time
Impatience is a finish’s worst enemy. Touching or using a surface before it fully cures leaves marks and damages the coating. Always follow the manufacturer’s recommended dry times. This is non-negotiable for long-lasting results.
11. Forgetting to Sand Between Coats
Light sanding between coats creates better adhesion. It also smooths out any dust particles that settled during drying. Use fine-grit sandpaper and wipe the surface clean before applying the next coat. This step separates amateur results from professional ones.
12. Choosing Style Over Function
A beautiful finish that can’t stand up to daily use is a poor choice. High-traffic areas need durable, easy-to-clean finishes. A matte finish may look stunning on your custom ceiling design, but it may not be the right choice for kitchen cabinetry. Always balance aesthetics with practical performance.
13. Not Accounting for Long-Term Maintenance
Some creative finishes require regular upkeep. Oil finishes need periodic reapplication. Wax coatings need buffing. Choosing a finish without understanding its maintenance requirements leads to disappointment down the road. Know what you’re committing to before you decide.
Creative Finishes Comparison: Carpentry Applications
Understanding the differences between finish types helps you make smarter choices. Here’s a quick overview of the most common options used in custom carpentry:
| Finish Type | Best For | Durability | Maintenance Level |
|---|---|---|---|
| Lacquer | Cabinets, trim, doors | High | Low |
| Oil Stain | Flooring, exposed beams | Medium | Medium |
| Paint | Built-ins, wall paneling | Medium-High | Low |
| Glaze | Decorative molding, accents | Low-Medium | Medium |
| Polyurethane | Floors, high-use surfaces | Very High | Low |
| Wax | Furniture, accent pieces | Low | High |
How to Choose the Right Creative Finish for Your Project
Choosing the right creative finish starts with understanding your goals. Ask yourself these key questions before making a decision:
- What type of wood is being finished?
- How much daily use will this surface get?
- What style am I trying to achieve — modern, rustic, traditional?
- What is the humidity or temperature in this space?
- How much maintenance am I willing to do?
Answering these questions will narrow down your options significantly. For complex projects like custom carpentry work or multi-room installations, consulting a professional is always worth it.
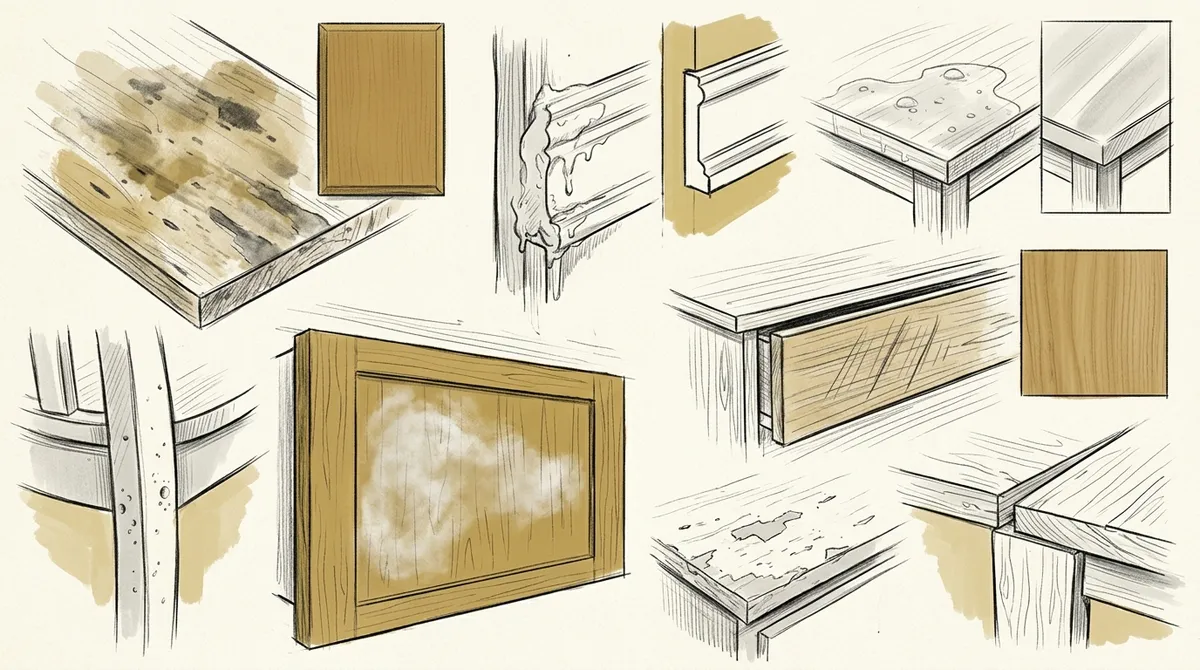
Signs Your Creative Finish Was Applied Incorrectly
Sometimes problems don’t show up right away. Here are key warning signs to watch for:
- Peeling or flaking within weeks of application
- Uneven sheen or blotchy color across the surface
- Sticky or tacky texture that never fully cures
- Bubbling or cratering in the finish layer
- Yellowing or discoloration over time
- White haze appearing in humid conditions
If you notice any of these issues, the finish likely needs to be stripped and reapplied. Catching these signs early can prevent further damage to the wood beneath. You can learn how refinishing wood trim and doors transforms your home when done correctly.
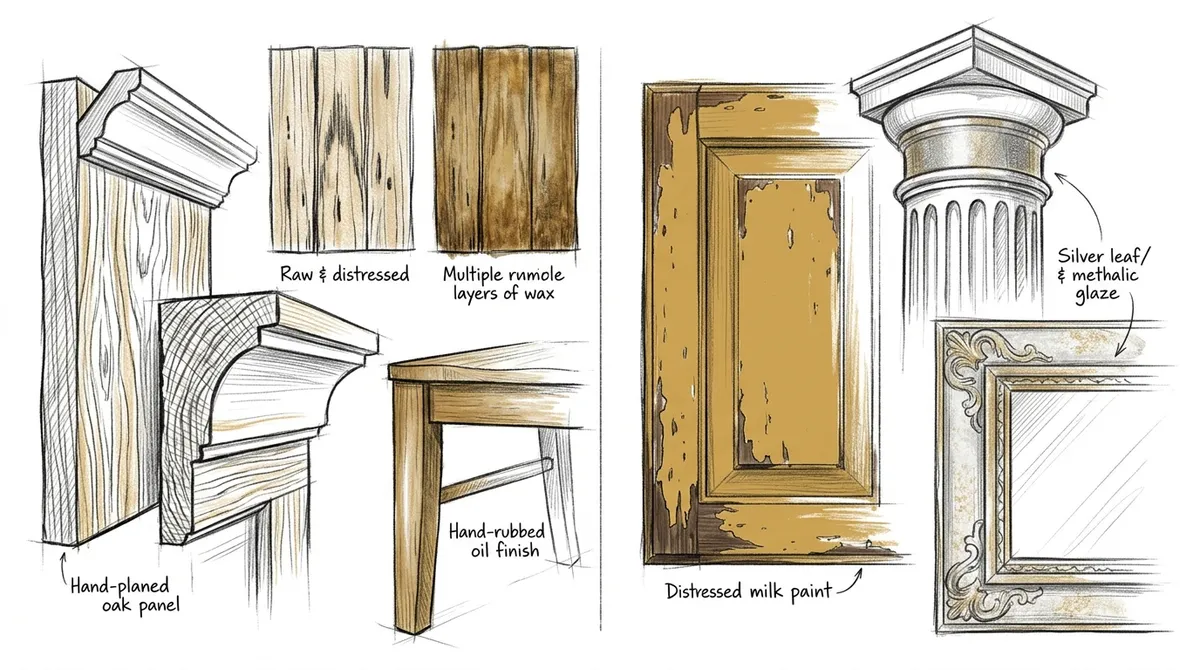
Specialty Finishes Worth Knowing About
Beyond standard stains and paints, several specialty creative finishes are gaining popularity in high-end carpentry. These include:
- Cerusing — A technique that highlights the grain by filling it with white pigment
- Wire brushing — Creates a textured, aged look on wood surfaces
- Two-tone finishes — Using contrasting colors on upper and lower cabinetry
- Glazing over paint — Adds depth and dimension to molding and trim
- Ebonizing — Darkens wood to create a dramatic, contemporary look
These techniques are complex and require skilled application. They are best handled by experienced carpenters and finishers. For inspiration on what’s possible, take a look at what true craftsmanship looks like in custom carpentry.
Epoxy and Modern Finish Options
In 2026, epoxy-based finishes are increasingly popular for floors, countertops, and decorative surfaces. They offer incredible durability and a sleek, high-gloss appearance. For custom carpentry projects that include flooring or built-in elements, epoxy floor finishes offer a bold and functional option.
Similarly, crown molding and decorative trim benefit from carefully chosen paint finishes. A semi-gloss or gloss finish on crown molding creates visual definition against walls. It also makes the molding easier to clean.
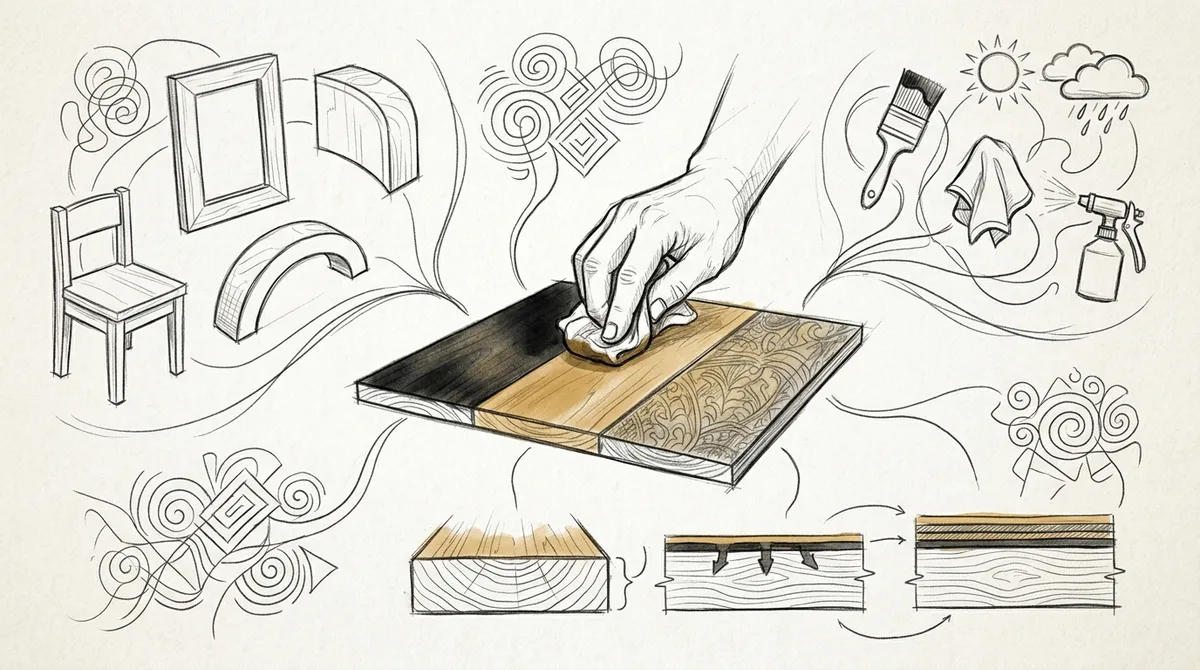
Steps to Apply a Creative Finish Like a Professional
- Prepare the surface — Sand, clean, and remove all dust and oils
- Apply a primer or pre-stain conditioner — This ensures even absorption
- Test on a small area — Confirm color and adhesion before full application
- Apply the first thin coat — Work with the grain in smooth, even strokes
- Let it dry completely — Follow all manufacturer time recommendations
- Sand lightly with fine-grit paper — Remove any dust nibs or imperfections
- Apply additional coats as needed — Typically two to three coats for full coverage
- Allow full cure time — Do not use the surface until it is fully cured
Following these steps makes a significant difference in the final result. Bucheli Trim applies this level of care and precision to every project, ensuring that creative finishes on custom doors, cabinetry, and trim work are always executed to the highest standard.
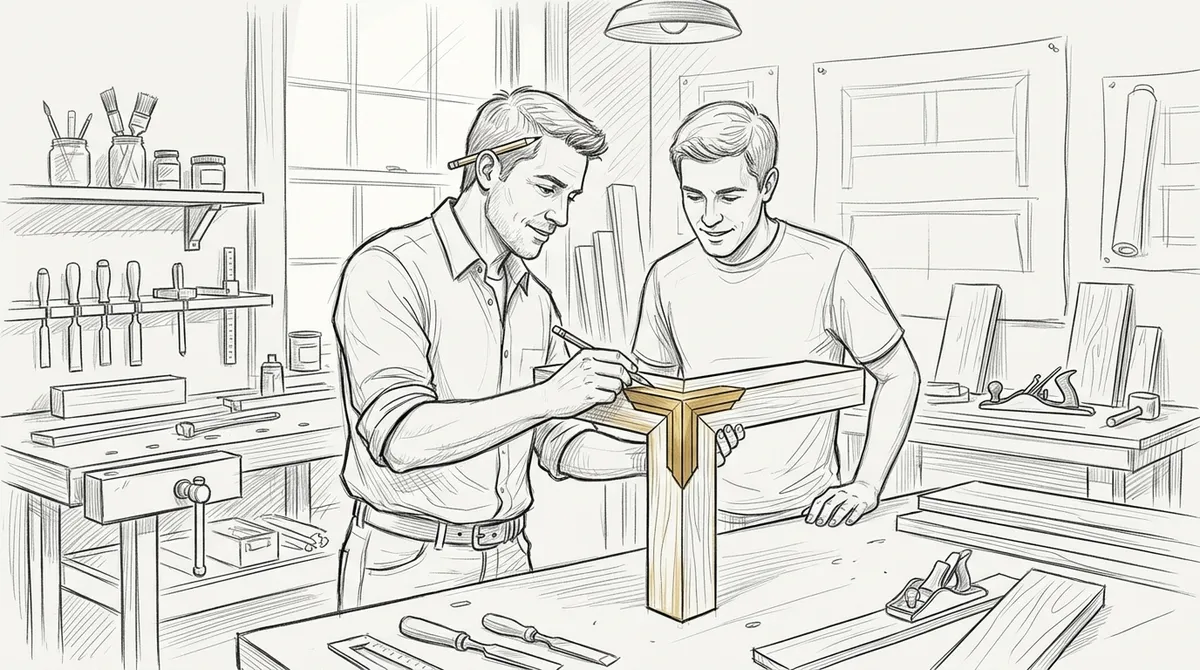
Working with a Professional for Best Results
Some finishing work is manageable as a DIY project. But for complex, high-visibility surfaces, hiring a skilled carpenter makes a huge difference. A professional brings product knowledge, proper tools, and years of hands-on experience. They also know how to avoid every mistake listed above.
If you’re in the Tampa Bay area, visit us on Google to read what our clients have to say about the quality of our work. You can also explore our carpentry painting services to see how professional-grade finishes can transform your space.
For families planning a home upgrade, a visit to Gulfside Adventures makes a great outing while your carpentry project is underway. And don’t forget — healthy smiles matter too. The team at Smile District is a trusted local resource for dental care in the Tampa Bay area.
Creative Finishes Checklist Before You Start
Use this quick checklist before beginning any finishing project:
- Surface is clean, dry, and sanded smooth
- All products have been tested for compatibility
- Temperature and humidity are within acceptable ranges
- Application tools are clean and high quality
- Test patch has been applied and approved
- Adequate drying time has been scheduled between coats
Conclusion
Creative finishes are one of the most important — and most overlooked — aspects of custom carpentry. Avoiding these 13 mistakes can dramatically improve the durability and beauty of your woodwork. Whether you’re updating accent walls, cabinetry, or intricate trim, the finish deserves as much attention as the build itself.
You can also explore ideas through our Facebook page where we regularly share project highlights and inspiration. Ready to bring your vision to life with expert craftsmanship and flawless creative finishes? Get in touch with the Bucheli Trim team today and let’s build something extraordinary together.
FAQs
Q: What are creative finishes in custom carpentry?
A: Creative finishes in custom carpentry refer to the coatings, stains, paints, and specialty treatments applied to wood surfaces. They protect the wood and enhance its visual appearance. Options include lacquers, oil stains, glazes, paints, polyurethane, and decorative techniques like cerusing or ebonizing.
Q: How do I choose the right creative finish for my project?
A: Start by identifying the wood type, the level of daily use the surface will receive, and the style you want to achieve. Also consider the humidity and temperature of the space. Matching the finish to these factors ensures durability and a great appearance long-term.
Q: Can I apply creative finishes myself, or should I hire a professional?
A: Simple finishing tasks can be done as DIY projects with proper preparation and the right tools. However, for complex or high-visibility surfaces like cabinetry, crown molding, or built-ins, hiring a professional carpenter produces far better and longer-lasting results.
Q: Why is surface preparation so important before applying a finish?
A: Surface preparation removes dust, oils, and imperfections that prevent finishes from adhering properly. Without it, finishes peel, bubble, or appear uneven. Sanding and cleaning the wood before application is the foundation of any successful finishing project.
Q: How long should I wait between coats of a creative finish?
A: Drying times vary by product, but most finishes require at least two to four hours between coats. Some require overnight drying. Always follow the manufacturer’s recommended times, and lightly sand between coats for the best adhesion and smoothest result.