Key Takeaways
-
Choose materials based on room conditions: PVC or composite trim for humid bathrooms and kitchens, solid wood for dry climate-controlled rooms, and hardwood for high-traffic hallways to prevent warping, cracking, and costly repairs.
-
Scale baseboard height to ceiling height for proper proportions—8-foot ceilings typically need 3 to 5-inch baseboards, while taller ceilings support 6 to 8-inch profiles, preventing awkward or overwhelming room appearances.
-
Hire experienced carpenters instead of the cheapest option; poor installation leads to visible gaps, uneven joints, and separation within months, while proper craftsmanship prevents costly rework later.
-
Maintain consistent trim styles throughout connected spaces and coordinate baseboards with door casings and window trim to create visual flow and a polished, cohesive look across your home.
Baseboards and trim seem simple. But small mistakes can hurt your home’s look and value. Many homeowners in Tampa Bay learn this the hard way, after paint has dried or nails are already set. This guide walks you through the most common errors people make with baseboards and trim, so you can avoid them before work begins.
Whether you own a home, design interiors, or develop properties, trim details matter. They frame every room and tie your design together. Getting them wrong is easy. Getting them right takes planning, the right materials, and steady hands. Let’s look at the mistakes that trip up even careful homeowners, and how to fix them.
Why Baseboards and Trim Matter More Than You Think
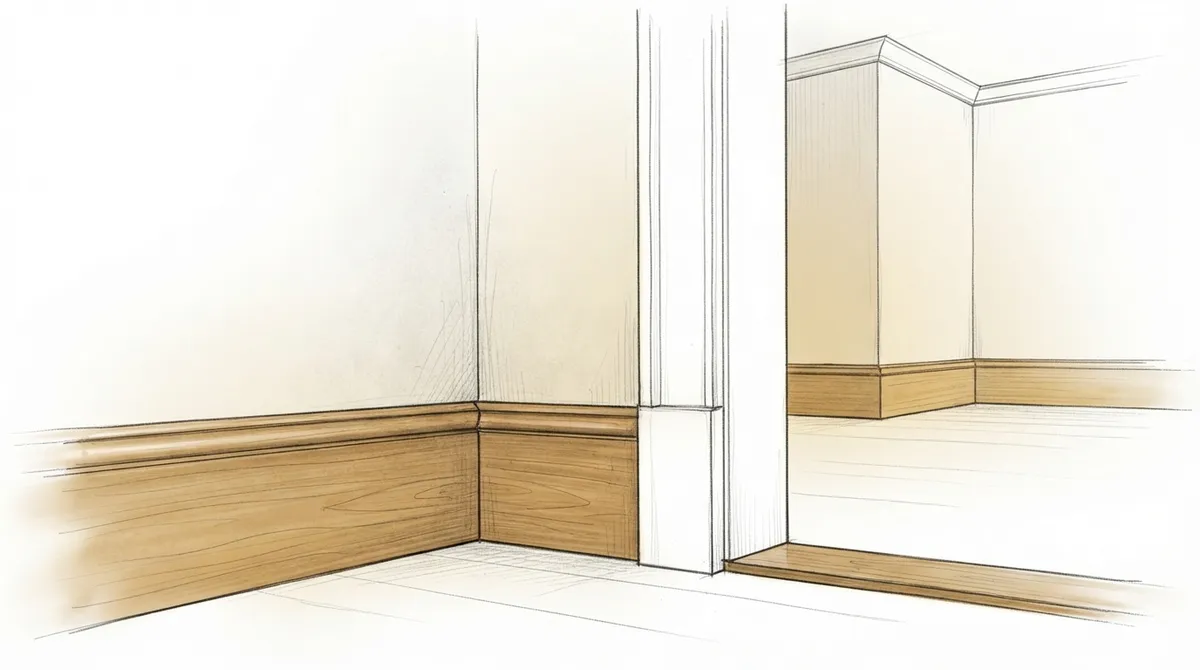
Baseboards and trim do more than cover gaps between walls and floors. They protect walls from scuffs, bumps, and vacuum cleaners. They also add style and structure to a room. Good trim work can make a space feel finished and expensive, even if the rest of the room is simple.
Interior designers know this well. A room without proper trim often looks unfinished, no matter how nice the furniture is. Real estate developers also understand that trim details influence buyer impressions during walkthroughs. Small trim upgrades can raise perceived value fast.
To fully appreciate why this detail matters, it helps to learn more about carpentry as a craft. Trim work is a specialized skill within that larger trade, requiring precision tools and a trained eye.
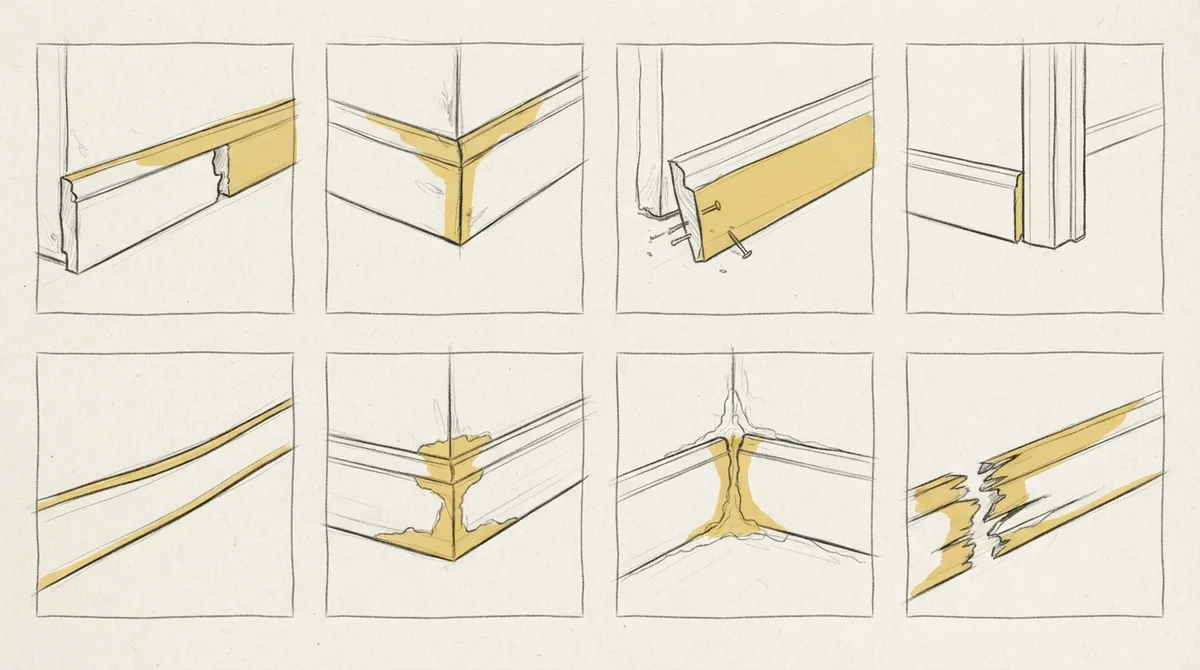
8 Common Baseboards and Trim Mistakes to Avoid
Here are the most frequent mistakes homeowners, designers, and developers make with baseboards and trim projects.
1. Choosing the Wrong Material for the Space
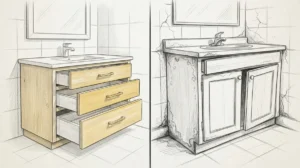
Not all trim materials work the same way in every room. Bathrooms and kitchens deal with moisture, so solid wood may warp over time. Choosing the wrong material leads to swelling, cracking, or peeling paint within a year or two.
- Solid wood works well in dry, climate-controlled rooms
- MDF trim is budget-friendly but struggles with moisture
- PVC or composite trim holds up better in humid Florida climates
- Hardwood trim adds durability for high-traffic hallways
Matching material to room conditions prevents costly repairs later. A skilled carpenter can guide you toward the right choice for your specific space.
2. Ignoring Ceiling Height and Proportions
Baseboards that are too short can make tall ceilings look awkward. Trim that’s too tall can overwhelm a small room. Proportion matters just as much as material selection.
A general rule is to scale baseboard height to ceiling height. Rooms with 8-foot ceilings often look best with 3 to 5-inch baseboards. Taller ceilings, like those in custom builds, can support 6 to 8-inch baseboards or more. If you’re also considering ceiling designs, trim height should complement those upgrades, not compete with them.
3. Skipping Proper Wall Prep Before Installation
Walls are rarely perfectly flat. Skipping prep work before installing trim leads to gaps, uneven lines, and visible seams. This mistake is common in DIY projects and rushed renovations.
- Check walls for bulges or dips using a level
- Sand down high spots before installation
- Fill any holes or cracks with proper compound
- Let compound dry fully before sanding smooth
- Wipe down walls to remove dust before trim goes up
Proper prep takes extra time but saves you from patchy results. It also makes paint adhere better once trim is installed.
4. Poor Miter Cuts and Corner Joints
Corners are the hardest part of any trim job. Bad miter cuts leave visible gaps at joints, which draw the eye and make the whole room look unfinished. This is one of the top reasons homeowners regret DIY trim attempts.
Professional carpenters use specialized saws and jigs to get tight, seamless corners every time. If your walls aren’t perfectly square, adjustments must be made by hand. This is where experience really shows. For more guidance, see this breakdown on how to find the best trim installers near you.
5. Overlooking Paint and Finish Quality
Trim gets touched, bumped, and cleaned more than most surfaces in a home. Using flat paint or a low-quality finish leads to scuffs and stains that are hard to remove. This mistake shows up fast in busy households with kids or pets.
- Semi-gloss or satin finishes hold up better than flat paint
- Primer helps paint adhere and last longer
- Multiple thin coats beat one thick coat
- Quality brushes reduce visible brush strokes
If you already have painting on your renovation list, coordinate painting and trim work together for the best results.
6. Mismatched Trim Styles Throughout the Home
Switching trim styles from room to room without a plan creates a disjointed look. This is a common issue in homes that have been renovated in phases over several years.
| Trim Style | Best Used In | Design Feel |
|---|---|---|
| Traditional colonial | Living rooms, hallways | Classic, timeless |
| Flat modern trim | Contemporary homes | Clean, minimal |
| Craftsman-style trim | Bungalow or historic homes | Warm, detailed |
| Ornate crown-inspired | Formal dining, entryways | Elegant, upscale |
Interior designers often recommend picking one trim family and staying consistent throughout connected spaces. This creates flow between rooms. Learn more about crown molding styles if you’re considering upgrading beyond basic baseboards.
7. Forgetting About Door and Window Trim Coordination
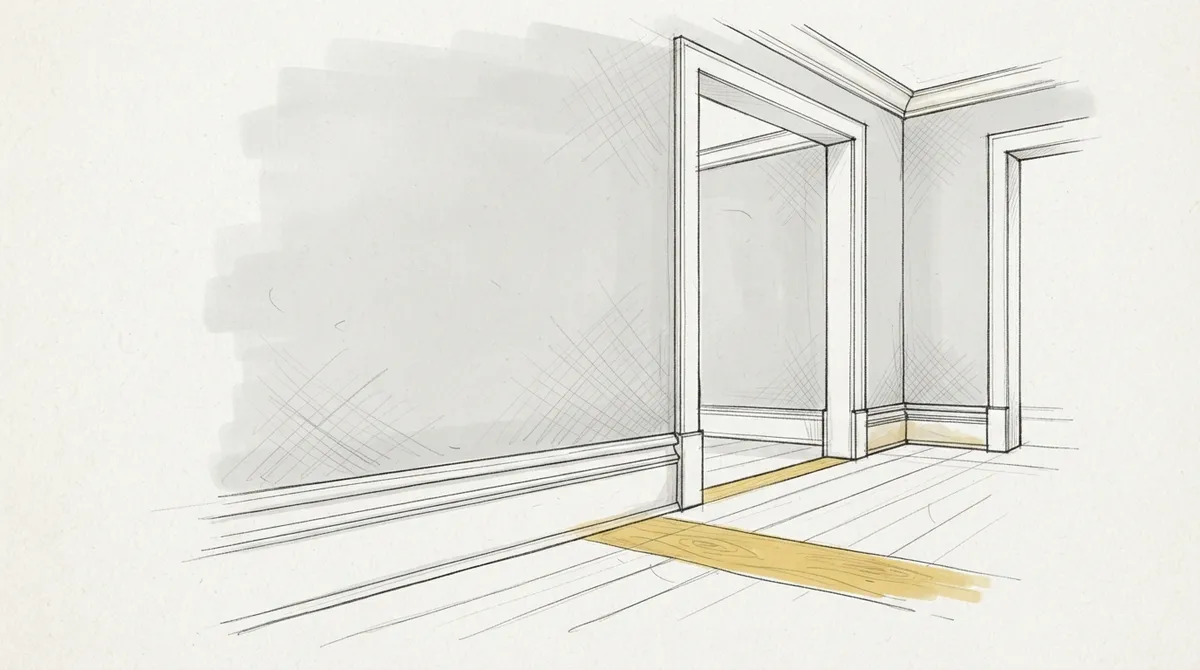
Baseboards don’t exist in isolation. They need to match or complement door casings and window trim. Skipping this step creates visual clutter, especially in open floor plans where multiple trim types are visible at once.
Coordinating doors and window trim with your baseboards creates a cohesive look throughout the home. This is especially important for real estate developers staging multiple units, where consistency signals quality construction to potential buyers.
8. Hiring Unqualified Installers to Save Money
This is perhaps the costliest mistake of all. Trim work looks simple, so many homeowners hire the cheapest option available. Poor installation leads to uneven gaps, nail holes that show through paint, and joints that separate within months.
A trained carpenter understands wood movement, humidity effects, and proper fastening techniques. These details are invisible until something goes wrong. Working with an experienced team like Bucheli Trim helps you avoid these headaches from the start, since precision and craftsmanship are built into every step of the process.
How to Plan a Successful Baseboard and Trim Project
Avoiding mistakes starts with good planning. Follow these steps to set your project up for success.
- Walk through your home and note which rooms need trim updates
- Decide on one consistent trim style for connected spaces
- Choose materials based on room humidity and traffic levels
- Get quotes from experienced, licensed carpenters
- Ask to see examples of past custom projects before hiring
- Schedule wall prep before installation day
- Plan for paint or finish work after trim is installed
This process takes more time upfront but prevents rework later. It also helps you budget properly, since redoing trim work costs more than doing it right the first time.
Trim Details That Elevate Custom Homes
Beyond basic baseboards, many homeowners and developers are adding richer details to their trim packages. These upgrades signal craftsmanship and attention to detail.
- Layered baseboard profiles with built-up molding
- Wainscoting paired with coordinating baseboards
- Custom molding details around built-in features
- Trim that transitions smoothly into wall enhancements like paneling
- Coordinated trim with custom cabinets and built-ins
These details take basic trim work to a higher level. For interior designers, this is often where a project moves from standard to standout. For developers, it’s a differentiator that helps properties sell faster.
When to Call a Professional
Some trim projects are simple enough for confident DIYers. But certain situations call for professional help right away.
- Rooms with uneven walls or complex corners
- Homes with high ceilings needing taller baseboard profiles
- Projects involving custom millwork or built-in coordination
- Any space where mistakes would be costly to fix
- Multi-unit developments needing consistent quality across properties
If you’re unsure whether your project needs a professional, it’s worth getting an expert opinion before starting. Many Tampa Bay homeowners have found that professional installation saves both time and frustration compared to DIY attempts.
Final Thoughts on Baseboards and Trim
Baseboards and trim are small details with a big impact. They protect your walls, define your rooms, and shape how your home feels overall. Avoiding these eight common mistakes will help you get a polished, professional result the first time.
Whether you’re updating one room or planning trim for an entire custom build, careful planning and skilled installation make all the difference. Bucheli Trim has helped Tampa Bay homeowners, designers, and developers achieve clean, lasting trim work for years. You can visit us on Google — Bucheli Trim to see feedback from past clients, or follow project updates on Facebook.
Ready to upgrade your home’s trim the right way? Reach out to our team today to start planning your project with experienced Tampa Bay carpenters.
FAQs
Q: What is the best material for baseboards and trim in humid climates?
A: PVC or composite trim materials hold up best in humid climates like Tampa Bay. They resist warping and moisture damage far better than solid wood or MDF, making them ideal for bathrooms, kitchens, and coastal homes.
Q: How do I know what size baseboards fit my room?
A: Baseboard height should match your ceiling height and room proportions. Standard 8-foot ceilings usually work well with 3 to 5-inch baseboards, while taller ceilings can support 6 to 8-inch profiles or more.
Q: Should baseboards match door and window trim?
A: Yes, coordinating baseboards with door casings and window trim creates a cohesive, polished look throughout your home. Mismatched styles can make a space feel disjointed, especially in open floor plans.
Q: Can I install baseboards and trim myself?
A: Simple, straight-wall rooms may be manageable for confident DIYers with the right tools. However, complex corners, high ceilings, or custom millwork projects are best left to a professional carpenter to avoid costly mistakes.
Q: How often should baseboards and trim be repainted?
A: Baseboards and trim typically need repainting every 5 to 7 years, though high-traffic homes with kids or pets may need touch-ups sooner. Using a semi-gloss or satin finish helps extend the time between repaints.