Key Takeaways
-
Always secure cabinets directly to wall studs, not just drywall, to ensure long-term stability and prevent sagging or failure, especially with heavy loads.
-
Precise measurements and detailed planning are critical first steps; skipping this stage leads to cabinets that don't fit properly or clash with design elements.
-
Install upper cabinets before base cabinets to reduce damage risk, improve visibility, and create a cleaner work process that protects finished surfaces.
-
Use shims to level uneven floors and walls during space preparation; this overlooked step is a top reason cabinets develop gaps and fail early.
-
Finishing details like crown molding, filler strips, and trim are not cosmetic—they significantly affect the final appearance and make cabinets look built-in rather than simply placed.
-
Conduct a final inspection checking every door, drawer, hinge, and trim for smooth operation and secure mounting; this step separates good installations from great ones.
Cabinet installation is one of the most important steps in any custom carpentry project. A poorly installed cabinet can look uneven, work poorly, and even fall apart over time. But a well-installed cabinet, built and fitted by skilled hands, can transform a kitchen, bathroom, or living space for decades to come.
Whether you are a homeowner planning a kitchen upgrade, an interior designer bringing a client’s vision to life, or a real estate developer adding luxury touches to a new build, understanding the cabinet installation process helps you make smarter choices. This guide walks through the six key steps of professional cabinet installation, explains what to expect, and shows why craftsmanship matters at every stage. For Tampa Bay homeowners and professionals alike, knowing this process helps you spot quality work and avoid costly mistakes.
Why Cabinet Installation Deserves Careful Planning
Cabinets are not just storage. They shape how a room looks and feels. In kitchens, they anchor the entire design. In bathrooms, laundry rooms, and home offices, they add function and polish. Poor installation can cause doors that stick, gaps between units, and shelves that sag under weight.
Good cabinet installation blends structural know-how with an eye for detail. This is why many homeowners turn to companies that specialize in custom cabinetry rather than relying on generic, mass-produced options. Custom work allows every cabinet to fit its space perfectly, down to the last quarter inch.
Common Problems With Poor Installation
- Uneven doors that do not close properly
- Gaps between cabinets and walls
- Cabinets that are not level, causing drawers to slide open on their own
- Weak mounting that cannot support heavy items
- Poor finish work around edges and trim
These issues often trace back to skipped steps or rushed work. That is why understanding the full installation process matters, even if you plan to hire a professional team.
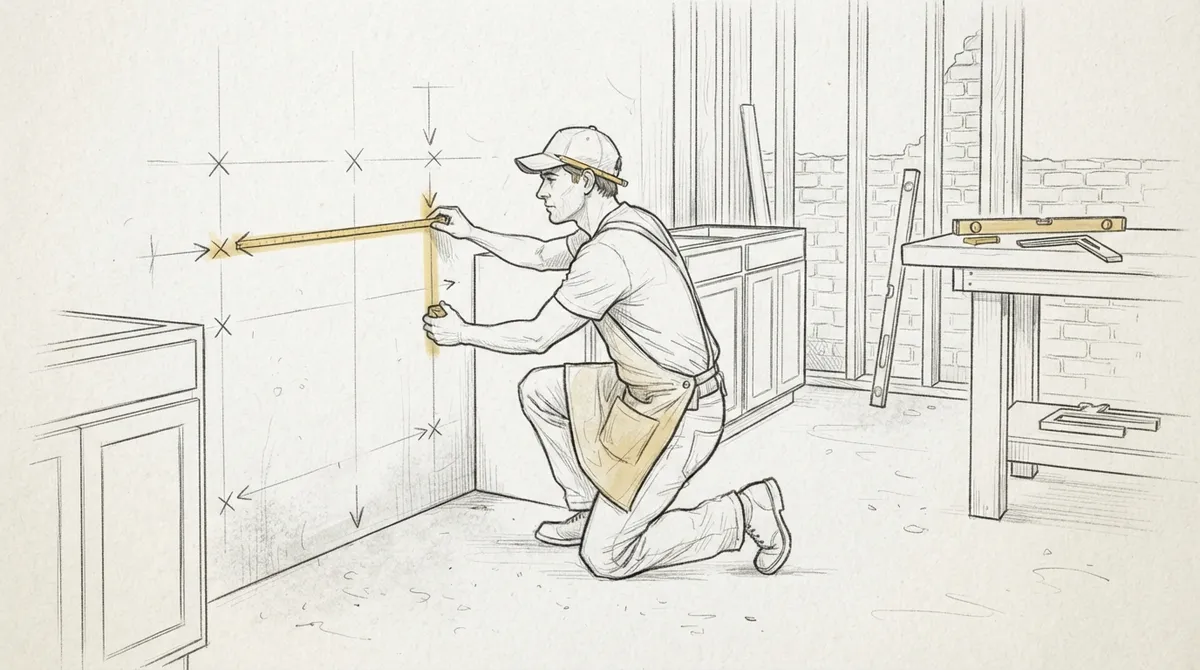
Step 1: Measuring and Planning the Layout
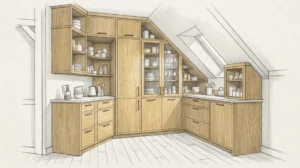
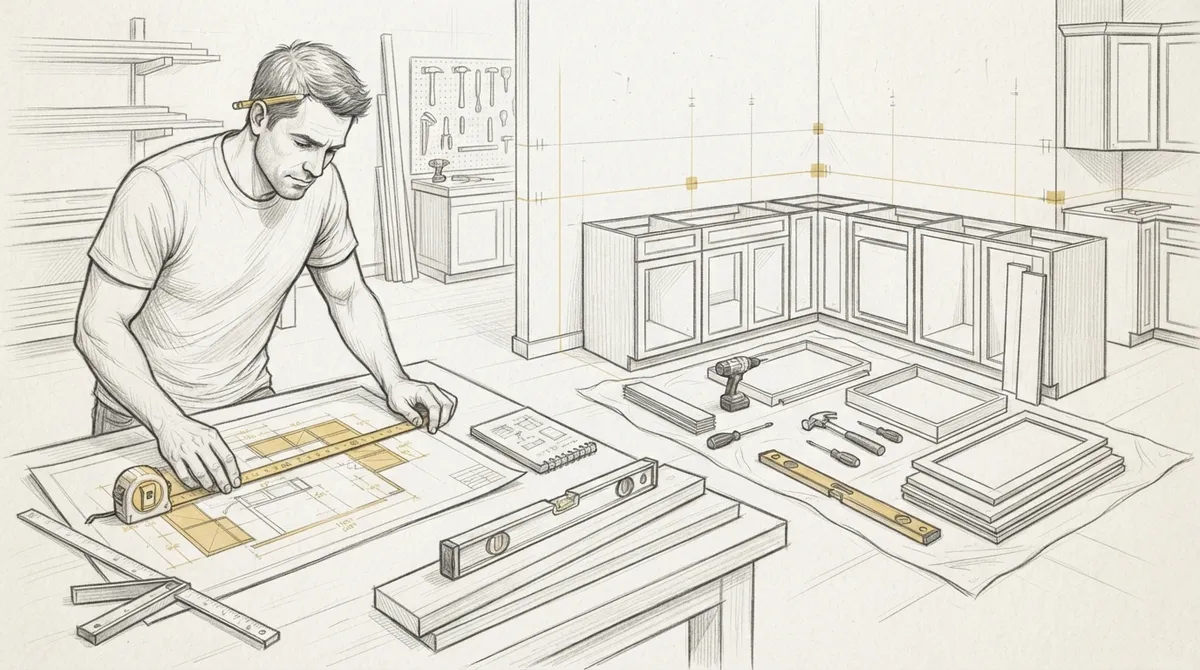
Every successful cabinet installation starts with precise measurements. Carpenters measure wall height, width, and depth, along with the location of outlets, windows, and plumbing. This step also involves checking for uneven floors or walls, which are common in older homes.
During this phase, designers and homeowners often work together to finalize cabinet placement. This is the time to think about storage needs, workflow, and how the cabinets will connect with other elements like molding details or nearby built-ins.
What Good Planning Includes
- Detailed room measurements, including corners and angles
- A layout plan showing where each cabinet section will sit
- Consideration of appliance sizes and clearances
- A materials list based on the final design
- A realistic project timeline
Skipping this step is one of the biggest mistakes in cabinet installation. Rushed planning often leads to cabinets that do not fit right or clash with other design elements in the room.
Step 2: Preparing the Space
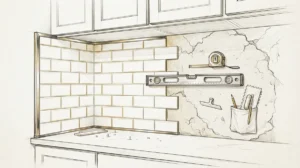
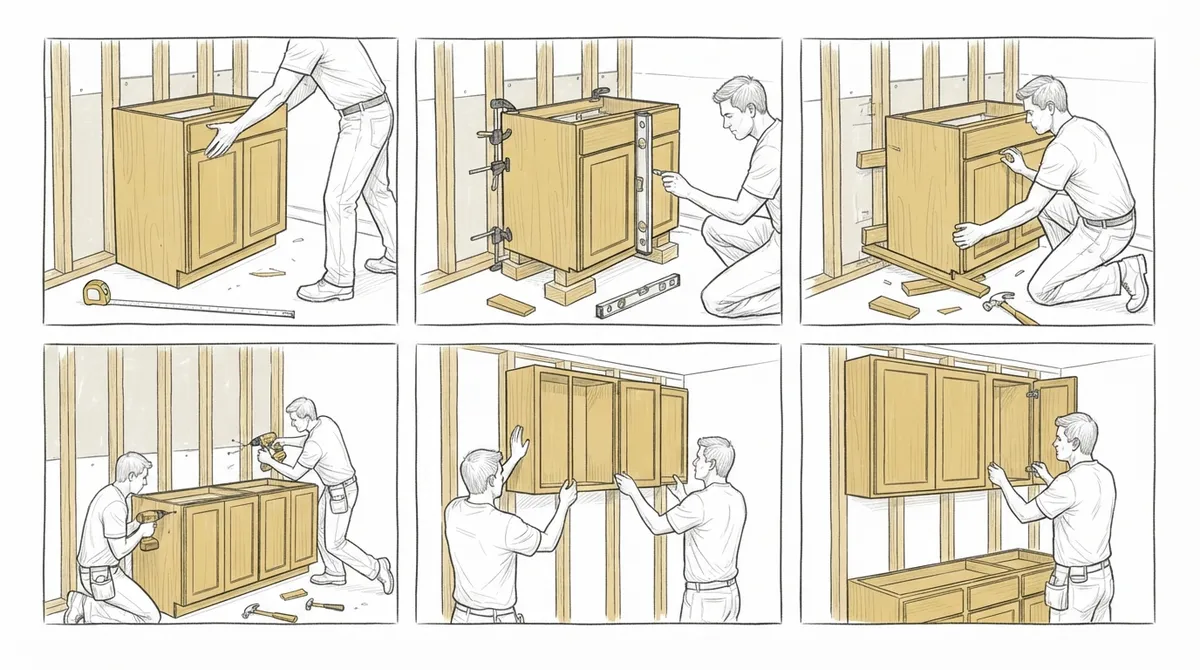
Before any cabinet goes in, the space must be ready. This means clearing the area, checking wall studs, and making sure the surface is level. Carpenters often use a level tool to check walls and floors for any dips or bumps.
If the walls are uneven, shims are used to create a flat, stable base. This step is often overlooked in do-it-yourself projects, but it is critical for a professional result. Uneven prep work is one of the top reasons cabinets fail early or develop gaps over time.
Key Preparation Tasks
- Locating and marking wall studs for secure mounting
- Removing old cabinets, trim, or hardware if needed
- Patching holes or repairing damaged drywall
- Checking for level floors and walls
- Protecting flooring and nearby surfaces during installation
This is also a good time to coordinate with other trades, especially if the project involves new flooring or painting work happening at the same time.
Step 3: Installing Upper Cabinets First
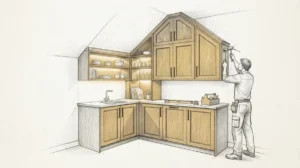
Professional installers usually start with upper cabinets. This may seem backward, but it makes sense. Working on upper cabinets first avoids the risk of damaging base cabinets or countertops below.
A ledger board is often attached to the wall to support the cabinets during installation. This temporary support holds the cabinet in place while it is leveled and secured. Once the cabinet is properly aligned, it is fastened directly into the wall studs for maximum strength.
Why This Order Matters
- Reduces risk of scratching or denting lower cabinets
- Makes it easier to reach and secure screws into studs
- Allows for better visibility of wall lines and levels
- Prevents tools and materials from damaging finished surfaces
- Creates a cleaner, more organized work process
This sequence reflects years of trade experience passed down through skilled carpentry teams. It is a small detail, but it makes a real difference in the final result.
Step 4: Setting and Securing Base Cabinets
Once upper cabinets are in place, attention turns to the base units. These cabinets carry more weight, since they support countertops, sinks, and daily use. Getting them level is essential, since even a small tilt can cause doors to swing open or drawers to stick.
Carpenters use shims to adjust for any unevenness in the floor. Cabinets are then screwed together and anchored to the wall for stability. This step often takes the most time, since every cabinet must be checked and adjusted individually.
Base Cabinet Checklist
- Confirm cabinets are level from side to side and front to back
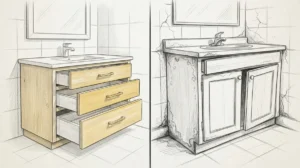
- Check that doors and drawers open smoothly
- Secure cabinets to wall studs, not just to each other
- Verify spacing for appliances like dishwashers or ranges
- Inspect for any gaps that need filler strips or trim
This stage is where the quality of custom carpentry truly shows. Precise, patient work here prevents problems that are hard to fix later.
Step 5: Adding Trim, Panels, and Finishing Touches
After the main cabinet boxes are secure, it is time for the finishing details. This includes crown molding, filler panels, toe kicks, and any decorative trim. These elements tie the cabinets into the rest of the room and hide any small gaps or seams.
Many homeowners underestimate how much finishing work affects the final look. A well-done crown molding detail can make cabinets look built directly into the room, rather than simply placed against the wall. This is often where the difference between average work and true craftsmanship becomes clear.
Finishing Details That Matter
- Crown molding along the top of upper cabinets
- Filler strips between cabinets and walls or appliances
- Toe kick covers at the base for a clean, finished look
- Cabinet hardware such as handles and knobs
- Caulking and paint touch-ups for a seamless finish
These small steps require patience and a sharp eye. Teams experienced in custom projects understand how these final touches affect the overall value and appearance of the space.
Step 6: Final Inspection and Adjustments
The last step in cabinet installation is a full walkthrough. This means checking every door, drawer, and hinge to make sure everything works smoothly. Installers also look for any visible gaps, uneven surfaces, or loose hardware.
This final check protects the homeowner and ensures the work meets a high standard. A thorough inspection often catches small issues before they become bigger problems down the road.
Final Inspection Points
- All doors and drawers open and close without sticking
- Cabinets are firmly secured with no wobble or movement
- Trim and molding lines are straight and consistent
- Hardware is tightened and aligned properly
- Work area is cleaned and left in good condition
This step is often what separates a good installation from a great one. It shows respect for the client’s home and investment.
Comparing Installation Approaches
Not all cabinet installation projects are the same. The table below compares common approaches homeowners and professionals might consider.
| Approach | Best For | Key Consideration |
|---|---|---|
| Stock cabinet install | Simple, standard-size spaces | Limited fit flexibility for unusual layouts |
| Semi-custom install | Rooms needing some size adjustments | More options, but still some size limits |
| Full custom carpentry install | Unique spaces, high-end finishes, luxury builds | Best fit and finish, built to exact measurements |
For homeowners and developers seeking a premium result, full custom installation often provides the best long-term value. It allows every inch of space to be used well, which matters greatly in kitchens, bathrooms, and built-in storage areas.
Why Professional Installation Matters
Cabinet installation involves more than just hanging boxes on a wall. It requires knowledge of structural support, precise measuring, and finish carpentry skills. According to the learn more about carpentry resource, carpentry has long combined structural skill with detailed craftsmanship, a tradition that still applies to modern cabinet work today.
Interior designers often rely on skilled carpentry teams to bring their vision to life without compromise. Real estate developers count on quality installation to help properties stand out and attract buyers who expect lasting value. Homeowners benefit from cabinets that function well and look beautiful for years.
Benefits of Hiring Skilled Carpenters
- Cabinets fit the exact dimensions of the space
- Stronger mounting reduces future repair needs
- Better integration with trim, molding, and wall design
- Fewer visible seams or gaps
- Higher resale value for the home or property
Bucheli Trim has built a reputation in the Tampa Bay area for combining precision with style in every project. Homeowners and designers can explore examples of past work, including built-in cabinetry solutions that show how thoughtful design transforms everyday spaces.
How Cabinet Installation Fits Into a Larger Design
Cabinets rarely stand alone in a well-designed home. They often connect with other carpentry elements like wall enhancements, ceiling designs, and custom doors. Thinking about cabinets as part of a whole design, rather than an isolated task, leads to better results.
For example, matching cabinet trim to existing baseboard styles creates a cohesive look throughout the home. Coordinating cabinet finishes with flooring or tile choices also strengthens the overall design. This is where working with a full-service carpentry team pays off, since they can manage multiple elements together.
Design Elements That Pair Well With Cabinets
- Matching crown molding and trim styles
- Coordinated cabinet and wall paint colors
- Complementary hardware finishes throughout the home
- Consistent flooring transitions near cabinet areas
- Lighting placement that highlights cabinet details
Developers working on multiple properties often find it helpful to standardize certain design choices while still allowing for some customization. This balance helps control timelines while still delivering a premium finish that appeals to buyers.
Maintaining Cabinets After Installation
Proper installation is only the beginning. Cabinets need some basic care to stay in good shape for years. Simple habits can prevent early wear and keep everything looking fresh.
Simple Maintenance Tips
- Wipe spills quickly to avoid moisture damage
- Check hinges and hardware periodically for tightness
- Avoid slamming doors or drawers shut
- Use gentle cleaners that will not damage the finish
- Address small issues early before they grow larger
Homeowners who want to see real examples of quality craftsmanship can Facebook page to view recent projects and client feedback. It’s also worth checking how past clients describe their experience, and you can see what our Bucheli Trim customers say on Google by visiting our Visit us on Google — Bucheli Trim profile.
Bringing It All Together
Cabinet installation is a detailed process that rewards careful planning and skilled hands. From measuring and prepping the space to the final inspection, each step plays a role in the finished result. Homeowners, designers, and developers all benefit from understanding this process, even when hiring a professional team to handle the work.
Whether you are updating a single kitchen or planning cabinetry across multiple properties, the right approach makes a lasting difference. Ready to start your next project? Get in Touch with Our Team to discuss your cabinet installation needs and see how thoughtful craftsmanship can transform your space.
FAQs
Q: How long does professional cabinet installation typically take?
A: Most cabinet installations take one to three days, depending on the size and complexity of the project. Custom builds with extensive trim and finishing work may take a bit longer to ensure everything fits perfectly.
Q: What is the difference between stock and custom cabinet installation?
A: Stock cabinets come in standard sizes and are installed as-is, while custom cabinet installation involves building units to fit exact room measurements. Custom work offers better use of space and a more tailored appearance.
Q: Do cabinets need to be attached to wall studs?
A: Yes, securing cabinets to wall studs is essential for long-term stability and safety. Attaching cabinets only to drywall can lead to sagging or complete failure over time, especially with heavy loads.
Q: Can cabinet installation be combined with other carpentry work?
A: Absolutely, many homeowners combine cabinet installation with wall enhancements, molding details, or flooring updates for a cohesive design. Planning these projects together often leads to a more polished, unified result.
Q: What should I check after cabinet installation is complete?
A: Check that all doors and drawers open smoothly, cabinets feel firm with no wobble, and trim lines are straight and even. A final walkthrough with your carpentry team helps catch any small issues before they become bigger problems.