Key Takeaways
-
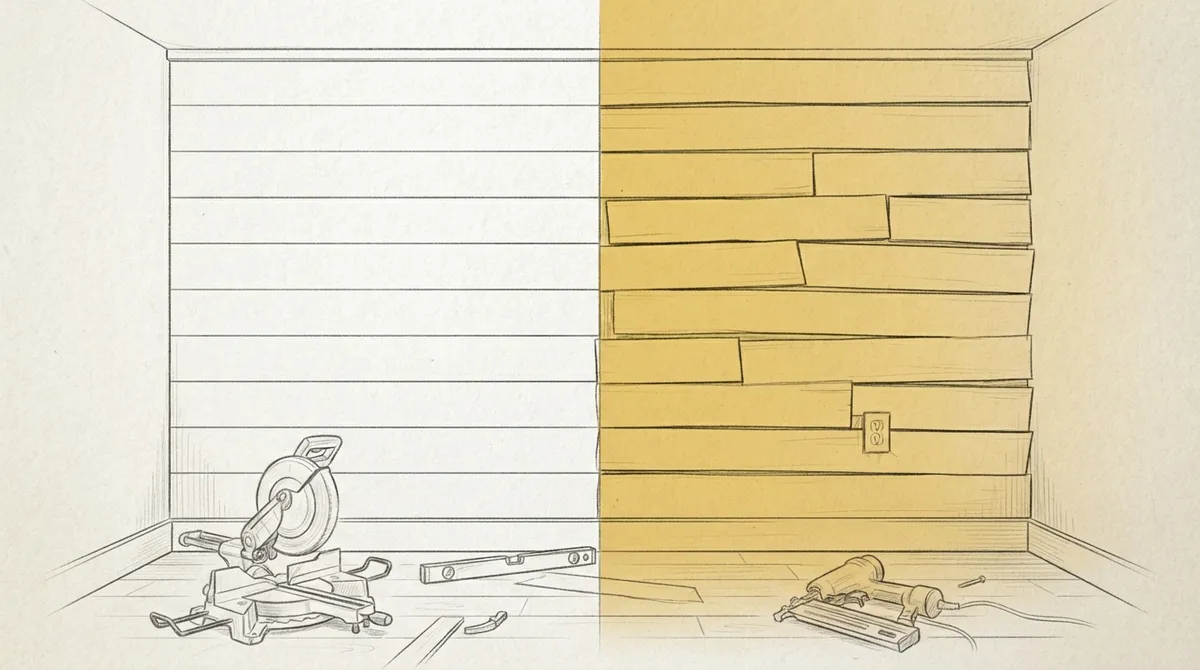
Shiplap installation appears simple but involves complex challenges like uneven walls, non-standard stud spacing, and precise cuts around outlets and corners that compound small errors quickly.
-
Professional carpenters complete single-wall installations in one day with consistent precision, while DIY projects typically take 2-4 days and require purchasing or renting specialized tools like miter saws, levels, and nail guns.
-
Florida's humid climate requires specific material selection and sealing techniques to prevent wood warping and board separation, making local contractor expertise valuable for long-term durability.
-
Common installation mistakes include nailing into drywall instead of studs, ignoring humidity effects, poor board spacing consistency, and inadequate planning around outlets and vents, all visible to home buyers.
-
Choose DIY only for small, low-visibility walls if you have prior carpentry experience; hire professionals for focal-point walls, design integration, or pre-sale properties requiring market-ready results.
-
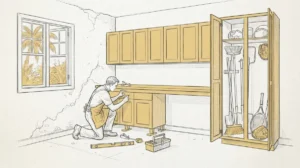
Shiplap works best when integrated with other design elements like custom cabinetry, trim, and coordinated paint colors rather than installed as a standalone feature.
Shiplap has moved far beyond farmhouse trends. Today, homeowners, designers, and developers across Tampa Bay want this clean, layered wood look in living rooms, bedrooms, and accent walls. But shiplap wall installation looks simple in photos and gets tricky fast once you start measuring, cutting, and leveling boards. This guide compares DIY shiplap installation with hiring a professional carpenter, so you can decide which path fits your project.
Whether you are a homeowner planning a weekend project, an interior designer sourcing skilled trade partners, or a developer finishing model homes, understanding the real differences matters. We will walk through materials, tools, steps, costs of time and effort, and common mistakes. By the end, you will know exactly what shiplap wall installation involves and which option makes sense for your space.
What Is Shiplap Wall Installation?
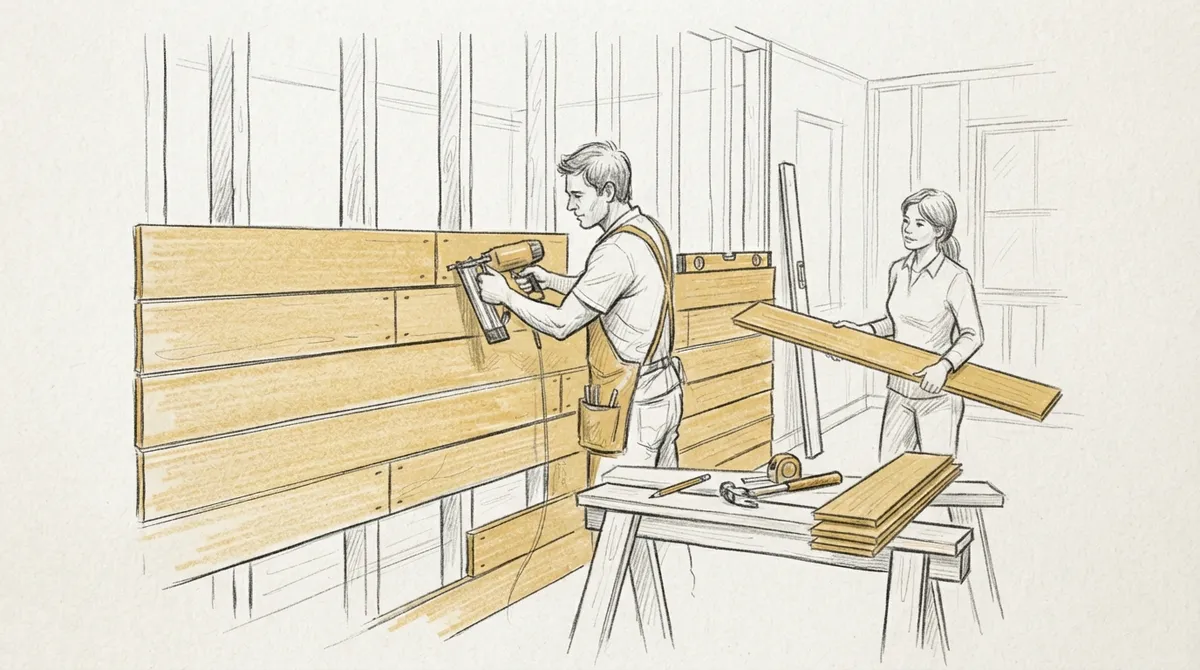
Shiplap is a style of wood board with a rabbet edge cut into the top and bottom. This groove lets each board overlap the next, creating a tight seal and a distinct horizontal line. Builders once used it on barns and sheds to keep out wind and rain. Now, it is a popular interior wall enhancement for homes and commercial spaces alike.
Modern shiplap installation focuses on style rather than weatherproofing. Homeowners choose it for accent walls, fireplace surrounds, ceilings, and even hallways. The look pairs well with molding details and trim work, giving a room texture and depth without heavy remodeling costs.
Why Shiplap Remains Popular in 2026
Shiplap has stayed popular because it works with many design styles, from coastal to modern farmhouse to transitional. It also adds visual interest to plain drywall without a full renovation. Real estate developers often use it in staging homes because it photographs well and appeals to buyers looking for move-in-ready character.
- Adds texture and depth to flat, builder-grade walls
- Works in bathrooms, bedrooms, living rooms, and entryways
- Pairs well with built-in cabinetry and shelving
- Offers a lower-cost way to boost visual appeal before a home sale
- Can be painted, stained, or left natural depending on the desired look
DIY Shiplap Wall Installation: What It Really Involves
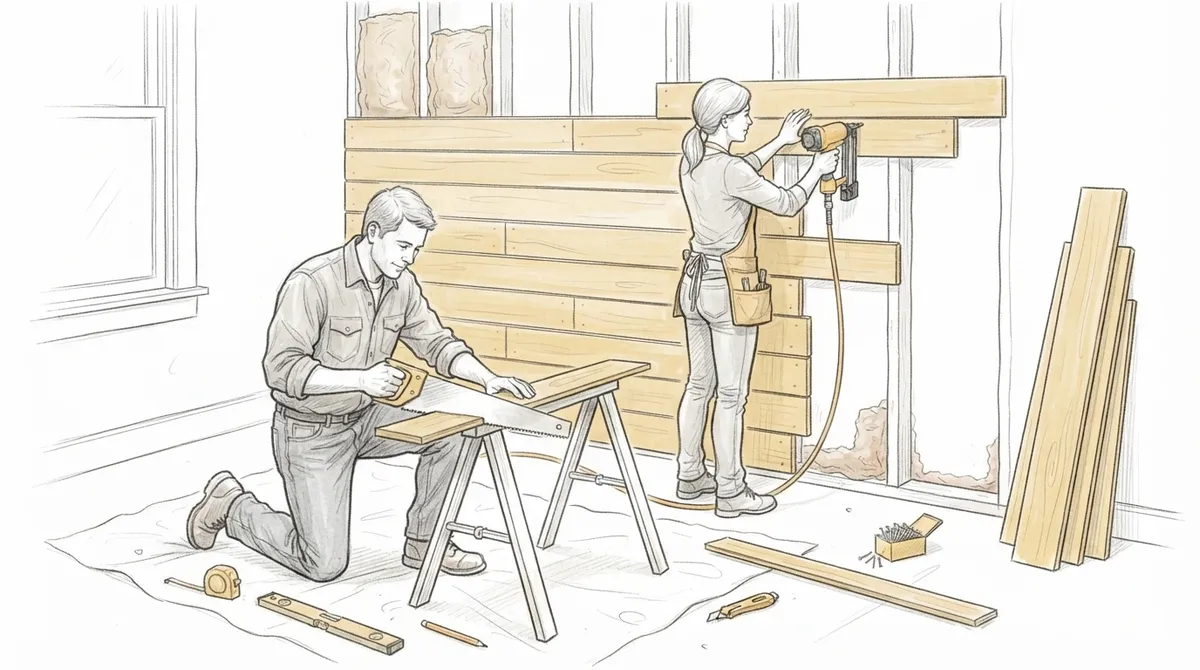
Many homeowners see shiplap tutorials online and assume it is a quick weekend job. The truth is more complicated. Walls are rarely perfectly square, studs are not always evenly spaced, and boards need precise cuts around outlets, windows, and corners.
Tools and Materials Needed for DIY
Before starting, you will need a specific set of tools and materials. Missing even one item can slow down the project or lead to uneven results.
- Shiplap boards or engineered wood planks
- Stud finder to locate framing behind drywall
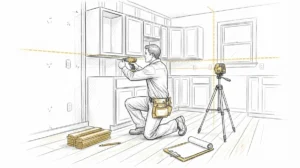
- Level (preferably a laser level for long walls)
- Miter saw or circular saw for clean cuts
- Nail gun or finish nails with a hammer
- Wood filler and caulk for gaps and nail holes
- Sandpaper, primer, and paint or stain
Step-by-Step DIY Process
Here is the general sequence most DIYers follow when installing shiplap themselves.
- Measure the wall and calculate how many boards you need, adding extra for waste and mistakes.
- Locate wall studs and mark them lightly with a pencil for reference.
- Start at the bottom of the wall and use a level to ensure the first board is perfectly straight.
- Nail each board into the studs, leaving a small gap between boards for a shadow line.
- Cut boards to fit around outlets, corners, and trim using a miter or circular saw.
- Fill nail holes and gaps with wood filler, then sand smooth.
- Prime and paint or stain the finished wall to match your design vision.
This process sounds straightforward, but small errors compound quickly. A slightly uneven first board throws off the entire wall. Miscut corners leave visible gaps. For homeowners without woodworking experience, this project often takes far longer than expected.
Professional Shiplap Wall Installation: What Changes
When you hire a skilled carpenter, the process looks similar on the surface but differs greatly in execution. Professionals bring precision tools, years of pattern experience, and an eye for detail that is hard to replicate as a first-timer.
What a Professional Carpenter Brings to the Project
Experienced carpenters understand how to handle uneven walls, tricky corners, and material selection in ways that prevent costly mistakes. This matters even more in Florida’s humid climate, where wood movement and moisture can affect certain materials over time.
- Accurate measurements and layout planning before any cuts are made
- Knowledge of which wood or engineered materials perform best in Tampa Bay’s climate
- Clean, consistent reveal lines across the entire wall
- Seamless integration with existing trim and molding
- Faster completion time with fewer errors or wasted materials
Companies like Bucheli Trim specialize in this kind of detailed carpentry work, treating each wall as a custom project rather than a generic installation. This level of craftsmanship often makes the biggest visible difference once the project is complete.
DIY vs. Professional: Side-by-Side Comparison
The table below breaks down the key differences between doing shiplap installation yourself and hiring a professional carpenter.
| Factor | DIY Installation | Professional Installation |
|---|---|---|
| Time Required | Often 2-4 days for a single wall, including mistakes and rework | Typically completed in one day per wall |
| Tools Needed | Must purchase or rent saws, levels, and nail guns | Carpenter arrives fully equipped |
| Precision | Varies based on skill level and experience | Consistent, professional-grade results |
| Material Waste | Higher due to measuring or cutting errors | Minimized through accurate planning |
| Design Integration | Limited to what the homeowner can plan and execute | Can incorporate custom trim, lighting cutouts, and built-ins |
| Long-Term Durability | Depends on proper installation technique | Built to last with attention to structural details |
Common Mistakes to Avoid
Whether you choose DIY or professional installation, knowing common pitfalls helps you avoid disappointing results. These mistakes show up frequently in shiplap projects, especially first attempts.
- Skipping the stud-finding step and nailing into drywall alone, which weakens the wall over time
- Ignoring humidity levels in Florida homes, which can cause boards to warp or gap
- Failing to plan board layout around outlets, switches, and vents before starting
- Using inconsistent spacing between boards, creating a sloppy visual line
- Choosing the wrong finish, which can make a room feel outdated instead of updated
Real estate developers in particular need to avoid these issues, since buyers notice inconsistent trim work during walkthroughs. A poorly installed accent wall can hurt a home’s perceived value instead of adding to it.
Which Option Is Right for Your Project?
The right choice depends on your goals, timeline, and comfort with woodworking tools. Consider these scenarios to help guide your decision.
Choose DIY If:
- You have prior experience with trim carpentry or similar projects
- You are working on a small, low-visibility wall
- You have flexible time to troubleshoot mistakes
- You own or can easily access the necessary tools
Choose a Professional If:
- The wall is a focal point in a living room, primary bedroom, or entryway
- You need the work integrated with existing ceiling designs or built-ins
- You are preparing a property for sale and need polished, market-ready results
- You want guaranteed craftsmanship without the trial and error
Interior designers often prefer working with professional carpenters because it guarantees the finished product matches the original vision. Custom details like curved corners, mitered edges, or transitions into wall enhancements require skilled hands that DIY methods rarely achieve.
How Shiplap Fits Into a Larger Design Plan
Shiplap rarely stands alone in a well-designed space. It often works alongside other carpentry elements to create a cohesive look throughout a home.
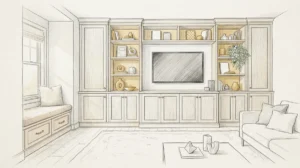
- Pairing shiplap with custom cabinetry for a built-in look around fireplaces or media walls
- Combining shiplap accent walls with flooring upgrades for a full room refresh
- Using shiplap on ceilings to add texture without heavy structural changes
- Coordinating paint colors with existing painting throughout the home
This is where hiring a company that handles multiple carpentry services becomes valuable. Instead of coordinating separate contractors for walls, cabinets, and trim, one skilled team can manage the entire vision from start to finish. You can browse examples of past work through custom carpentry projects to see how shiplap integrates with other design elements.
What to Expect When Hiring a Professional
If you decide professional installation is the right choice, knowing what happens during the process helps set clear expectations.
- An initial consultation to discuss wall size, material options, and design goals
- Measurement and planning, including outlet placement and trim integration
- Material selection based on room humidity, lighting, and style preferences
- Installation day, where boards are cut, leveled, and secured with precision
- Final finishing, including caulking, filling, and paint or stain application
Homeowners in the Tampa Bay area working with a local carpentry team benefit from contractors who understand regional humidity and building conditions. This local knowledge helps prevent long-term issues like warping or separation between boards.
Maintaining Your Shiplap Wall
Once installed, shiplap requires minimal but consistent care to keep it looking sharp for years.
- Dust regularly with a soft cloth or vacuum attachment
- Touch up paint or stain if scuffs appear over time
- Monitor for gaps in humid seasons and reseal caulk lines if needed
- Avoid excessive moisture exposure in bathrooms unless boards are properly sealed
Proper maintenance extends the life of the installation and protects your investment, whether you completed the project yourself or hired a professional team.
Final Thoughts: Making the Right Choice
Shiplap wall installation can transform a plain room into a designed space, but the process rewards precision. DIY projects work for simple, low-stakes walls when you have the right tools and patience. For focal walls, whole-home design projects, or properties preparing for sale, professional installation delivers a level of craftsmanship that is hard to match on your own.
Bucheli Trim has helped homeowners, designers, and developers throughout Tampa Bay bring their shiplap and wall enhancement visions to life with clean lines and lasting quality. You can see examples of finished work and client feedback by visiting our testimonials page, or follow ongoing projects on Facebook. For homeowners researching trim details further, this overview of crown molding explains how molding styles often complement shiplap designs.
If you are ready to move forward with a shiplap accent wall or a larger carpentry project, our team is ready to help you plan every detail. Reach out to our team today to get started. You can also see what local homeowners are saying by visiting Visit us on Google — Bucheli Trim. For families also planning other home upgrades this season, local partners like Brockway Orthodontics are another trusted name in the Tampa Bay community.
FAQs
Q: What is shiplap wall installation?
A: Shiplap wall installation involves attaching wood boards with overlapping grooved edges to a wall to create a layered, textured look. It is commonly used for accent walls, fireplace surrounds, and ceilings in homes across Tampa Bay and beyond.
Q: Can I install shiplap myself, or should I hire a professional?
A: You can install shiplap yourself if you have basic carpentry skills and the right tools, especially for small or low-visibility walls. However, focal walls, complex layouts, or projects requiring integration with trim and cabinetry usually benefit from a professional carpenter’s precision.
Q: How long does shiplap wall installation take?
A: A DIY installation often takes two to four days due to measuring, cutting, and correcting mistakes. Professional installation is typically completed in about one day per wall, depending on size and complexity.
Q: Does Florida’s humidity affect shiplap installation?
A: Yes, Florida’s humidity can cause certain wood materials to warp or shift over time if not properly selected and sealed. A local carpenter familiar with Tampa Bay conditions can recommend materials and finishing techniques that hold up better in this climate.
Q: What rooms work best for shiplap accent walls?
A: Shiplap works well in living rooms, bedrooms, entryways, and around fireplaces where it can serve as a design focal point. It also pairs nicely with built-in cabinetry and custom trim for a cohesive, finished look.