Key Takeaways
-
Proper wall preparation and carpentry work are essential before tile installation—walls must be plumb, level, and free of damage, as poor prep causes cracking and uneven appearance even with quality tile.
-
Cabinets, countertops, and backsplash must be treated as one connected system; upper cabinets must be level or backsplash tile will appear crooked regardless of installation quality.
-
Trim and edge work significantly elevate the finished appearance of a backsplash; corner pieces, edge caps, and transition strips create a professional, polished look that separates custom work from amateur installations.
-
Wood-based backsplash options like shiplap and paneling require the most carpentry skill and expertise compared to standard tile, making contractor experience crucial for these design styles.
A backsplash does more than protect your wall from splashes and stains. It sets the tone for your whole kitchen or bathroom. But here’s something many homeowners don’t know: great backsplash installation starts with skilled carpentry work, not just tile. The wall behind your counter needs to be flat, level, and properly framed before any tile or trim goes up. That’s where custom carpentry makes all the difference.
At Bucheli Trim, we’ve seen how proper wall prep and finish carpentry turn a simple backsplash into a stunning design feature. Whether you’re a homeowner planning a kitchen refresh, an interior designer sourcing skilled trades, or a developer finishing out luxury units, this guide walks you through what matters most. We’ll cover the carpentry side of backsplash work: wall prep, trim details, cabinetry alignment, and finishing touches that separate amateur jobs from lasting craftsmanship.
Why Backsplash Installation Depends on Skilled Carpentry
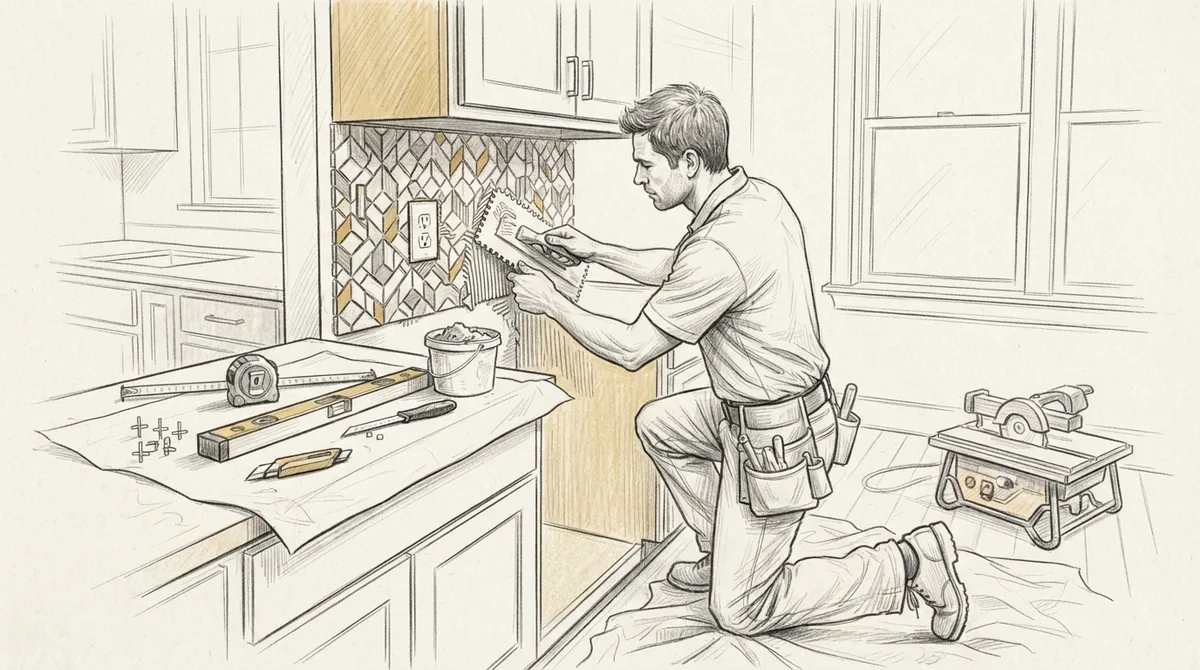
Many people think backsplash work is only about tile setting. In reality, the carpentry behind the scenes matters just as much. Walls need to be plumb. Cabinets need to be level. Trim pieces need clean, tight seams. Without this foundation, even the best tile job will look uneven or start to crack over time.
Custom carpenters prepare the surface, install the right backing material, and add trim details that frame the backsplash perfectly. This is especially true in older homes across Tampa Bay, where walls often shift or settle unevenly over decades. A skilled carpenter checks these issues first, before any tile touches the wall.
The Connection Between Cabinetry and Backsplash
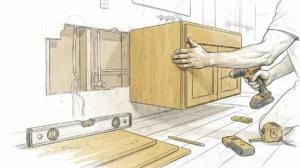
Your custom cabinets and backsplash need to work together visually and structurally. If your upper cabinets aren’t installed level, your backsplash tile will look crooked no matter how carefully it’s set. This is why many designers request cabinetry and backsplash work from the same carpentry team.
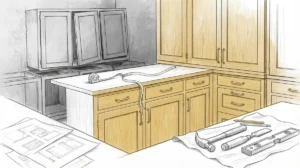
A well-planned kitchen remodel treats cabinets, countertops, and backsplash as one connected system. For a deeper look at how these pieces fit together, check out our kitchen remodeling guide for Tampa homes.
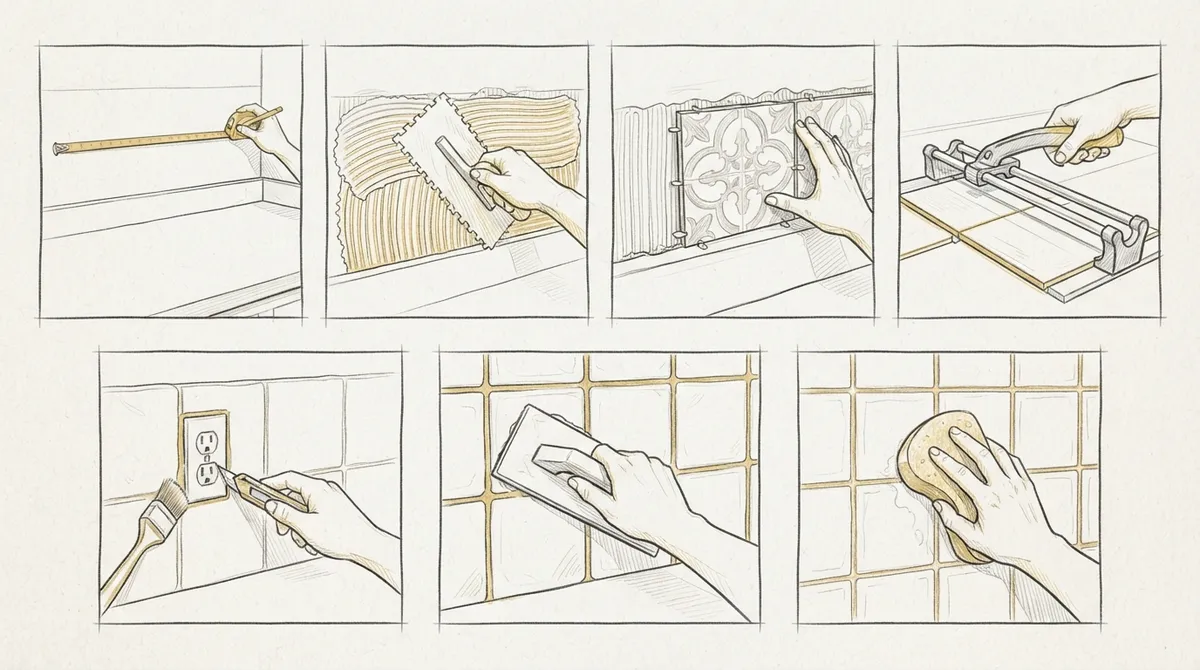
7 Key Steps in Professional Backsplash Installation
Here’s the process a professional carpentry team follows for a durable, beautiful backsplash. Each step matters, and skipping one can cause problems later.
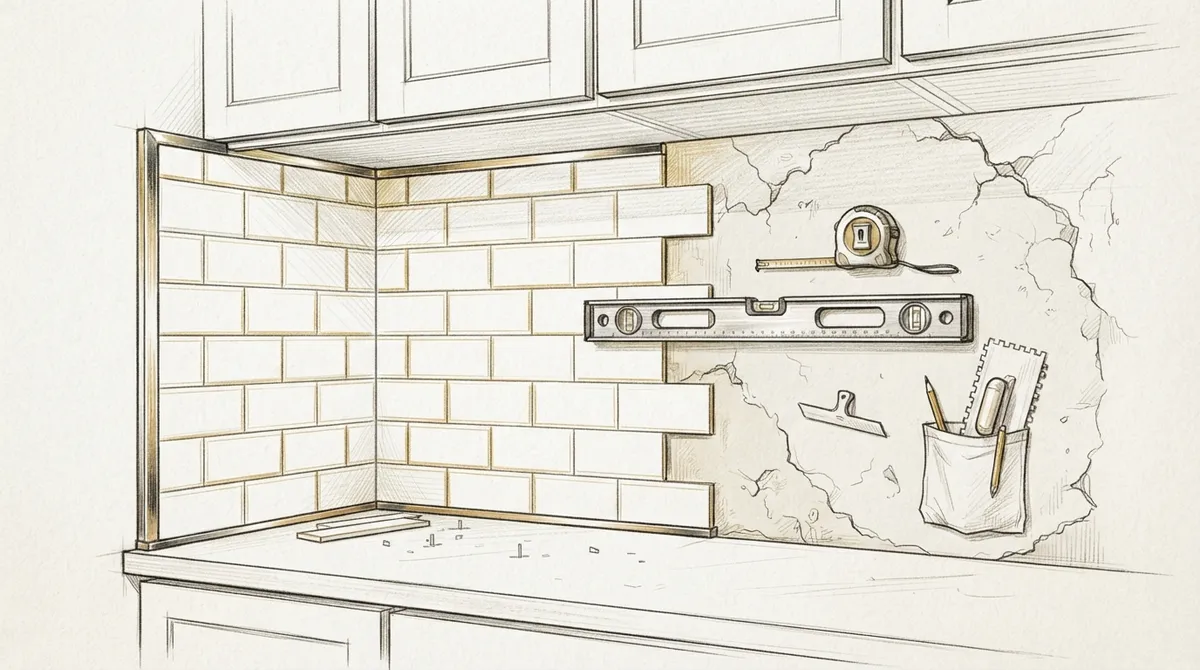
- Wall Assessment and Prep: Carpenters check for level, plumb, and any moisture damage before starting.
- Surface Repair: Any drywall damage or unevenness gets patched and smoothed first.
- Cabinet Alignment Check: Upper cabinets are verified as level, since backsplash tile lines up against them.
- Trim and Edge Planning: Decisions are made about corner trim, edge caps, and transition pieces.
- Backing Material Installation: Cement board or proper backing is added where needed for durability.
- Tile or Panel Layout: The pattern is measured and dry-fit before anything is set permanently.
- Finish Carpentry Details: Trim, molding, and edge work complete the polished look.
This process shows why backsplash work is really a carpentry-driven project. For more on how backsplash remodeling connects to broader kitchen carpentry, read our article on why kitchen backsplash remodeling needs a carpenter.
Choosing the Right Backsplash Style for Your Space
The style of backsplash you choose affects how much carpentry work is involved. Some styles need more trim and framing than others. Here’s a quick comparison to help you understand your options.
| Backsplash Style | Carpentry Involvement | Best For |
|---|---|---|
| Subway Tile | Moderate trim and edge work | Classic kitchens, easy maintenance |
| Wood Panel Accent | High carpentry detail | Modern or farmhouse designs |
| Shiplap Backsplash | Full carpentry installation | Rustic or coastal-style homes |
| Large Format Tile | Minimal trim, precise wall prep needed | Sleek, contemporary kitchens |
| Mosaic Tile | Detailed trim and corner work | Statement walls, unique patterns |
Wood-based backsplash options, like shiplap or paneled accents, require the most carpentry skill. These styles use real wood trim and framing rather than standard tile. If you like this look, our guide on wood bead board installation shows how similar techniques apply to walls throughout your home.
Common Backsplash Installation Mistakes to Avoid
Even experienced homeowners run into trouble when planning a backsplash project. Here are mistakes that carpentry professionals see most often.
- Skipping wall-level checks before installation begins
- Ignoring outlet and switch plate alignment with tile patterns
- Using the wrong backing material behind wet areas
- Rushing trim work at corners and transitions
- Failing to match backsplash height with cabinet and counter lines
- Choosing a contractor without carpentry experience for wood-based designs
These issues often show up months later as cracks, gaps, or uneven edges. A trusted carpentry team catches these problems early. For a broader look at avoiding costly errors in your renovation, see our post on bathroom renovation mistakes Tampa homeowners make, since many of the same principles apply to kitchens.
How Trim Work Elevates a Backsplash
Trim is often the difference between a backsplash that looks finished and one that looks unfinished. Corner pieces, edge caps, and transition strips give the whole installation a clean, professional appearance. According to resources on learn more about carpentry, precision trim work has long been a hallmark of quality finish carpentry, and backsplash installation is no exception.
Many designers pair backsplash trim with similar detailing used in molding details throughout the home. This creates a cohesive look between the kitchen and adjoining spaces, which is especially valued by real estate developers marketing luxury properties.
Backsplash Installation for Interior Designers and Developers
Interior designers often need a reliable carpentry partner who can execute custom backsplash visions with precision. Whether it’s a wood accent panel or an intricate tile pattern that requires custom trim, having a skilled team matters. Developers, too, benefit from premium backsplash work that helps units stand out to buyers.
Here are three reasons professional-grade backsplash installation adds real value to a property:
- Buyer Appeal: Custom finishes signal quality and craftsmanship to potential buyers.
- Long-Term Durability: Proper wall prep prevents costly repairs down the road.
- Design Flexibility: Skilled carpenters can execute unique patterns that standard installers can’t.
For developers working on multiple units, consistency matters too. A single trusted carpentry team ensures every unit meets the same quality standard. Learn more about how our team supports larger projects on our custom projects page.
Backsplash Materials That Pair Well With Custom Carpentry
Not every backsplash material works the same way with wood trim and cabinetry. Some materials complement carpentry details better than others. Below is a quick reference for popular choices.
| Material | Compatibility With Wood Trim | Maintenance Level |
|---|---|---|
| Ceramic Tile | High | Low |
| Natural Stone | Moderate | Moderate |
| Wood Paneling | Very High | Low to Moderate |
| Glass Tile | Moderate | Low |
| Epoxy-Coated Panels | High | Very Low |
Epoxy-coated panels have become popular for their durability and easy upkeep. If you’re curious about how epoxy finishes work in home applications, our team also offers epoxy floor services that use similar coating technology for long-lasting results.
Planning Your Backsplash Project With a Carpentry Team
Before starting your project, it helps to have a clear plan. Here’s a simple step-by-step approach homeowners and designers can follow.
- Decide on your backsplash material and style first.
- Schedule a wall and cabinet assessment with a carpentry professional.
- Discuss trim options that match your overall kitchen design.
- Review timelines, especially if paired with other renovation work.
- Confirm final measurements before ordering materials.
This process avoids costly delays and mismatched materials. It also ensures your backsplash works well with existing features like wall enhancements or tile work already planned for your space.
Why Local Experience Matters
Tampa Bay homes come with unique challenges, from humidity concerns to older wall structures in historic neighborhoods. A carpentry team familiar with the area understands these local factors. This local knowledge often prevents problems before they start, saving time and frustration during your renovation.
Homeowners across the region have shared their experiences with our work. You can visit us on Google — Bucheli Trim to see reviews from real clients, or check our testimonials page for more detailed feedback.
Bringing Your Backsplash Vision to Life
A backsplash is a small part of your kitchen in square footage, but it makes a big visual impact. Getting the carpentry right behind it ensures your investment lasts for years, not just months. From wall prep to trim details, every step matters in creating a finished look that feels custom and intentional.
Whether you’re updating one kitchen or finishing multiple units for a development project, working with skilled carpenters pays off. You can also follow our latest projects and updates on Facebook to see examples of finished backsplash and trim work in Tampa Bay homes.
Ready to start planning your backsplash project the right way? Reach out to our team today to discuss your kitchen or bathroom renovation and get expert guidance from the first wall check to the final trim piece.
FAQs
Q: Why does backsplash installation require carpentry skills?
A: Backsplash installation depends on level walls and properly aligned cabinets, which are carpentry tasks. Without accurate wall prep and trim work, tile or panel installation will look uneven or fail early.
Q: What is the best backing material for a backsplash?
A: Cement board is often used behind tile backsplashes because it resists moisture and provides a stable surface. The right choice depends on your material and location, so a carpenter can recommend the best option for your project.
Q: Can a wood accent wall work as a backsplash?
A: Yes, wood paneling and shiplap are popular backsplash alternatives, especially in farmhouse or coastal-style kitchens. These require skilled carpentry for proper sealing and trim work to handle kitchen moisture and heat.
Q: How long does professional backsplash installation take?
A: Most backsplash projects take one to three days, depending on size and material complexity. Wood-based or highly detailed designs may take longer due to precise trim and fitting requirements.
Q: Should cabinets be installed before or after the backsplash?
A: Cabinets are typically installed first, since the backsplash needs to align with their edges and height. This sequence ensures a clean, level finish between your cabinetry and backsplash design.