
Key Takeaways
-
Custom closet shelving is built to fit your exact space and needs, not a one-size-fits-all kit, resulting in better use of every inch including corners and odd-shaped areas.
-
Before installation, take inventory of your items, measure walls precisely, locate studs, and plan zones with daily items at eye level and seasonal items stored higher to maximize functionality.
-
Choose stable, well-sealed materials like quality plywood or solid hardwood rather than thin materials that warp; in humid climates like Tampa Bay, material selection directly impacts longevity.
-
Common installation mistakes include skipping stud location (causing shelf failure), making shelves too deep beyond 12-16 inches, and poor rod placement that makes hanging items awkward.
-
Professional installation prevents costly errors from walls being uneven, missed studs, and poor cuts that DIY projects often encounter, making expert carpentry more cost-effective long-term.
-
Custom closet shelving with proper lighting, drawers, and trim significantly increases property value and appeal for real estate developers and helps interior designers deliver cohesive home design.
A closet should work as hard as any room in your home. Yet many closets still have a single rod and one flimsy shelf. Clothes pile up. Shoes get lost. Mornings feel rushed. Good closet shelving installation fixes these problems by giving every item a place.
In custom carpentry, closet shelving is not a kit you screw to the wall. It is built to fit your space, your belongings, and your style. Each shelf, rod, and drawer is cut and placed with care. The result looks clean and holds up for years.
This guide explains how closet shelving installation works from start to finish. You will learn about shelving types, materials, planning steps, and the installation process. Whether you are a homeowner, an interior designer, or a developer adding value to a property, you will find clear, practical answers here.
What Is Closet Shelving Installation?
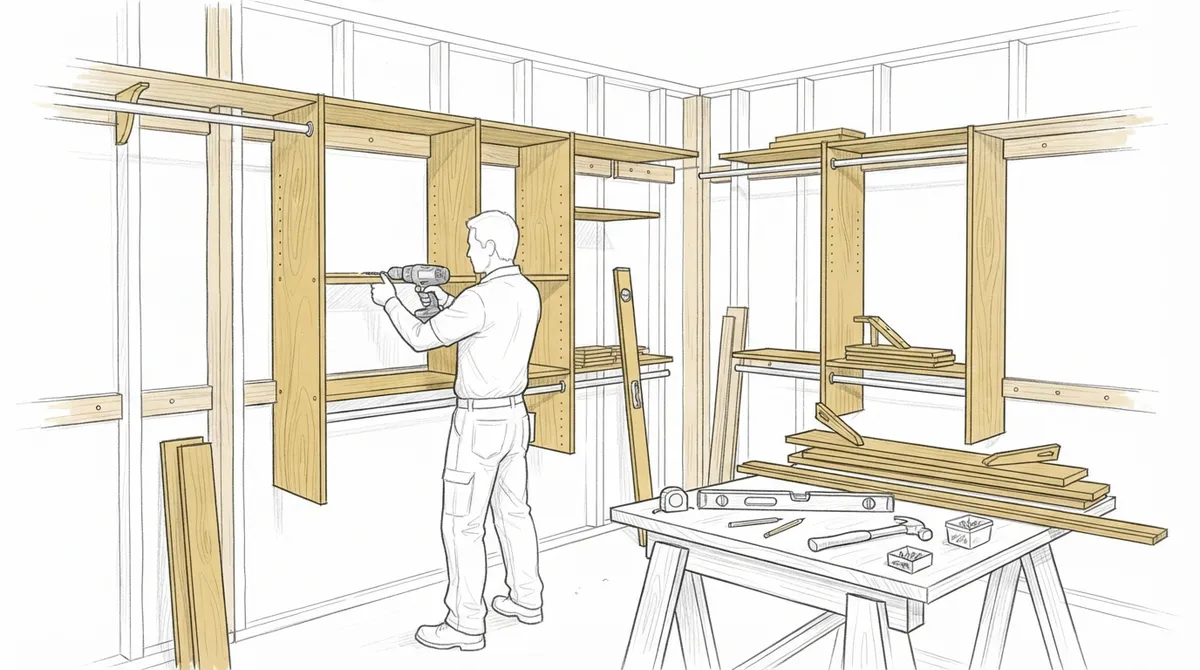
Closet shelving installation is the process of planning, building, and mounting shelves, rods, and storage units inside a closet. In custom carpentry, this work goes beyond basic hardware. A carpenter measures your space, designs a layout, and builds each piece to fit.
There are two main paths. You can buy a ready-made system and install it yourself. Or you can hire a skilled carpenter to build custom shelving. If you want to learn more about carpentry as a trade, you will see why custom work demands real skill and training.
Custom shelving offers clear advantages:
- Exact fit: Shelves match your closet walls, even when they are uneven or oddly shaped.
- Better use of space: Every inch, including corners and high spots, becomes usable.
- Strong construction: Solid wood and quality hardware carry heavy loads without sagging.
- Tailored design: The layout fits your wardrobe, shoes, bags, and accessories.
- Matching style: Finishes and trim can match the rest of your home.
For a deeper look at design ideas, see 12 custom closet build ideas that transform your space.
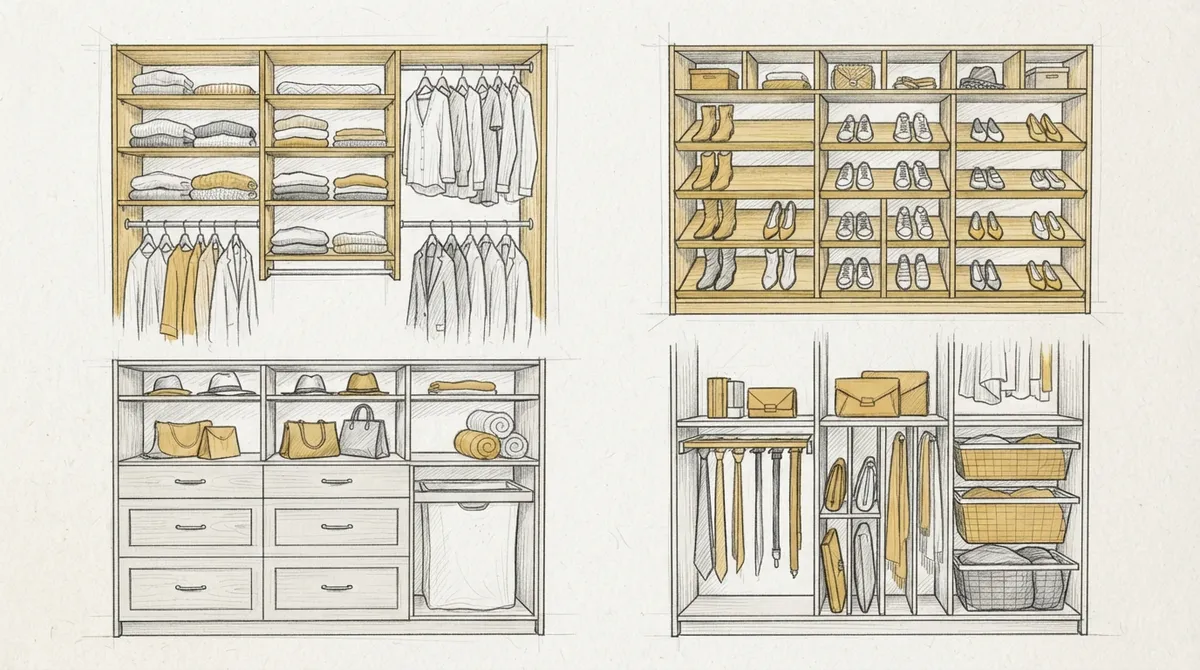
Types of Closet Shelving to Consider
Not every closet needs the same setup. The right choice depends on the size of the closet and what you store in it. Here are the most common types used in custom carpentry.
Fixed Shelving
Fixed shelves are attached to the wall or to vertical panels. They are very strong and clean looking. They work well for folded clothes, bins, and shoes. Once installed, they do not move.
Adjustable Shelving
Adjustable shelves sit on pins or tracks. You can raise or lower them as your needs change. This is a smart pick for family closets, where storage needs shift over time.
Walk-In Closet Systems
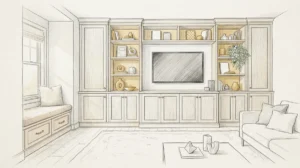
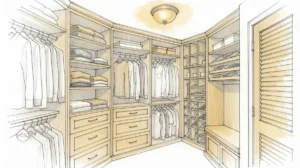
Walk-in closets have more room to work with. A carpenter can build tall hanging sections, island units, shoe towers, and drawer banks. These designs often feel like a boutique, with lighting and trim to match.
Reach-In Closet Systems
Reach-in closets are smaller, so planning matters even more. Double hanging rods, stacked shelves, and slim drawers can double your storage. A well-built reach-in can feel twice as large.
Pantry and Linen Shelving
The same skills apply outside bedrooms. Pantry shelves, linen closets, and coat closets all benefit from custom work. Sturdy shelves with the right depth make these spaces far easier to use.
Comparing Closet Shelving Options
Choosing between types can feel hard. This table shows how the main options compare.
| Shelving Type | Best For | Strength | Flexibility | Look |
|---|---|---|---|---|
| Fixed Wood Shelves | Folded clothes, bins | Very high | Low | Clean, built-in |
| Adjustable Shelves | Changing needs | High | High | Versatile |
| Custom Walk-In System | Large wardrobes | Very high | Medium | Boutique style |
| Custom Reach-In System | Small closets | High | Medium | Tailored, neat |
| Wire Shelving Kit | Basic storage | Low to medium | Medium | Plain, utility |
Choosing the Right Materials
Materials shape how your shelving looks and how long it lasts. A good carpenter will help you weigh the options based on your closet and your climate.
Tampa Bay is humid. That matters. Wood can swell or warp if the wrong material is used. Choosing stable, well-sealed materials protects your investment.
- Solid hardwood: Very strong and beautiful. Oak, maple, and walnut are popular. It is best for visible shelves and high-end looks.
- Plywood: Stable and strong. Quality plywood resists warping and holds weight well. Edges can be covered with wood banding for a finished look.
- Melamine panels: A smooth, durable surface that is easy to clean. It works well for interior closet boxes.
- MDF: Smooth and paint-friendly. It works for painted shelves but handles moisture less well than plywood.
Hardware also counts. Soft-close drawer slides, sturdy rods, and strong brackets make daily use smoother. Cheap hardware often fails first.
How to Plan Your Closet Shelving Layout
Good planning is the secret to a closet that works. Rushing this step leads to wasted space and costly changes later. Follow these steps before any wood is cut.
- Take inventory. List what you own. Count long coats, dresses, folded items, shoes, bags, and accessories.
- Measure the space. Record wall width, height, and depth. Note outlets, vents, lights, and door swings.
- Group items by type. Keep similar items together. This makes the closet easier to use every day.
- Set zones. Place daily items at eye level. Store seasonal items higher and heavy items lower.
- Choose hanging heights. Long hang needs about 60 to 66 inches. Short hang needs about 36 to 42 inches.
- Decide on style and finish. Pick colors, wood tones, and trim that fit your home.
- Review the design with your carpenter. Adjust the plan before building begins.
Interior designers often bring detailed sketches to this stage. A skilled carpenter can turn those sketches into real, buildable plans and suggest changes that improve strength or cost-efficiency in the build.
The Closet Shelving Installation Process
Once the design is set, the work moves from the shop to your home. Here is how a professional closet shelving installation usually runs.
Step 1: Site Preparation
The carpenter clears the closet and protects floors and nearby surfaces. Old shelving and rods are removed. Walls are checked for damage, and small repairs are made.
Step 2: Locating Studs and Marking Layout
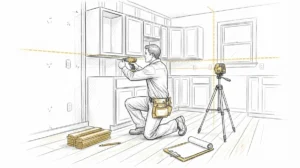
Shelves must be anchored to studs for real strength. The carpenter finds each stud and marks level lines across the walls. This step keeps every shelf straight, even if the floor or ceiling is not.
Step 3: Building and Fitting the Frame
Vertical panels and cleats go up first. These form the skeleton of the system. Each piece is checked for level and plumb before moving on.
Step 4: Mounting Shelves and Rods
Shelves are set onto cleats or panels and fastened securely. Rods are installed with sturdy supports, spaced to prevent sagging. Heavy-load areas get extra support.
Step 5: Adding Drawers and Accessories
Drawers, pull-outs, shoe racks, and valet rods are fitted next. Slides are aligned so drawers glide smoothly. Doors, if included, are hung and adjusted.
Step 6: Finishing and Trim
Gaps are sealed, nail holes are filled, and surfaces are painted or stained. Trim pieces give the closet a built-in look. Many homeowners pair closet work with molding details so the closet matches the room outside.
Step 7: Final Inspection
The carpenter tests every shelf, rod, and drawer. Anything that feels loose or uneven is fixed before cleanup.
DIY or Professional Installation?
Many people wonder if they can handle this project alone. Simple kits can be a fair weekend job. But custom work is a different story.
DIY installs often run into problems. Walls are rarely perfectly straight. Missing a stud can cause shelves to pull away under weight. Poor cuts leave visible gaps. Fixing mistakes can cost more than hiring a pro at the start.
A professional brings the right tools, trained eyes, and proven methods. If you are still weighing the choice, read DIY carpentry vs. professional service: which wins? It breaks down the key differences clearly.
Also look at custom built closet vs. store-bought to see how each option holds up over time.
Why Closet Shelving Matters for Designers and Developers
Closets are no longer an afterthought. Buyers and clients now expect smart storage, and a well-built closet can set a property apart.
For interior designers, custom closets let you deliver a complete vision. The storage matches the finish of the bedroom, the bath, and the hallway. Clients notice that level of detail.
For real estate developers, closet upgrades are a strong selling feature. A walk-in closet with built-in shelving, drawers, and lighting feels like luxury. It helps a home stand out in a busy market.
Here are a few reasons professionals invest in custom closet work:
- It adds visible, lasting quality to a property.
- It helps buyers picture daily life in the space.
- It supports a consistent design across rooms.
- It reduces callbacks because the build is solid.
For related ideas, explore how to choose built-in closet systems for your home and 12 custom closets Tampa homeowners love.
Common Closet Shelving Mistakes to Avoid
Even good plans can go wrong. Watch for these common errors.
- Skipping the stud search: Shelves anchored only to drywall can fail under weight.
- Shelves that are too deep: Deep shelves hide items in the back. Aim for 12 to 16 inches for most clothing storage.
- Poor rod placement: Rods set too high or too low make hanging items awkward.
- Ignoring lighting: A dark closet is hard to use. Plan for light early.
- Using weak materials: Thin shelves bow over time, especially with heavy loads.
- No room to grow: Leave a little space for future needs.
Avoiding these mistakes saves both time and frustration. A good carpenter plans around them from day one.
Caring for Your Closet Shelving
Proper care keeps shelving looking new. Wipe surfaces with a soft, dry cloth. Avoid harsh chemicals that can dull the finish. In humid climates like Tampa Bay, keep air moving in the closet and avoid storing damp items inside.
Do not overload shelves beyond their design. If you notice any sagging or loose hardware, tighten or repair it early. Small fixes prevent bigger problems later.
Working with a Tampa Bay Custom Carpenter
Local experience makes a real difference. A carpenter who works in Tampa Bay understands the climate, the home styles, and the materials that perform best here.
Bucheli Trim focuses on high-end custom carpentry, with a strong eye for precision and style. From built-in cabinetry to wall details, the team brings the same care to every project. You can learn more about the team on the About page, or browse past work in custom projects.
Looking for trusted feedback? See what Bucheli Trim customers say on Google. You can also follow recent work on Facebook.
When planning a larger home upgrade, some homeowners also coordinate with other local services. For example, InCare is one local resource some families explore while organizing home improvement and care needs in the area.
Final Thoughts
Closet shelving installation is one of the smartest upgrades you can make. It turns a cluttered space into an organized, useful part of your home. With custom carpentry, every shelf and rod fits your life and your style.
Plan with care, choose strong materials, and work with a skilled carpenter who values precision. The result is a closet you will enjoy every single day.
Ready to start? Contact Bucheli Trim to talk through your closet project and get a plan built around your space.
FAQs
Q: How long does closet shelving installation take?
A: A simple reach-in closet can often be finished in one day. A custom walk-in system with drawers and trim may take several days. Timing depends on the size of the space, the design, and the finish.
Q: What is the best material for closet shelves?
A: Quality plywood and solid hardwood are top choices because they resist sagging and hold weight well. In humid areas like Tampa Bay, well-sealed, stable materials help prevent warping. Melamine and MDF can also work for certain designs.
Q: How deep should closet shelves be?
A: Most clothing shelves work best at 12 to 16 inches deep. This depth keeps items easy to see and reach. Shoe shelves and special storage may use different depths.
Q: Can closet shelving be installed in an existing closet?
A: Yes. A carpenter can remove old shelving, repair the walls, and build a new system to fit the existing space. Custom work can even improve awkward or uneven closets.
Q: Is custom closet shelving worth it over a kit?
A: Custom shelving fits your exact space and carries heavier loads with better looks. Kits are fine for basic needs but often leave wasted space and weaker support. For long-term use and style, custom work is often the stronger choice.