Key Takeaways
-
Address drywall damage before installing trim, molding, or built-in cabinets—skipping this step causes trim separation, paint cracking, and uneven cabinetry that costs more to fix later.
-
Inspect walls for 12 common issues including cracks, nail pops, soft spots, water stains, and uneven surfaces; addressing these prevents visible flaws from showing through paint, paneling, or finish carpentry.
-
Follow a proper repair process: inspect, remove damaged sections, patch cleanly, sand smooth, match texture, and prime—rushing any stage leads to visible imperfections once trim or paint is applied.
-
In humid climates like Tampa Bay, moisture-related drywall damage spreads quickly; address water stains and soft spots early with professional evaluation to prevent structural issues and mold growth.
Before you add crown molding, built-in cabinets, or a stunning ceiling design, your walls need to be in top shape. Drywall repair is often the missing first step that homeowners, interior designers, and real estate developers overlook. A wall that looks fine from across the room can hide cracks, soft spots, or uneven surfaces that will ruin even the finest carpentry work.
At Bucheli Trim, we see this often across Tampa Bay homes. Clients want beautiful wall enhancements or custom cabinetry, but the drywall underneath needs attention first. Skipping this step can cause trim to separate, paint to crack, and built-ins to sit unevenly. This guide walks you through 12 key signs and steps to know before starting your next carpentry project. You will learn what to look for, why it matters, and how proper drywall prep sets the stage for lasting, high-end results.
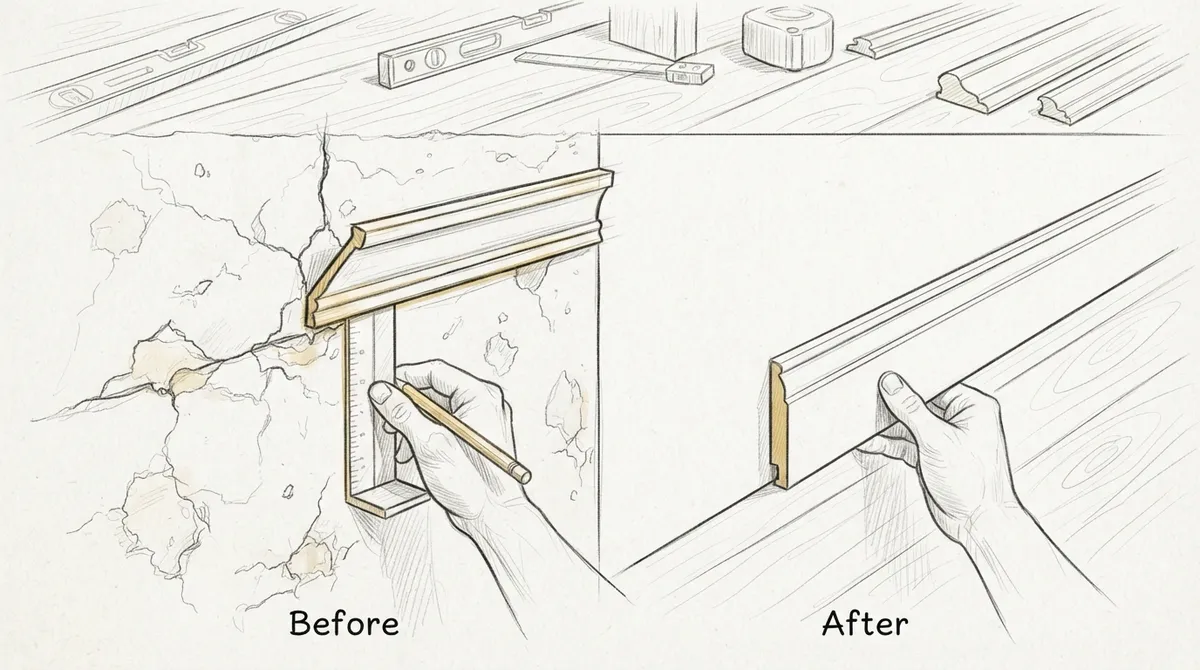
Why Drywall Condition Matters for Custom Carpentry
Custom carpentry depends on a solid, even surface. Whether you are installing molding details or a full accent wall, drywall problems can throw off every measurement. Small imperfections become big issues once trim, paint, or paneling goes on top.
Skilled carpenters understand that learn more about carpentry techniques always start with the wall’s foundation. A damaged surface will telegraph through paint and even show under wainscoting or shiplap. That is why drywall repair is treated as a core part of any wall or ceiling project, not a separate task.
The Cost of Skipping Repairs
Some homeowners try to save time by skipping drywall prep entirely. This often backfires in a few common ways:
- Trim pieces do not sit flush against the wall
- Paint shows bubbling or peeling within months
- Cracks reappear even after cosmetic touch-ups
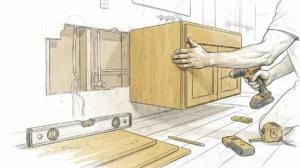
- Built-in cabinets shift slightly due to an uneven base
- Moisture damage spreads further into the wall structure
These issues cost more time and money to fix later. A proper repair now protects your investment in custom woodwork down the road.
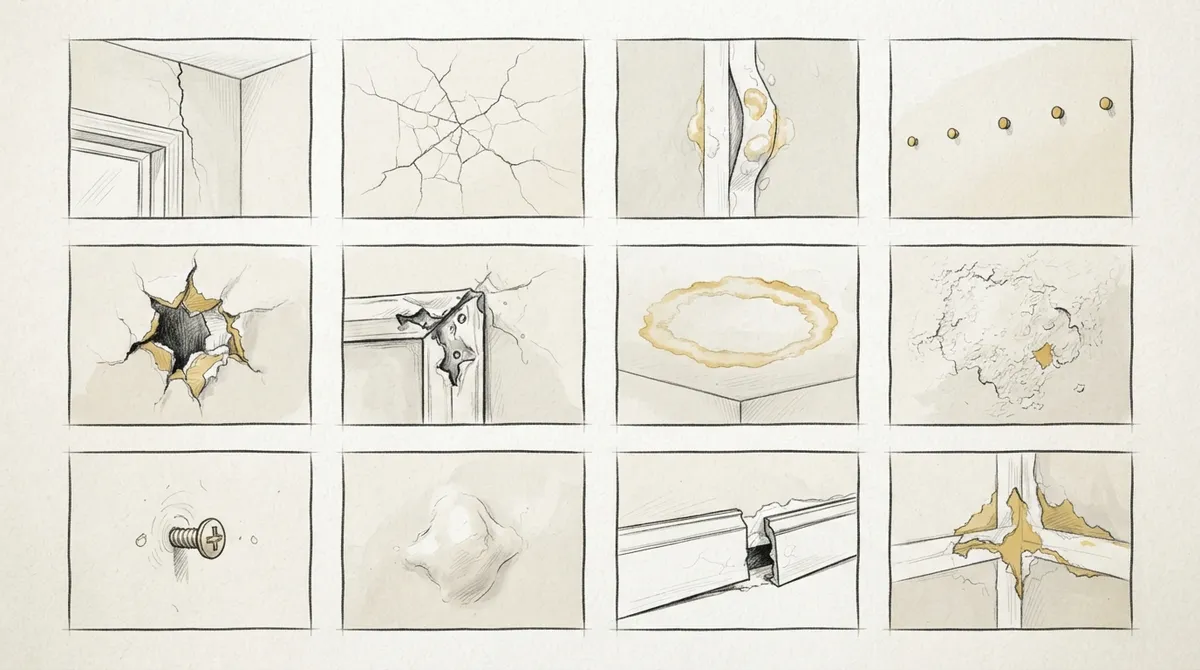
12 Signs Your Walls Need Drywall Repair
Here are the most common signs that your walls need attention before any carpentry work begins.
1. Visible Cracks Near Corners
Cracks often form where two wall sections meet. These are usually caused by settling or temperature changes common in Florida’s humid climate.
2. Nail Pops
Small bumps where nails or screws push through the drywall surface are called nail pops. They are easy to fix but need attention before painting or trim work.
3. Water Stains or Discoloration
Yellow or brown spots often point to a past or ongoing leak. This must be addressed before any wall enhancement is added.
4. Soft or Spongy Spots
Pressing on the wall and feeling give means moisture has weakened the drywall. This area will need to be cut out and replaced.
5. Peeling or Bubbling Paint
This is often a sign of trapped moisture behind the surface. It can also mean the drywall was not properly sealed during a past repair.
6. Holes from Old Fixtures or Hardware
Old shelf brackets, TV mounts, or hooks often leave holes. These need to be patched smoothly before new built-ins go in.
7. Uneven or Wavy Wall Surfaces
Run your hand along the wall. If it feels wavy, the drywall may have shifted or was installed unevenly.
8. Popped or Cracked Seams
Seams between drywall sheets can separate over time. This creates a visible line that will show through paint or thin trim.
9. Sagging Ceiling Drywall
This is more serious and often linked to moisture or structural issues. It should be checked before any ceiling design work begins.
10. Mold or Musty Smells
A musty smell without visible mold can still signal a hidden problem. This needs professional evaluation right away.
11. Texture Mismatch After Old Repairs
Old patch jobs sometimes leave a different texture than the surrounding wall. This becomes obvious once new lighting or trim is added.
12. Gaps Around Windows or Doors
Small gaps can form as a house settles. These should be sealed before installing custom doors or window trim.
Step-by-Step: What a Proper Drywall Repair Process Looks Like
Understanding the repair process helps you know what to expect from any contractor working on your home.
- Inspect the wall for hidden damage, not just surface issues
- Remove damaged sections cleanly to avoid spreading cracks
- Cut a matching patch piece for larger holes
- Secure the patch using joint compound and mesh tape
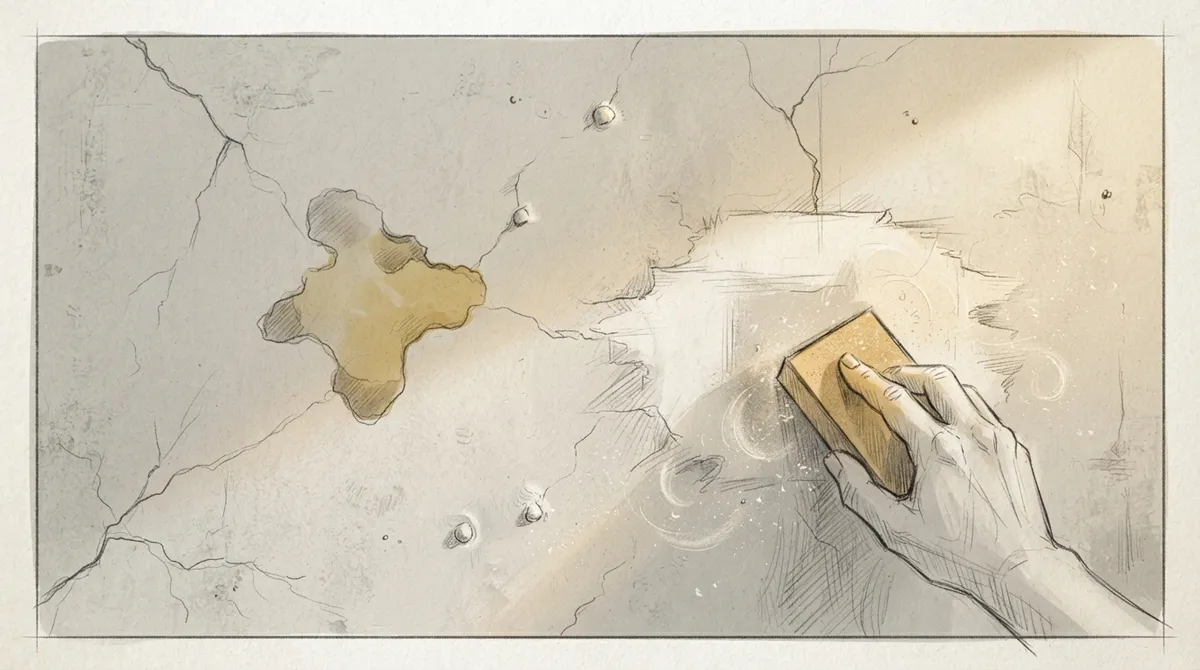
- Sand the area until it is smooth and level
- Apply a second coat if needed for larger repairs
- Match the texture to the surrounding wall
- Prime the area before painting
- Inspect once more under bright lighting for imperfections
This process may seem simple, but each step affects how well trim, paint, or paneling will look once installed. Rushing any stage often leads to visible flaws later.
Drywall Repair vs. Full Replacement: How to Decide
Not every damaged wall needs full replacement. Here is a simple breakdown to help you understand the difference.
| Situation | Recommended Approach | Why |
|---|---|---|
| Small holes or cracks | Patch repair | Faster, cost-effective, blends easily with existing wall |
| Water damage under 12 inches | Cut-out and patch | Removes damage without disturbing the full wall |
| Widespread moisture damage | Full section replacement | Prevents mold growth and future structural issues |
| Wall preparing for built-ins | Full inspection plus patch as needed | Ensures a flat, secure surface for cabinetry |
| Ceiling sagging | Professional structural review | May indicate deeper framing or moisture issues |
If you are unsure which option fits your situation, it helps to consult a professional carpenter who understands both repair and finish work. This ensures the wall is ready for whatever comes next, from wall enhancements to full cabinetry builds.
How This Impacts Interior Designers and Developers
Interior designers often specify detailed wall treatments, from wainscoting to accent panels. If the drywall underneath is not properly repaired, the final look can suffer. A designer’s vision depends on a clean, even canvas.
Real estate developers face a similar challenge on a larger scale. Buyers expect flawless finishes in luxury homes. Skipping drywall repair before adding custom cabinetry or trim can lower perceived value, even if the carpentry itself is high quality.
Here are a few reasons this step matters across projects:
- Ensures consistent results across multiple units or rooms
- Protects long-term durability of finish work
- Reduces callbacks and repair requests after installation
- Supports higher resale value through quality craftsmanship
- Creates a smoother surface for photography and staging
Common Mistakes to Avoid During Drywall Repair
Even simple repairs can go wrong without the right approach. Watch out for these common mistakes:
- Using too much joint compound, creating an uneven bump
- Skipping primer before painting over patched areas
- Ignoring texture matching, leaving visible patch marks
- Ignoring the root cause, such as a leak or humidity issue
- Rushing dry time before sanding or painting
Avoiding these mistakes helps ensure your walls are ready for the next phase, whether that is painting, paneling, or built-in installation.
When to Call a Professional Carpenter
Some drywall issues are simple enough for a quick DIY fix. However, larger repairs, especially those tied to structural walls or ceilings, often need professional attention. A skilled carpenter can assess the wall’s condition and recommend the right path forward.
This is especially true if you are planning more advanced work like custom ceiling designs or built-in shelving. Getting the wall right the first time saves both time and money. If you are unsure where to start, it helps to find a skilled carpenter near you who understands both repair and finish carpentry.
According to the U.S. Environmental Protection Agency, addressing moisture problems early is key to preventing long-term wall and ceiling damage. This is especially important in humid regions like Tampa Bay, where moisture-related drywall issues are common.
Preparing Walls for Popular Carpentry Upgrades
Once your drywall is repaired, you can move forward with confidence into more advanced carpentry projects. Popular upgrades that depend on solid wall prep include:
- Board and batten or wainscoting installations
- Floating shelves and built-in bookcases
- Accent walls with wood paneling
- Crown crown molding installation along ceilings
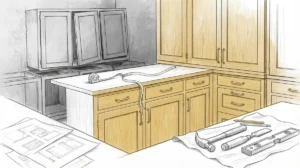
- Custom entertainment centers and media walls
Each of these projects benefits from a clean, even wall surface. Skipping repair work first often leads to visible gaps or uneven trim lines later.
Final Inspection Checklist Before Carpentry Begins
Before any custom carpentry project starts, walk through this quick checklist:
- Check all walls under bright, direct light for imperfections
- Run your hand across surfaces to feel for unevenness
- Confirm all patched areas are fully dry and sanded
- Verify texture matches the rest of the wall
- Look for any signs of moisture or discoloration
- Confirm corners and seams are secure and smooth
Completing this checklist ensures your walls are truly ready for the next phase of your project, whether that is custom carpentry projects or simple trim upgrades.
Bringing It All Together
Drywall repair may not be the most exciting part of a home upgrade, but it is one of the most important. A solid wall foundation supports better results for every carpentry project that follows. From molding to built-ins, quality work starts with a properly prepared surface.
At Bucheli Trim, we understand how repair work and fine carpentry go hand in hand. Serving the Tampa Bay area, our team helps homeowners, designers, and developers achieve clean, lasting results. You can Facebook follow our latest project updates, or see what our Bucheli Trim customers say on Google by visiting our Google Business Profile.
Ready to prepare your walls for a stunning carpentry upgrade? Get in Touch with Our Team today to schedule your consultation and start your next project on solid ground.
FAQs
Q: How do I know if my wall needs drywall repair before installing trim?
A: Check for cracks, soft spots, or uneven surfaces by running your hand across the wall. If you feel bumps, waves, or sponginess, the drywall needs repair before trim or molding installation. A smooth, solid surface ensures your carpentry work looks clean and lasts longer.
Q: Can drywall repair be done before adding built-in cabinetry?
A: Yes, drywall repair should always happen before built-in cabinetry installation. A damaged or uneven wall can cause cabinets to sit incorrectly or shift over time. Repairing the wall first creates a stable, level base for secure cabinet mounting.
Q: What causes drywall cracks in Tampa Bay homes?
A: Cracks often result from humidity changes, home settling, or moisture exposure common in Florida’s climate. Temperature swings between air-conditioned interiors and outdoor heat can also stress drywall seams. Regular inspections help catch these issues early.
Q: Is it better to patch drywall or replace the whole section?
A: Small holes and minor cracks can usually be patched successfully. However, widespread water damage or structural issues often require full section replacement. A professional carpenter can assess the damage and recommend the safest, most cost-effective option.
Q: Why does drywall condition matter for interior designers and developers?
A: Poor drywall condition can ruin the final look of custom trim, paneling, or accent walls. Designers rely on a smooth surface to achieve precise, high-end finishes. Developers also benefit, since flawless walls support stronger resale value and buyer confidence.