Key Takeaways
-
Select material based on room conditions: PVC for humid areas, polyurethane for dry spaces, and rubber-based for high-traffic commercial areas to prevent warping, cracking, or adhesion failure.
-
Measure the tightest curve in your space and verify it meets the molding's minimum bend radius before purchasing—thin PVC handles 4-6 inch curves while wider molding needs 18-24 inch radius minimum.
-
Prepare walls thoroughly by cleaning, filling cracks, sanding rough areas, and priming before installation to ensure proper adhesion and eliminate visible gaps.
-
Use solvent-free construction adhesive in continuous beads with finish nails to secure flexible molding, avoiding solvent-based glues that dissolve PVC and regular nails that crack the material.
-
Apply paintable caulk along all edges and gaps after installation, then finish with semi-gloss or satin paint using PVC-compatible primer to achieve a seamless, professional appearance.
-
Treat flexible molding differently than rigid wood by allowing expansion gaps, using PVC-compatible primer, and avoiding oil-based paints that yellow or peel on polyurethane surfaces.
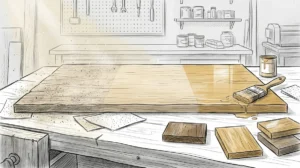
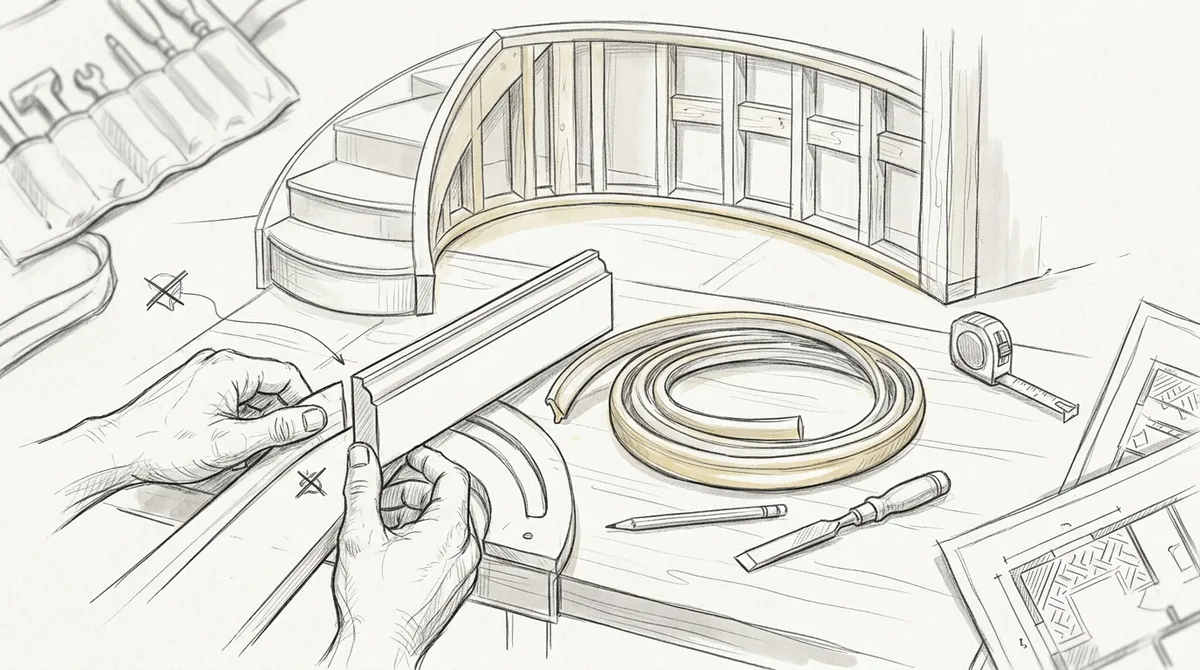
Flexible baseboard molding can completely transform a room. It wraps around curved walls, arches, and tight corners with ease. Many homeowners, designers, and builders choose it for its versatility. But mistakes during installation or planning can ruin the final result. The good news is that these errors are easy to avoid once you know what to watch for.
Whether you’re renovating a luxury home or finishing a new build, getting your baseboard molding right matters. It sets the tone for every room. Done well, it looks seamless and polished. Done poorly, it looks rushed and cheap. This guide walks you through seven critical mistakes — and how to avoid each one. From material selection to finishing touches, you’ll learn what separates a professional result from a disappointing one.
What Is Flexible Baseboard Molding?
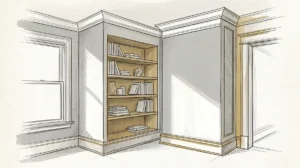
Flexible baseboard molding is a type of trim installed at the base of walls. Unlike rigid wood molding, it bends and curves. This makes it ideal for rooms with curved or rounded walls. It’s also great for bay windows, archways, and irregular floor plans. You can explore molding details to see how this trim works in real projects.
The material is usually made from flexible PVC or polyurethane. It mimics the look of traditional wood molding. But it performs better in tricky spaces. To learn more about crown molding and trim types, understanding how flexible options fit into the broader world of trim work is helpful. It’s a smart choice for high-end finishes.
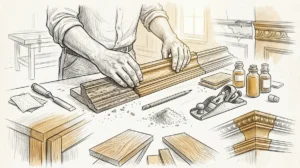
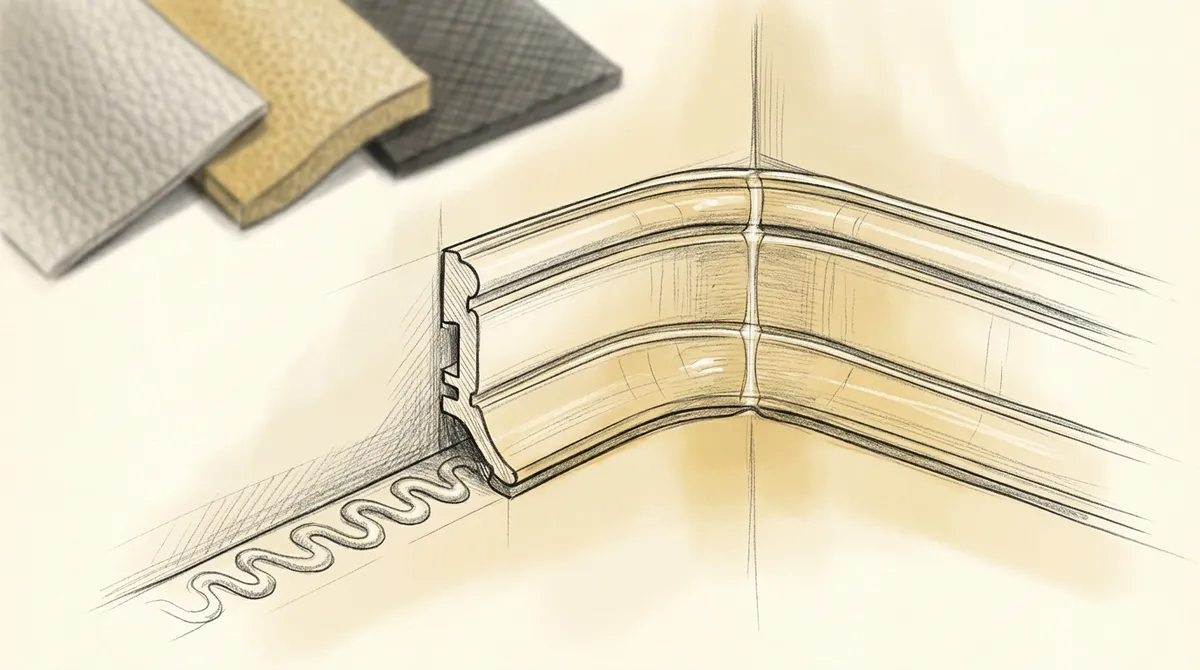
Mistake 1: Choosing the Wrong Material
Not all flexible baseboard molding is the same. Some materials are better for humid areas like bathrooms or kitchens. Others are best for dry, climate-controlled spaces. Picking the wrong type causes warping, cracking, or poor adhesion over time.
Here are the most common material types and where they work best:
- PVC flexible molding — Best for humid or wet areas
- Polyurethane flexible molding — Ideal for dry living spaces
- Rubber-based molding — Best for commercial or high-traffic areas
- MDF with flexible backing — Works well for painted finishes indoors
Always check the room’s conditions before buying. Talk to a carpenter about which material suits your space. The right choice saves time and money down the road.
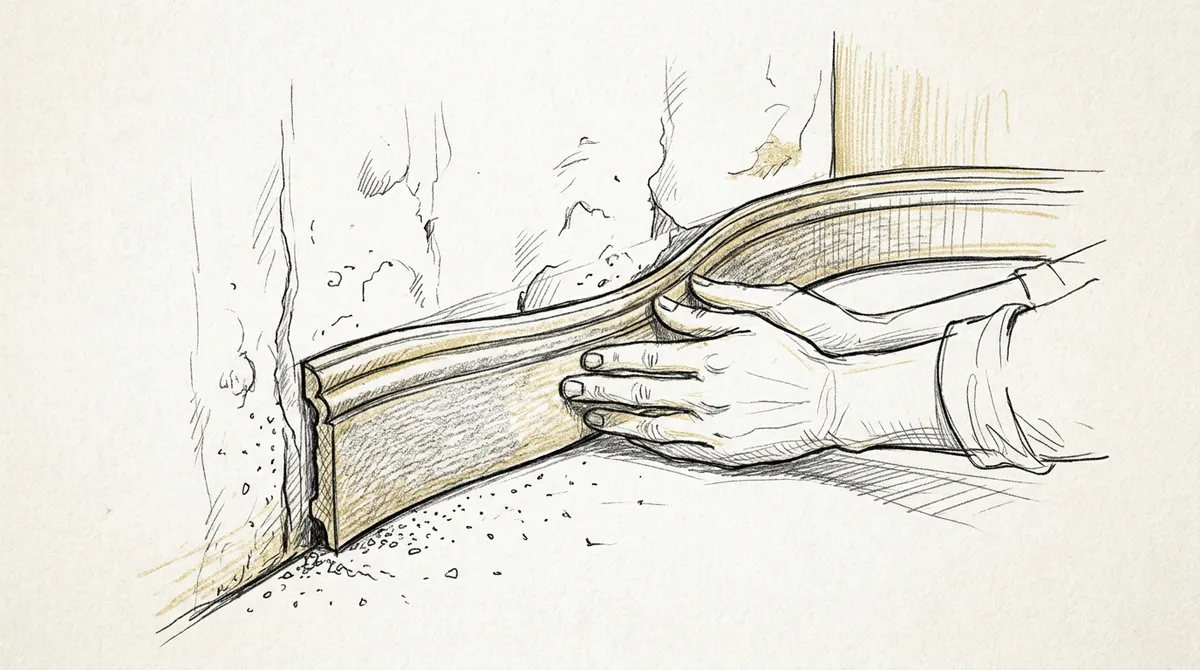
Mistake 2: Skipping Proper Wall Preparation
Wall prep is just as important as the molding itself. Many people skip this step to save time. But a dirty or uneven wall causes big problems. The molding won’t stick properly. Gaps will appear. The finish will look uneven.
Follow these steps before installing any flexible baseboard molding:
- Clean the wall base with a dry cloth to remove dust and debris
- Fill any holes or cracks in the wall and floor junction
- Sand rough areas smooth
- Prime bare drywall or wood surfaces if needed
- Let all repairs dry completely before applying molding
These steps take less than an hour. But they make a huge difference in the final result. Wall enhancements always start with a solid foundation. Don’t skip prep work.
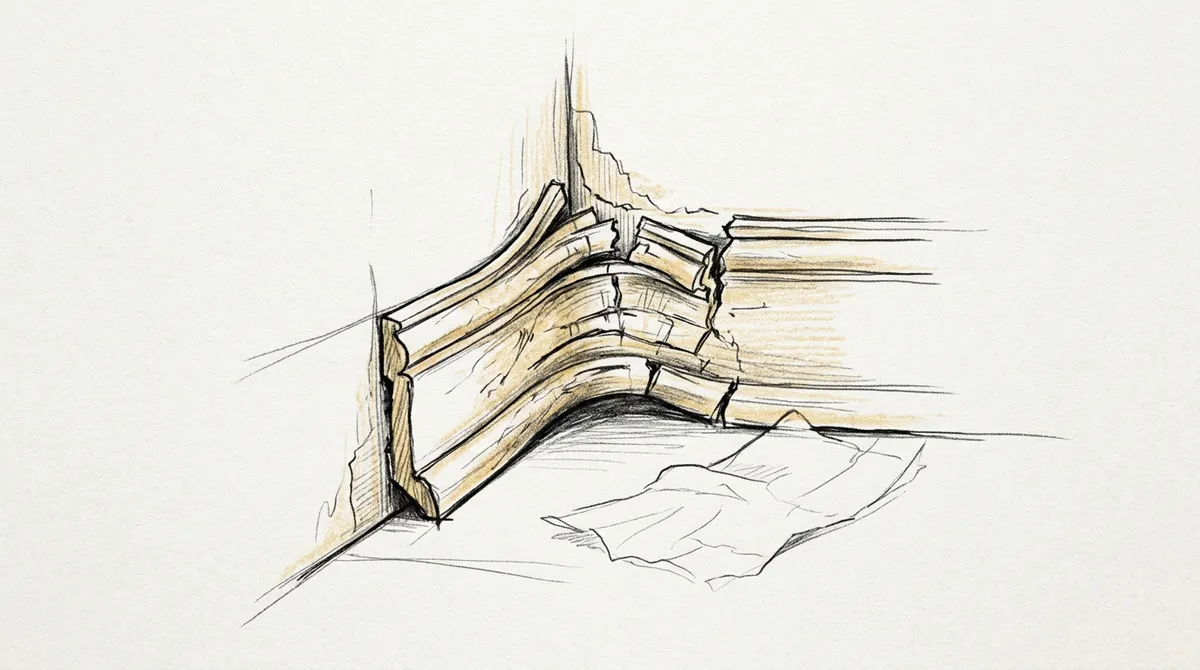
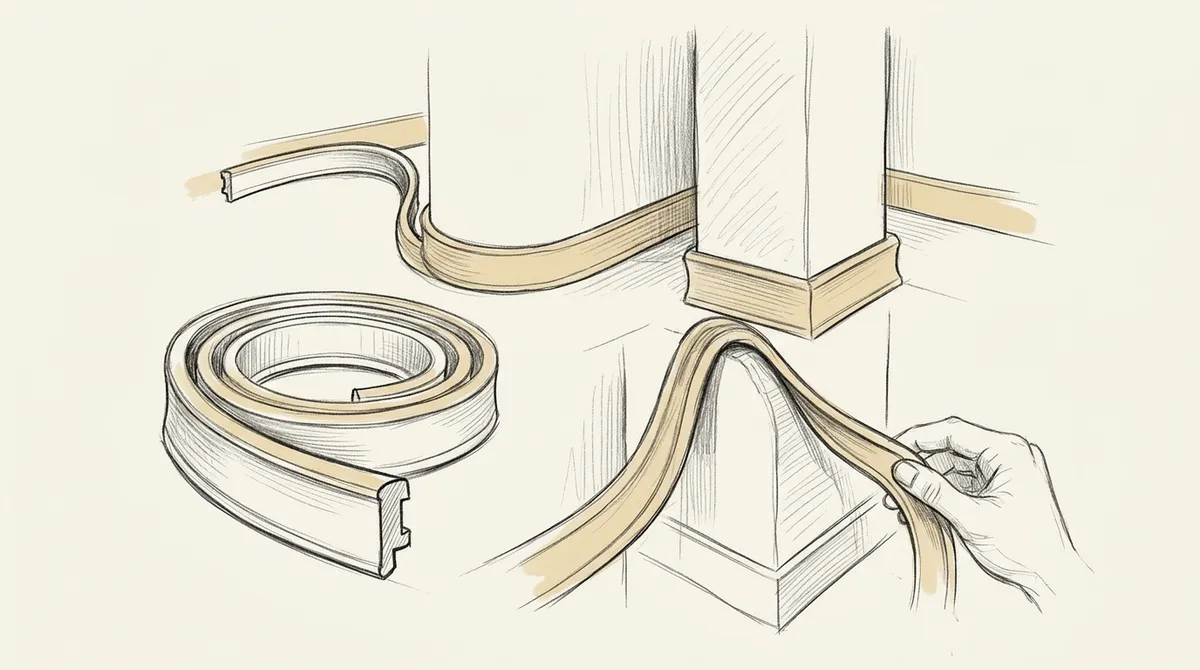
Mistake 3: Ignoring the Curve Radius
Flexible molding bends — but it has limits. Every product has a minimum bend radius. Going beyond this point can crack or kink the material. This is one of the most common mistakes DIYers make.
Before buying, measure the tightest curve in your space. Then check the molding’s spec sheet for the minimum radius. If your curve is tighter than the minimum, you need a different product. A skilled carpenter can help you find the right match. You can also view custom projects to see how professionals handle tight curves.
| Molding Type | Typical Minimum Radius | Best Use Case |
|---|---|---|
| Thin PVC (1/2″) | 4–6 inches | Tight curves, small arches |
| Medium polyurethane (3/4″) | 8–12 inches | Bay windows, curved halls |
| Wide flexible molding (1.5″+) | 18–24 inches | Gentle curves, large rooms |
Matching the product to the curve keeps the finish clean and professional.
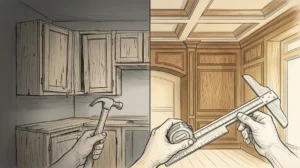
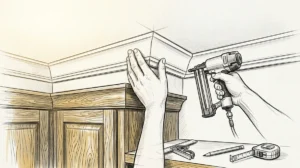
Mistake 4: Using the Wrong Adhesive or Fasteners
Flexible baseboard molding needs the right type of adhesive. Not all construction adhesives bond well with PVC or polyurethane. Using the wrong one causes peeling, bubbling, or complete detachment. The same goes for fasteners. Regular nails can split or crack flexible molding.
Here’s what works best for securing flexible molding:
- Use solvent-free construction adhesive for PVC molding
- Apply adhesive in a continuous bead, not dots
- Use finish nails or brad nails to secure while adhesive cures
- Avoid solvent-based glues — they can dissolve PVC
- Follow the manufacturer’s recommended curing time before caulking or painting
When in doubt, consult a professional. A skilled carpenter knows which products work together. This is especially important for flooring transitions where the molding meets different surfaces.
Mistake 5: Poor Measuring and Cutting
Measure twice, cut once. This old rule still applies. Poor measuring wastes material and creates visible gaps. Flexible molding is easier to cut than rigid wood, but it still requires precision. Angled cuts at corners need to be exact.
Follow this simple cutting checklist:
- Measure the full length of each wall section before cutting
- Mark the cut with a pencil, not a marker (easier to remove)
- Use a miter saw or fine-tooth hand saw for clean cuts
- Test-fit each piece before applying adhesive
- Make minor adjustments before final installation
Inside and outside corners require special attention. Even a small gap at a corner stands out. If you’re unsure, find a skilled carpenter near you to handle the tricky cuts. The investment in professional work pays off every time you walk into the room.
Mistake 6: Skipping Caulking and Finishing
Even the best installation leaves small gaps. This is normal. But leaving those gaps unfilled looks unprofessional. It also allows moisture and dust to collect behind the molding. Caulking is the final step that makes everything look seamless.
Here’s how to finish flexible baseboard molding properly:
- Apply paintable caulk along the top edge of the molding
- Fill gaps at corners and joints
- Smooth the caulk with a damp finger or tool
- Let caulk dry completely before painting
- Use a semi-gloss or satin paint for a clean, wipe-able finish
This step ties the whole room together. It also makes the molding look like it was custom-built for the space. The team at Bucheli Trim always includes professional caulking and finishing as part of every molding installation. To learn more about their approach, read about the company’s craftsmanship philosophy.
Mistake 7: Treating Flexible Molding Like Rigid Wood
Flexible baseboard molding behaves differently than traditional wood. It expands and contracts with temperature changes. It reacts differently to paint and moisture. Treating it exactly like rigid wood leads to problems.
Key differences to keep in mind:
- Allow for slight expansion gaps at wall endpoints
- Use primer designed for PVC or synthetic materials before painting
- Avoid oil-based paints — they can yellow or peel on polyurethane
- Check adhesive compatibility with the specific molding material
Understanding these differences helps you get the best result. It also helps you maintain the molding over time. For more guidance, discover how trim and molding can transform your space with the right approach.
Comparing Flexible vs. Rigid Baseboard Molding
Not sure which type is right for your project? This comparison breaks it down simply.
| Feature | Flexible Baseboard Molding | Rigid Wood Molding |
|---|---|---|
| Best for curved walls | Yes | No |
| Natural wood look | Partial | Yes |
| Moisture resistance | High (PVC) | Low to medium |
| Ease of installation | Moderate | Moderate |
| Paintability | Good (with right primer) | Excellent |
| Durability | High | High |
Both options have a place in high-end carpentry. The key is matching the material to the job. If your space has curves, flexible molding wins every time. You can also combine both types in a single home for different rooms or areas. To see creative applications, browse 11 ways custom woodworking transforms homes.
When to Call a Professional
Some projects are perfect for DIY. Others need professional hands. Flexible baseboard molding in rooms with complex curves, multiple transitions, or high-end finishes should go to a pro. The results are simply better.
Signs you should hire a professional carpenter:
- Your room has tight or irregular curves that need precise fitting
- You’re working with expensive materials and can’t afford waste
- The space connects to custom built-in cabinetry or other detailed woodwork
- You want a showroom-quality result that increases property value
- Previous attempts at installation left gaps or uneven lines
Professional carpenters have the tools, experience, and eye for detail that most homeowners don’t. They also understand how molding connects to broader interior elements like ceiling designs and door trim. To learn more about carpentry as a trade, understanding the skill involved helps you appreciate what goes into a great result.
Bucheli Trim has helped countless homeowners and designers achieve perfect molding results across the Tampa Bay area. You can visit our Google Business Profile to read real customer reviews and see completed projects. Follow along on Facebook for project updates and inspiration.
Final Thoughts on Getting Flexible Baseboard Molding Right
Flexible baseboard molding is a powerful tool in any carpentry project. It handles curves and complex layouts with ease. But it only looks great when installed correctly. Avoiding the seven mistakes above puts you far ahead of most DIYers and even some contractors.
The most important takeaways are simple. Choose the right material for the space. Prepare your walls properly. Respect the molding’s bend limits. Use compatible adhesives. Cut with precision. Finish with caulk and paint. And treat flexible molding differently than rigid wood.
If you want professional-quality results without the guesswork, working with an experienced carpenter is the smart move. For a flawless finish in your Tampa Bay home or development, reach out to our team and schedule a consultation today.
FAQs
Q: What is flexible baseboard molding made of?
A: Flexible baseboard molding is most commonly made from PVC or polyurethane. These materials allow the trim to bend around curved walls and tight corners without cracking. Some versions use a rubber-based compound for commercial applications.
Q: Can flexible baseboard molding be painted?
A: Yes, flexible baseboard molding can be painted, but proper preparation is essential. You should apply a primer designed for synthetic or PVC surfaces before using latex or water-based paint. Avoid oil-based paints, as they can yellow or peel on polyurethane materials over time.
Q: Is flexible baseboard molding suitable for bathrooms?
A: PVC-based flexible baseboard molding is an excellent choice for bathrooms and other humid areas. It resists moisture better than traditional wood molding, reducing the risk of warping, swelling, or mold growth. Always confirm the product’s moisture rating before installation.
Q: How do you secure flexible baseboard molding to the wall?
A: The best method is to use a solvent-free construction adhesive applied in a continuous bead along the back of the molding. Finish nails or brad nails are used to hold the molding in place while the adhesive cures. Avoid solvent-based glues, as they can chemically damage PVC flexible molding.
Q: When should I hire a professional for flexible baseboard molding installation?
A: You should hire a professional carpenter when your space has tight or irregular curves, when the molding connects to custom woodwork, or when you want a high-end finish that adds real value to your home. Professional installation ensures precise cuts, proper adhesion, and a seamless final look.