Key Takeaways
-
Precise corner cuts are the hardest DIY challenge; rooms are rarely perfectly square, walls bow, and corners are almost never exactly 90 degrees, making accurate cuts very difficult for inexperienced installers.
-
Hire a professional for high ceilings, vaulted spaces, intricate profiles, luxury homes, coffered ceilings, or multi-room projects; DIY only works for simple, small rooms with basic square corners and experienced hobbyists.
-
Professional installation delivers flawless corner cuts, seamless joints, faster completion, and consistent quality across multiple rooms—essential for luxury spaces where mistakes are costly and visible.
-
Common materials include solid wood, MDF, polyurethane foam, and plaster; smaller profiles suit modern spaces while larger, ornate designs work best in traditional or luxury interiors.
Crown molding transforms any room instantly. It adds elegance, character, and a finished look that homeowners, interior designers, and developers all love. But when it comes to crown molding install, one big question always comes up: should you do it yourself or hire a professional?
The answer depends on several factors. Your skill level, the complexity of your space, and the quality of finish you want all play a role. This guide breaks down both options clearly. By the end, you’ll know which path makes the most sense for your project. Whether you’re upgrading a single room or finishing an entire luxury home, understanding the difference can save you time, money, and frustration.
To learn more about crown molding and its history in architectural design, the background is rich and fascinating. Let’s dive into both approaches and help you make the best decision for your space.
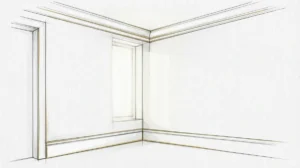
What Is Crown Molding?
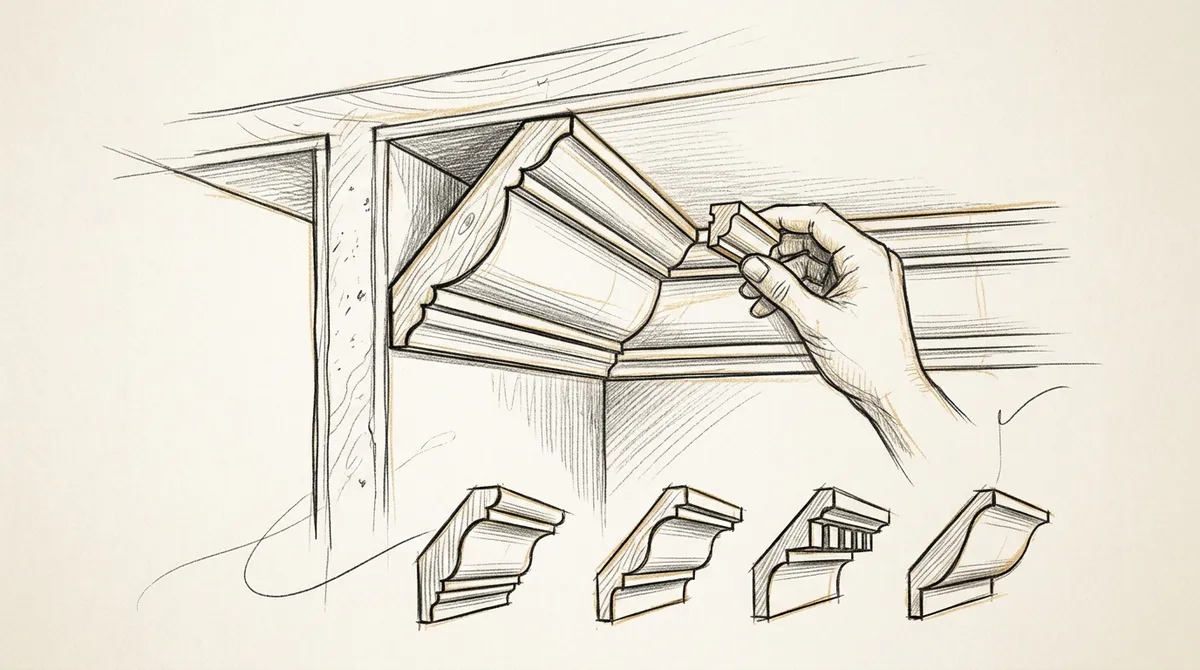
Crown molding is a decorative trim installed where walls meet the ceiling. It creates a smooth, elegant transition between two surfaces. It comes in many profiles, sizes, and materials. Common options include wood, MDF, polyurethane foam, and plaster.
The right molding depends on your home’s style and your goals. Smaller profiles suit modern spaces. Larger, more ornate designs work well in traditional or luxury interiors. Explore the full range of molding details available for custom carpentry projects to get inspired.
DIY Crown Molding Install: The Basics
Many homeowners consider DIY crown molding as a weekend project. It can seem straightforward at first. However, it requires precise measuring, angle cutting, and patience.
What You Need for a DIY Install
Before starting, you’ll need the right tools and materials. Here’s a basic checklist:
- Miter saw (compound miter saw preferred)
- Measuring tape and pencil
- Stud finder
- Nail gun or hammer and finish nails
- Caulk and caulking gun
- Wood filler and sandpaper
- Paint or stain to match your finish
These tools are readily available at hardware stores. However, knowing how to use them correctly is a different story.
Step-by-Step DIY Process
Here’s how most DIY crown molding installs go:
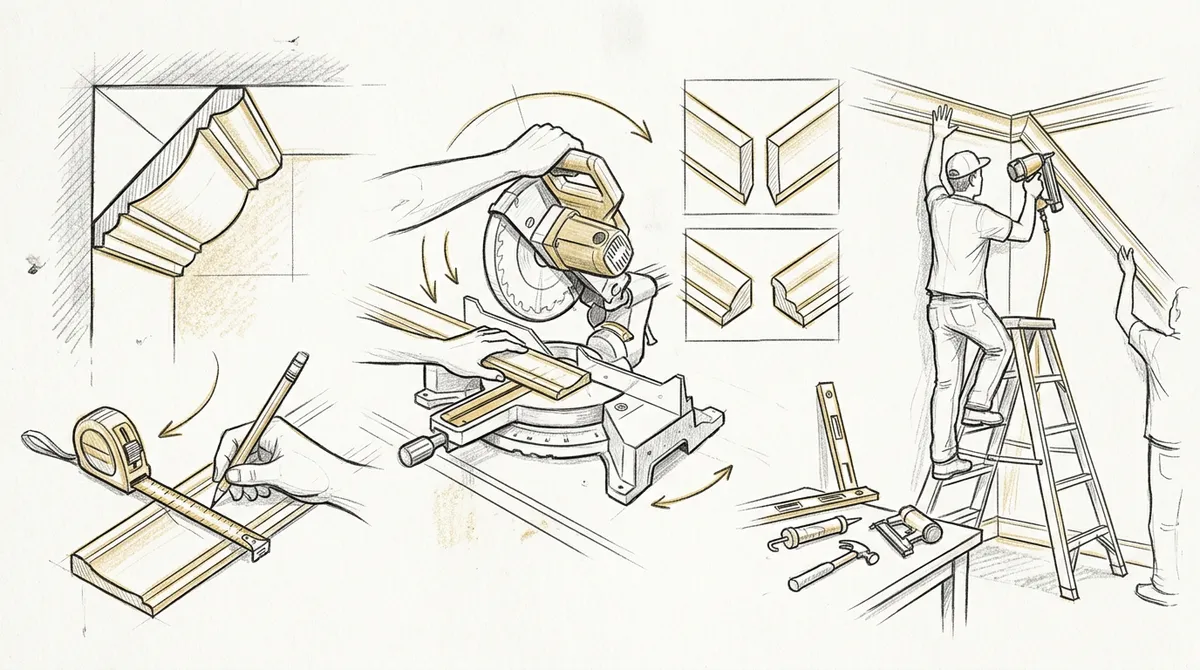
- Measure your room perimeter. Measure each wall carefully and add 10% for waste from cuts.
- Find wall studs and ceiling joists. Use a stud finder to locate secure anchor points.
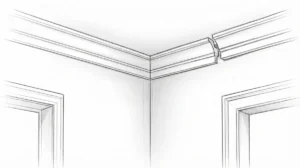
- Cut your inside and outside corners. This is the hardest part. Corners require specific compound angle cuts.
- Dry-fit before nailing. Always test the fit before committing. Adjust as needed.
- Nail the molding into place. Secure into studs and joists for a firm hold.
- Fill gaps with caulk and wood filler. Smooth everything out for a clean look.
- Paint or stain to finish. Match your existing trim color for a cohesive appearance.
Common DIY Challenges
DIY installs often run into problems. Rooms are rarely perfectly square. Walls bow, ceilings slope, and corners are almost never exactly 90 degrees. These imperfections make precise cuts very difficult.
- Gaps at corners that won’t close
- Molding that doesn’t lie flat against the wall or ceiling
- Visible nail holes and caulk lines
- Mismatched pieces at seams
- Uneven paint or stain coverage
These issues are frustrating and can make a room look worse than before. That’s why professional installation is often worth the investment.

Professional Crown Molding Install: What to Expect
Professional carpenters bring years of experience, specialized tools, and an eye for detail that’s hard to replicate. A professional carpentry team approaches every crown molding project with precision and craftsmanship.
Benefits of Hiring a Professional
There are clear advantages to going the professional route:
- Flawless corner cuts — even in out-of-square rooms
- Seamless long-run joints — no visible seams on straight walls
- Proper material selection — advice on which molding suits your space best
- Faster completion — a skilled carpenter can finish in a fraction of the time
- Clean, professional finish — caulk, paint, and touch-ups done right
For high-end homes, luxury developments, and interior design projects, the quality difference is significant. If you’re working on a premium space, professional installation protects your investment.
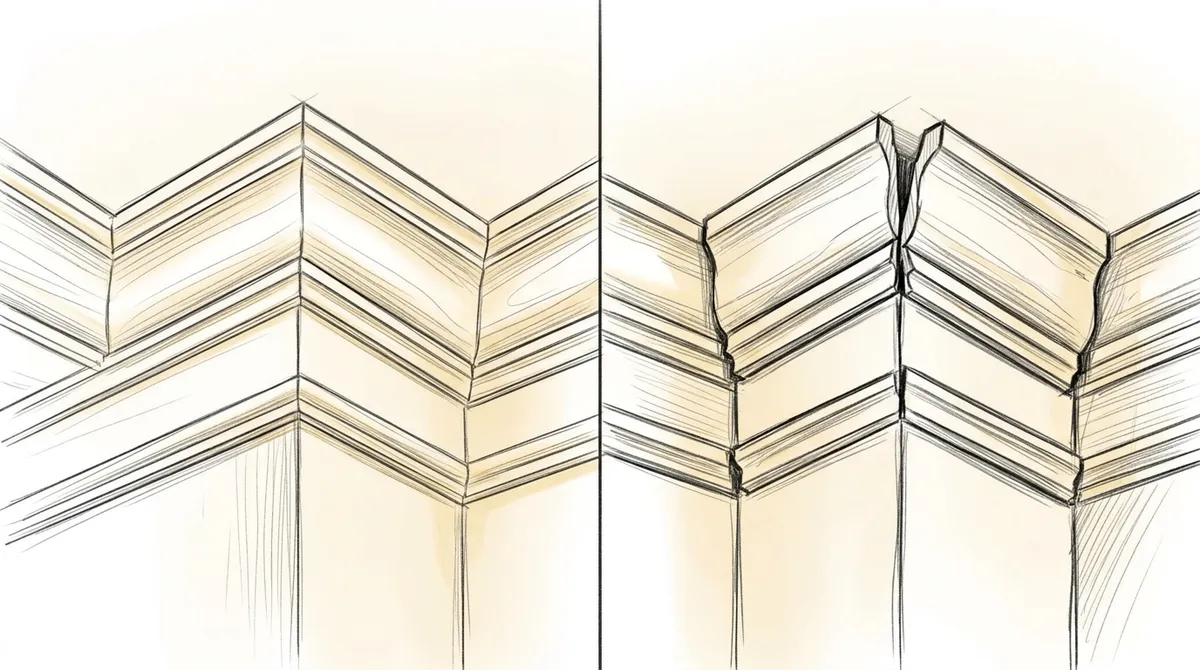
What Professionals Do Differently
Experienced carpenters use specialized techniques that go beyond what most DIYers attempt. They may scribe molding to fit uneven surfaces. They use back-cutting methods for tighter corner joints. They also know how to work with high ceilings, coffered designs, and decorative ceiling layouts.
Explore the stunning possibilities with custom ceiling designs that pair beautifully with crown molding to elevate any room.
Professionals also handle multi-room projects efficiently. They maintain consistency across all rooms, which matters a lot in open floor plans and luxury homes. You can find a skilled carpenter near you to discuss your project needs and get expert guidance.

DIY vs. Pro: A Side-by-Side Comparison
This comparison table makes it easy to see the differences at a glance.
| Factor | DIY Install | Professional Install |
|---|---|---|
| Skill Required | Moderate to High | Handled by experts |
| Tools Needed | Must purchase or rent | Included in service |
| Time Investment | High (weekend to weeks) | Low (hours to days) |
| Quality of Finish | Variable | Consistently high |
| Complex Rooms | Very challenging | Handled with ease |
| Luxury Applications | Not recommended | Ideal choice |
| Mistake Risk | Higher | Minimal |
When DIY Makes Sense
DIY can work for certain situations. Here are the best cases for a do-it-yourself approach:
- Simple, small rooms — a standard bedroom or closet with basic square corners.
- Budget-focused projects — when you’re willing to accept a less-than-perfect result.
- Experienced hobbyists — if you already have carpentry skills and the right tools.
Even in these cases, learning from quality resources like trim and molding guides can help you avoid common mistakes and improve your results.
When You Should Always Hire a Professional
Some projects clearly require professional help. Don’t attempt DIY if any of these apply:
- High or vaulted ceilings — working at height is dangerous without proper equipment and training.
- Intricate or ornate profiles — complex molding styles demand expert cutting and fitting.
- Luxury or high-end homes — mistakes are very visible and costly to correct.
- Coffered ceilings or multi-layer designs — these require advanced carpentry skills beyond basic molding work.
- Whole-home or multi-room projects — maintaining consistency across a large space is essential for a polished result.
Professionals also integrate crown molding with other wall enhancements and built-in elements seamlessly. The result is a cohesive, designer-quality look throughout your entire space.
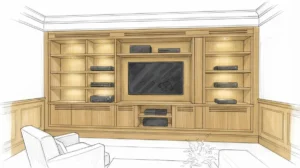
Crown Molding as Part of a Larger Design Vision
Crown molding rarely stands alone. In truly elevated spaces, it works together with other custom elements. Think coffered ceilings, wainscoting, built-in cabinetry, and decorative doors. All of these elements must align in style, proportion, and finish.
That’s where a trusted carpentry company becomes invaluable. Bucheli Trim specializes in exactly this kind of integrated design work, serving the Tampa Bay area with precision craftsmanship and attention to detail. Check out their custom projects portfolio to see the quality of work possible when crown molding is paired with a full interior vision.
Interior designers often find that working with a skilled carpentry team unlocks possibilities that simple DIY can never achieve. From coordinated custom doors to refined cabinetry, the full picture matters. You can also visit Bucheli Trim on Google to read customer reviews and see what past clients have experienced firsthand.
Real estate developers understand this too. Premium finishes like crown molding can meaningfully increase a property’s perceived value. When installed professionally, they signal quality craftsmanship to potential buyers. For ideas on how carpentry transforms spaces, explore 11 ways custom woodworking transforms homes.
It’s also worth noting that our friends at Segovia Orthodontics understand the value of professional craftsmanship in their field too — precision and attention to detail always make a difference in any profession.
You can also follow Bucheli Trim on Facebook for project inspiration, tips, and updates on their latest custom carpentry work in the Tampa Bay area.
Making Your Final Decision
Choosing between DIY and professional crown molding install comes down to a few key questions. Ask yourself:
- How experienced am I with carpentry and miter saw work?
- Is this a simple room or a complex, high-end space?
- How important is a perfect, flawless finish to me?
- Do I have the time and tools to do it right?
- Will this molding be part of a larger interior design project?
If you answered “not very experienced,” “complex space,” or “very important” to any of these, professional installation is your best path. The investment pays off in quality, durability, and appearance.
Conclusion
Crown molding is one of the most impactful details you can add to any room. It elevates the space and adds a timeless, refined character. But the results depend heavily on how it’s installed. DIY works in limited, simple situations. For anything more complex, professional crown molding install is the smarter choice.
Whether you’re a homeowner looking to upgrade your living space, a designer bringing a client’s vision to life, or a developer finishing a luxury property, the quality of your crown molding work matters. Don’t leave it to chance. Reach out to the Bucheli Trim team today to discuss your project and get expert crown molding installation done right.
FAQs
Q: How difficult is a DIY crown molding install for a beginner?
A: Crown molding install is moderately to highly difficult for beginners. The biggest challenge is cutting precise angles for corners, especially in rooms that aren’t perfectly square. Beginners often struggle with gaps, uneven joints, and inconsistent finishes.
Q: What types of rooms benefit most from professional crown molding installation?
A: Rooms with high or vaulted ceilings, open floor plans, and luxury finishes benefit most from professional installation. Large living areas, master bedrooms, and formal dining rooms are also ideal candidates where quality and consistency are critical.
Q: What materials are commonly used for crown molding?
A: The most common crown molding materials include solid wood, MDF (medium-density fiberboard), polyurethane foam, and plaster. Wood and MDF are popular for painted finishes, while solid wood is preferred when a natural or stained look is desired.
Q: Can crown molding be added to rooms with coffered or tray ceilings?
A: Yes, crown molding works beautifully with coffered and tray ceilings. In fact, it’s often used to frame and define those ceiling designs. This type of installation is more complex and is best handled by an experienced professional carpenter.
Q: How does crown molding affect a home’s resale value?
A: Crown molding is widely recognized as a premium finish that adds perceived value to a home. When installed professionally, it signals quality craftsmanship to buyers and can make a property more attractive in competitive real estate markets.