Key Takeaways
-
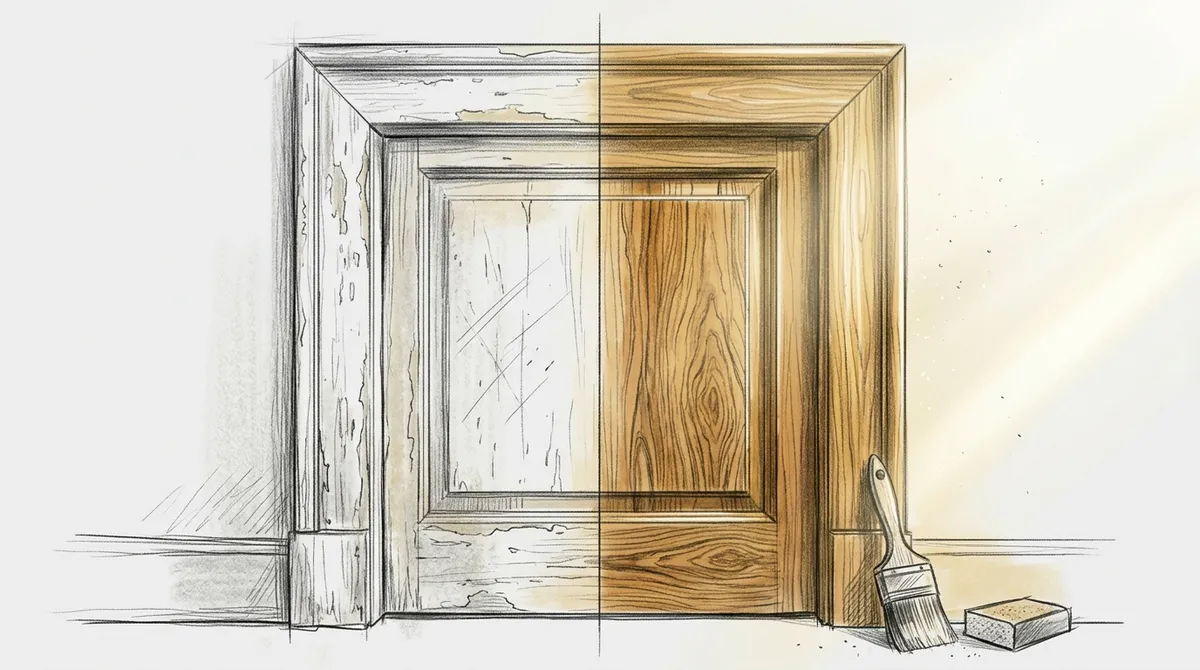
Refinishing wood trim is a multi-step process requiring proper surface preparation, sanding, priming, and finishing in thin coats—skipping steps leads to peeling or uneven results.
-
Clear signs your trim needs refinishing include peeling paint, dull or faded appearance, visible scratches, rough texture, color mismatch with updated interiors, and water damage.
-
Choose paint for hiding imperfections and modern aesthetics, or stain to highlight natural wood grain and create a warm, classic look depending on your design goals.
-
Professional refinishing delivers superior results with minimal damage risk, precise surface prep, and consistent quality compared to DIY attempts, especially for large-scale projects.
-
Refinished trim signals a well-maintained property to buyers and renters, making it a cost-effective renovation that pairs well with flooring, wall, and ceiling upgrades for maximum impact.
-
Maintain refinished trim by wiping with damp cloth regularly, avoiding harsh chemicals, touching up chips quickly, and refinishing every 5-10 years to protect your investment.
Wood trim adds warmth and character to any room. But over time, it can look worn, dull, or outdated. Refinishing wood trim and other wood details can breathe new life into your entire home. It’s one of the most rewarding upgrades a homeowner, designer, or developer can make. Whether you’re updating a single room or preparing a luxury property for sale, refinished wood trim makes a powerful visual impact. This guide walks you through everything you need to know — from why refinishing matters to how professional carpenters approach the process.
Why Refinishing Wood Trim Matters
Wood trim is one of the first things people notice in a room. It frames doors, windows, and walls. It gives spaces a finished, polished look. When trim is scuffed, chipped, or faded, it drags down the entire feel of a room. Refinishing wood trim and molding restores that crisp, clean look that makes a space feel well-crafted and intentional.
For homeowners, this means a more beautiful, comfortable living space. For interior designers, it ensures that every detail supports the overall vision. For real estate developers, refined trim work signals quality to potential buyers. You can explore how trim and molding transform your space with style to see just how powerful this upgrade can be.
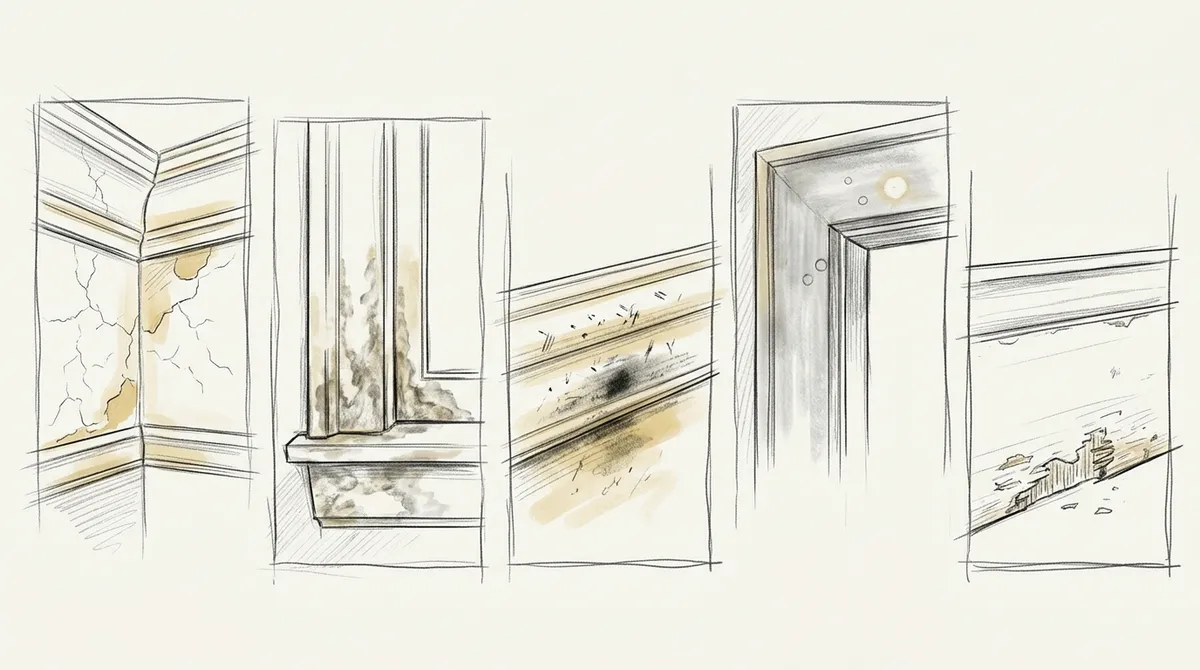
Common Signs Your Wood Trim Needs Refinishing
It’s not always obvious when trim needs attention. Here are clear signs it’s time to refinish:
- Paint is peeling or chipping away from the surface
- The wood looks dull, gray, or faded
- Scratches and dents are visible across the surface
- The finish feels rough or uneven to the touch
- The trim color no longer matches your updated interior
- Stains or water damage have darkened the wood
If you notice any of these issues, refinishing can completely turn things around. Ignoring them can lead to deeper damage over time. Early action saves time and money in the long run.
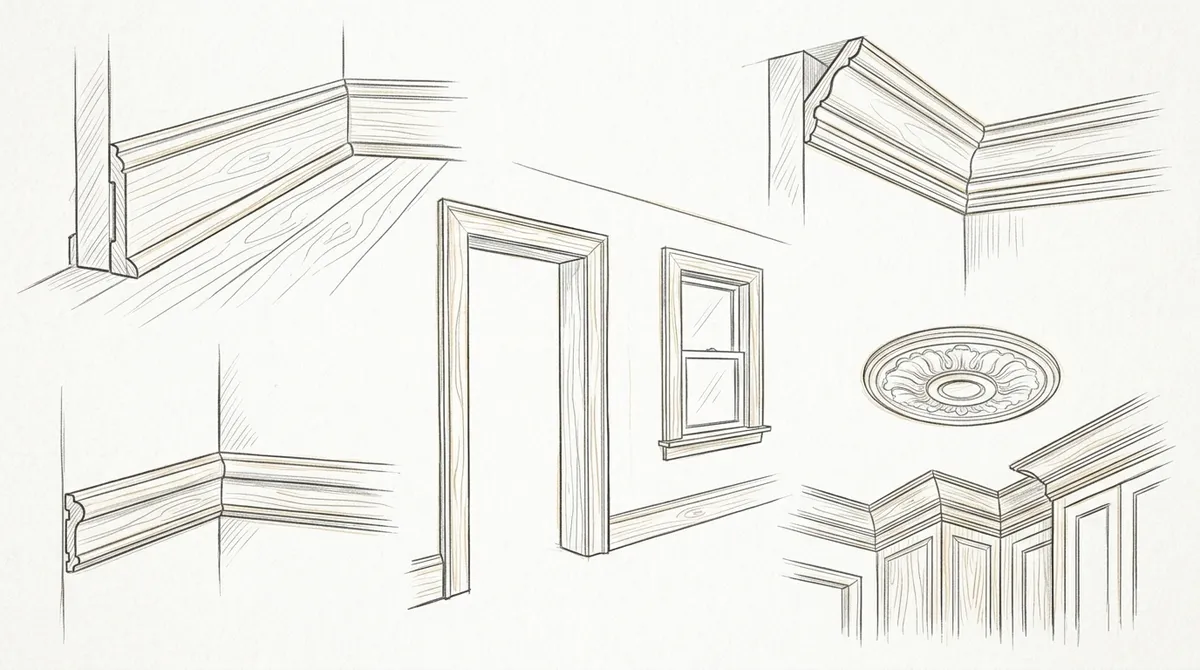
Types of Wood Trim That Can Be Refinished
Many types of trim throughout a home can benefit from refinishing. Here’s a breakdown of the most common options:
| Type of Trim | Location | Common Finish Type |
|---|---|---|
| Baseboards | Along the floor | Paint or stain |
| Crown Molding | Along the ceiling | Paint or lacquer |
| Door Casings | Around door frames | Paint or stain |
| Window Casings | Around window frames | Paint or stain |
| Chair Rail | Mid-wall | Paint or stain |
| Wainscoting Panels | Lower wall areas | Paint or gel stain |
Each type requires a slightly different approach. A professional carpenter knows how to handle each surface with care. You can learn more about options like custom molding details for your home.
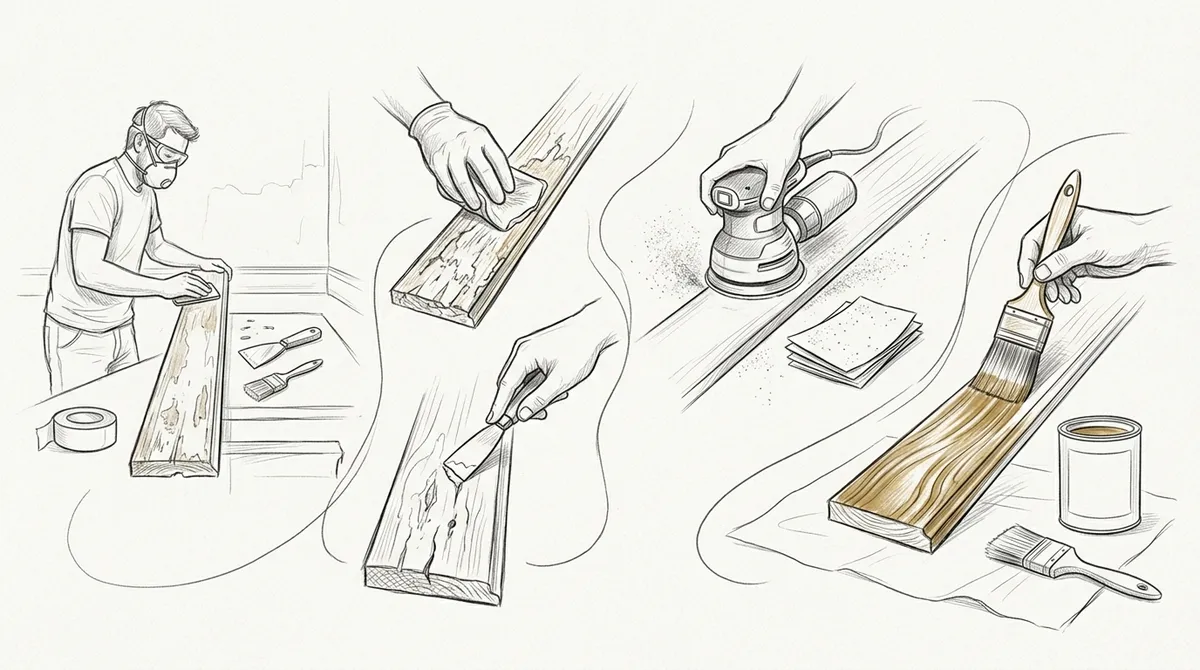
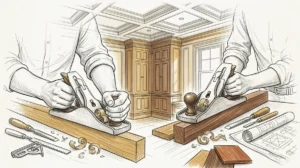
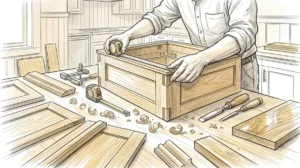
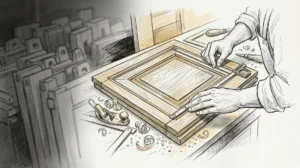
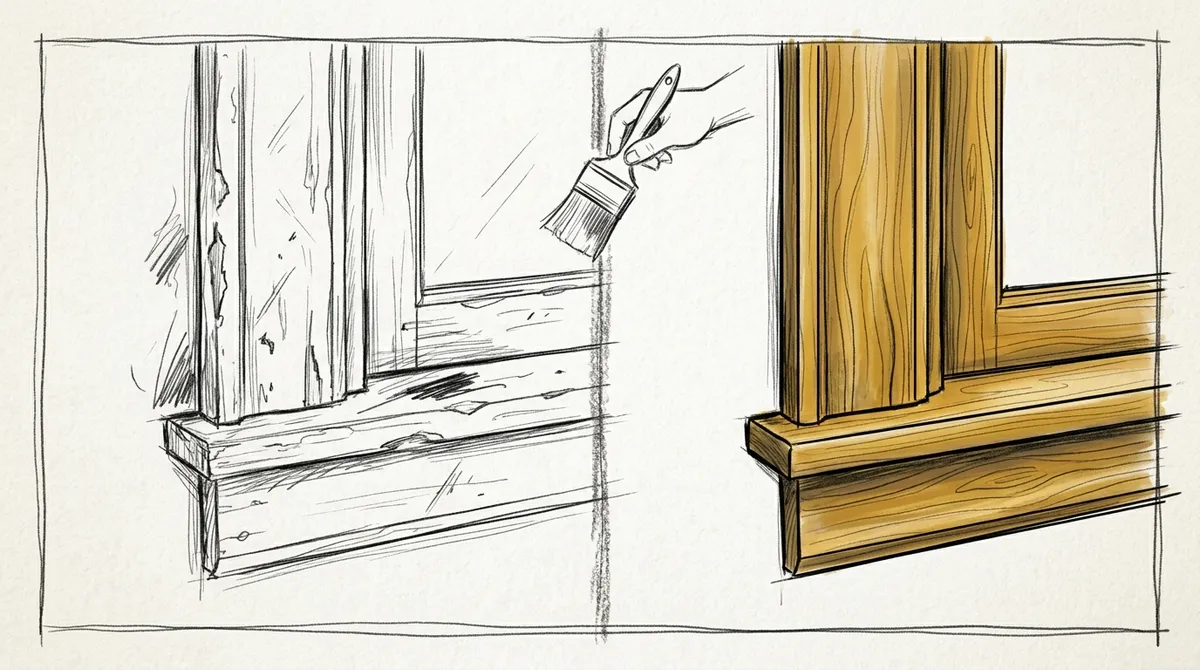
The Step-by-Step Refinishing Process
Refinishing wood trim and molding is a careful, multi-step process. Here’s how it works from start to finish:
- Inspect the trim: Identify all damage, including scratches, chips, cracks, and stains. This sets the scope of the project.
- Clean the surface: Remove all grease, dust, and grime. A clean surface ensures the new finish adheres properly.
- Sand the wood: Sanding removes the old finish and smooths the surface. Start with coarser grit and finish with finer grit for a smooth result.
- Repair damage: Fill in cracks and holes with wood filler. Once dry, sand again until the surface is flush and even.
- Apply primer: A coat of primer helps the finish bond to the wood. This step is critical for long-lasting results.
- Apply the finish: Whether you choose paint, stain, or lacquer, apply it in thin, even coats. Allow each coat to dry fully before adding the next.
- Inspect and touch up: After the final coat dries, inspect for drips, streaks, or missed spots. Touch up as needed for a flawless result.
This process takes time and attention to detail. Skipping steps leads to a finish that peels or looks uneven. A skilled carpenter follows each step carefully to deliver lasting results.
Paint vs. Stain: Choosing the Right Finish
One of the biggest decisions in refinishing wood trim is choosing between paint and stain. Each has clear advantages depending on your goals.
When to Choose Paint
- You want a bright, crisp look that matches your wall color scheme
- The wood has surface imperfections you want to conceal
- You prefer a modern, clean aesthetic
- The trim has previously been painted and needs refreshing
When to Choose Stain
- You want to highlight the natural grain of the wood
- The wood is high quality and beautiful in its natural state
- You prefer a warm, organic, classic look
- The space features natural materials and earthy tones
To understand more about crown molding and the finishing options available, it helps to understand the history and variety of trim styles available. Your carpenter can also recommend the right product for your specific wood type and space.
Refinishing Wood Trim as Part of a Larger Renovation
Refinishing wood trim rarely happens in isolation. It’s often part of a bigger home improvement plan. Here are common projects that pair well with trim refinishing:
- Wall enhancements: New wall enhancements like wainscoting or board-and-batten look even better with fresh trim.
- Ceiling upgrades: When you update ceiling designs, matching crown molding ties everything together beautifully.
- New flooring: Fresh flooring installation paired with refinished baseboards creates a complete, polished look.
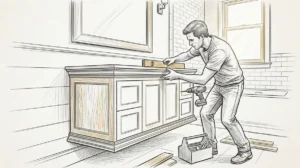
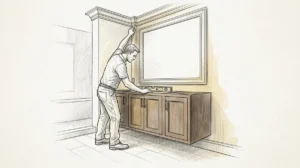
- Cabinet refresh: Updated cabinetry combined with refinished door and window trim unifies the kitchen or bathroom.
- Door upgrades: New or refinished doors with matching casing trim elevate the entire entryway.
Bundling these projects together often saves time and delivers a more cohesive final result. A professional carpenter can help you plan the right combination of updates for your home.
DIY vs. Professional Refinishing: What You Should Know
Some homeowners consider refinishing trim themselves. While DIY is possible for small projects, there are important trade-offs to consider.
| Factor | DIY Refinishing | Professional Refinishing |
|---|---|---|
| Skill Required | Moderate to high | Expert level |
| Time Investment | Long (especially for beginners) | Efficient and structured |
| Surface Prep Quality | Often inconsistent | Thorough and precise |
| Finish Quality | Variable | Smooth, even, and lasting |
| Risk of Damage | Higher | Minimal |
| Final Result | Depends on experience | Consistently high-quality |
For large-scale projects or high-end finishes, hiring a professional is always the smarter choice. The result is cleaner, more durable, and adds real value to your property. To learn more about carpentry as a craft, it helps to understand the depth of skill and training involved in professional finish work.
How Refinishing Adds Value to Your Property
Buyers and renters notice details. Polished, refined trim signals a well-maintained home. It tells people that the property has been cared for with attention. For real estate developers, this matters enormously. A space with flawless refinishing wood trim and custom molding stands out in a crowded market.
Interior designers often specify refinishing as part of their renovation plans. It’s a cost-effective way to elevate a space without full reconstruction. Refreshed trim paired with new paint colors and lighting can completely transform how a room feels.
To see examples of high-quality trim and finish work, follow Bucheli Trim on Facebook for inspiration and project updates. You can also browse custom projects to see what’s possible with expert craftsmanship.
Tips for Maintaining Refinished Wood Trim
Once your trim looks great, keeping it that way is simple. Follow these maintenance tips:
- Wipe trim down with a damp cloth regularly to prevent dust buildup
- Avoid harsh chemical cleaners that can strip the finish
- Touch up small chips or scratches quickly before they spread
- Keep humidity levels stable to prevent wood from warping
- Repaint or refinish every 5 to 10 years depending on wear
Routine care keeps your trim looking fresh for years. It also protects your investment and delays the need for major refinishing work.
Why Bucheli Trim Is the Right Choice in Tampa Bay
When it comes to refinishing wood trim and delivering flawless results, experience and precision matter. Bucheli Trim brings both to every project in the Tampa Bay area. The team specializes in high-end custom carpentry, including trim refinishing, molding installation, and complete interior wood upgrades. Every surface is treated with care, from the prep work to the final coat.
Whether you’re a homeowner, designer, or developer, working with skilled carpenters ensures the job is done right the first time. Visit us on Google to read reviews from satisfied clients across the Tampa Bay area. The quality of the work speaks for itself.
You can also explore resources like 7 signs you need professional carpentry near you today to know when it’s time to call in the experts. And if you’re looking for fresh ideas, check out 11 ways custom woodworking transforms homes for inspiration.
Conclusion
Refinishing wood trim and molding is one of the smartest investments you can make in your home or property. It restores beauty, improves durability, and adds real value. Whether you’re refreshing a single room or completing a full renovation, clean and polished trim makes every space look its best. The process requires skill, patience, and the right materials — all things a professional carpenter brings to the table every time.
Ready to transform your home with expertly refinished wood trim? Reach out to our team today and let’s bring your vision to life with precision and craftsmanship.
FAQs
Q: How often should wood trim be refinished?
A: Most wood trim benefits from refinishing every 5 to 10 years, depending on wear and exposure. High-traffic areas like hallways and entryways may need attention sooner than other spaces.
Q: Can you refinish wood trim without removing it from the wall?
A: Yes, in most cases wood trim can be refinished in place. A professional will carefully protect surrounding surfaces and apply the finish directly to the installed trim for a clean result.
Q: Is it better to paint or stain wood trim when refinishing?
A: The best choice depends on the wood quality and your design goals. Paint is great for hiding imperfections and creating a modern look, while stain highlights natural wood grain for a warm, classic feel.
Q: What type of wood trim is easiest to refinish?
A: Solid wood trim made from pine, oak, or poplar responds very well to refinishing. These woods sand smoothly and accept both paint and stain evenly, making them ideal candidates for a full refresh.
Q: Why should I hire a professional to refinish my wood trim?
A: Professionals bring the right tools, materials, and techniques to deliver a smooth, long-lasting finish. They handle surface prep properly, which is the most important step in ensuring the new finish bonds correctly and looks flawless.