Key Takeaways
-
Use coped cuts for inside corners instead of miters—they stay tight over time as wood expands and contracts, preventing gaps from appearing later.
-
Measure carefully and check all corners with a square before cutting; most homes have slightly out-of-plumb walls, and identifying this early prevents visible gaps.
-
Choose solid wood or stacked molding profiles for luxury projects, and match baseboard style with door casings and crown molding for a cohesive, high-end look.
-
Nail into studs with 2-inch finish nails, then caulk the top edge and fill all nail holes with wood filler for a truly polished, professional appearance.
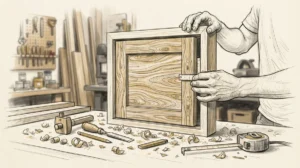
Baseboards do more than protect your walls. They add a finished, polished look to every room. Whether you’re a homeowner, interior designer, or real estate developer, you know that the details matter. Installing baseboards correctly can transform a space from average to exceptional. But getting it right takes more than just nailing wood to a wall. It takes skill, the right materials, and careful planning. In this guide, we’ll walk through five expert tips that make all the difference. These tips come from professional custom carpenters who work on high-end homes every day. By the end, you’ll understand what separates a DIY job from true craftsmanship. You’ll also know when to call in the pros. Trim and molding work like baseboards is a true art form, and understanding it helps you make smarter decisions for your home or project.
Why Baseboards Matter More Than You Think
Baseboards are the bridge between your floors and walls. They hide gaps, protect drywall from scuffs, and create a seamless transition. In high-end custom carpentry, they’re a key design element — not an afterthought. The style, material, and quality of your baseboards communicate the overall standard of a space.
Real estate developers know this well. Luxury buyers notice trim details immediately. A thick, well-crafted baseboard signals quality throughout the entire home. Interior designers use baseboards to tie a room’s style together — whether it’s modern, traditional, or transitional. To learn more about carpentry as a craft and its long history, it helps to understand how trim work has always been central to fine construction.
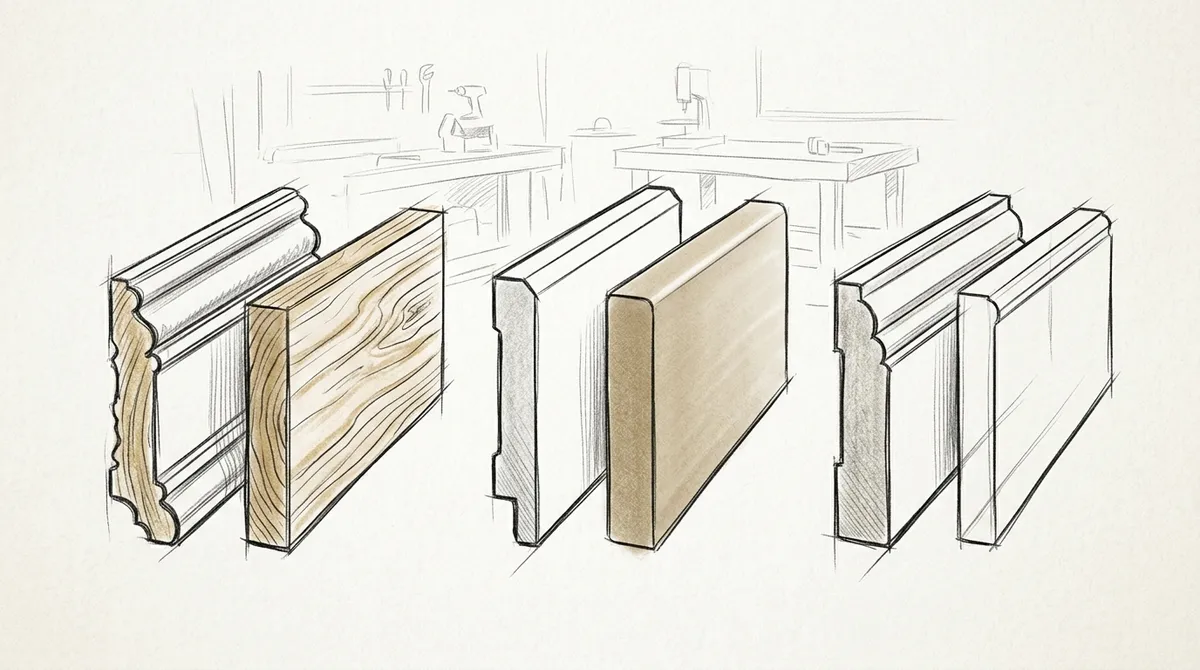
Tip 1: Choose the Right Baseboard Profile and Material
Not all baseboards are created equal. Your first decision is choosing the right profile and material for your space. This sets the tone for everything else.
Common Baseboard Profiles
Baseboard profiles range from simple flat stock to ornate multi-layered designs. Here’s a quick comparison to help you decide:
| Profile Style | Best For | Typical Height |
|---|---|---|
| Flat/Colonial | Modern, minimalist spaces | 3–4 inches |
| Craftsman | Traditional and transitional homes | 4–5 inches |
| Ogee/Stepped | Classic, formal interiors | 5–7 inches |
| Stacked Molding | Luxury, high-end custom homes | 6–10 inches |
Material Options to Consider
- MDF (Medium-Density Fiberboard): Smooth finish, great for paint, affordable
- Solid Wood: Strong, stainable, ideal for high-end projects
- Finger-Jointed Pine: Budget-friendly, works well for painted finishes
- Poplar: Hard, smooth grain, excellent for custom painted trim
- Oak or Maple: Premium hardwoods for stained or natural finishes
Your material choice should match your floor type, wall finish, and design goals. For luxury projects, solid wood or stacked molding profiles create the most impressive results. Browse molding details to see how profiles can elevate a room’s character.
Tip 2: Measure and Plan Before You Cut Anything
Precise measurement is the foundation of great baseboard installation. Rushing this step leads to wasted material, gaps, and misaligned corners. Take your time here — it pays off.
Steps for Accurate Measurement
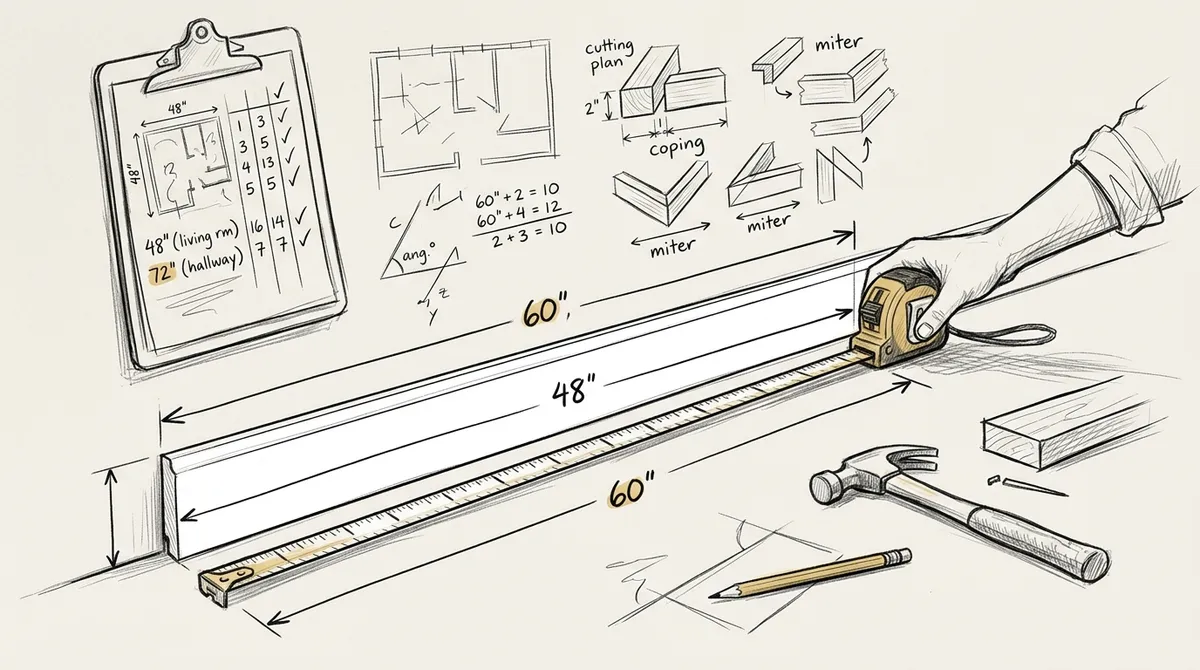
- Measure each wall’s length carefully, noting doors, windows, and corners.
- Sketch a simple floor plan and label each measurement.
- Add 10–15% extra material to account for cuts, mistakes, and waste.
- Identify all inside corners, outside corners, and butt joints before buying.
- Check corners with a square — most rooms have walls that aren’t perfectly plumb.
Professional carpenters always check for out-of-square corners. Most homes have minor wall irregularities. Identifying these early allows you to adjust your cuts and avoid visible gaps. This step alone separates amateur installs from truly professional results.
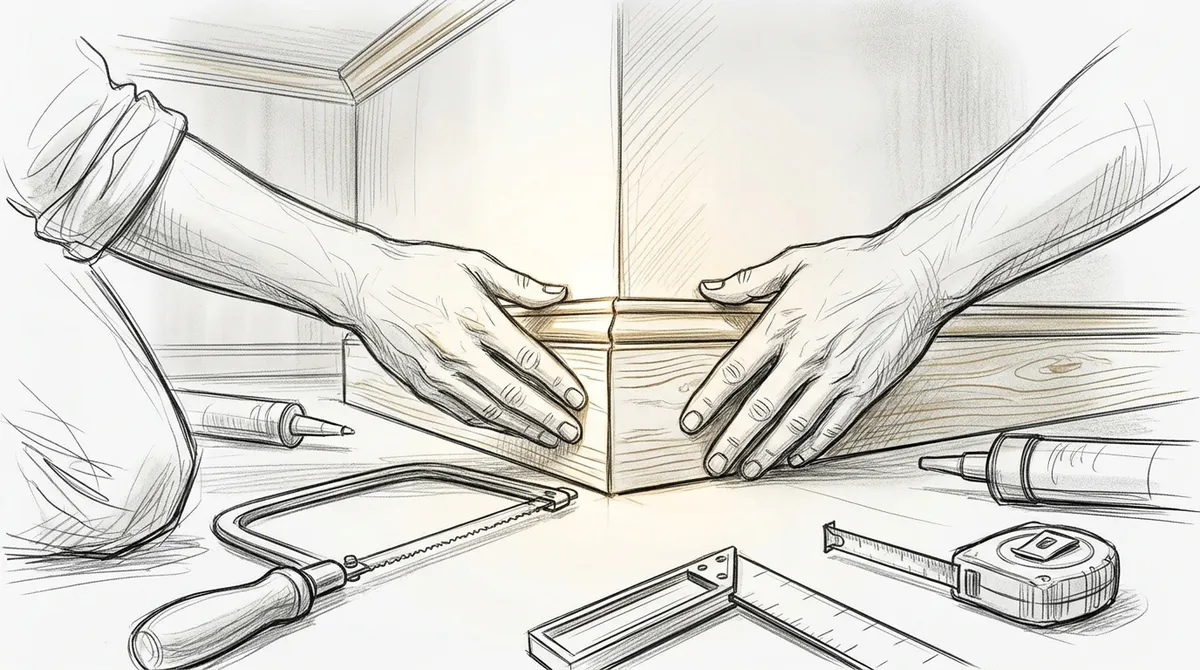
Tip 3: Master the Corner Cuts
Corners are where baseboard installation gets tricky. Two techniques are used most often: miter cuts and coped cuts. Knowing when to use each is essential.
Miter Cuts vs. Coped Cuts
A miter cut cuts both pieces at a 45-degree angle so they meet at the corner. A coped cut cuts one piece square and shapes the second piece to overlap the first. Here’s how they compare:
| Technique | Best Application | Difficulty Level |
|---|---|---|
| Miter Cut | Outside corners | Intermediate |
| Coped Cut | Inside corners | Advanced |
| Butt Joint | Straight wall ends near doors | Beginner |
Professional carpenters prefer coped cuts for inside corners. Why? Wood expands and contracts with humidity changes. Coped joints stay tight over time, while miter cuts can open up and show gaps. This matters especially in Tampa Bay’s humid climate.
Tips for Clean Corner Cuts
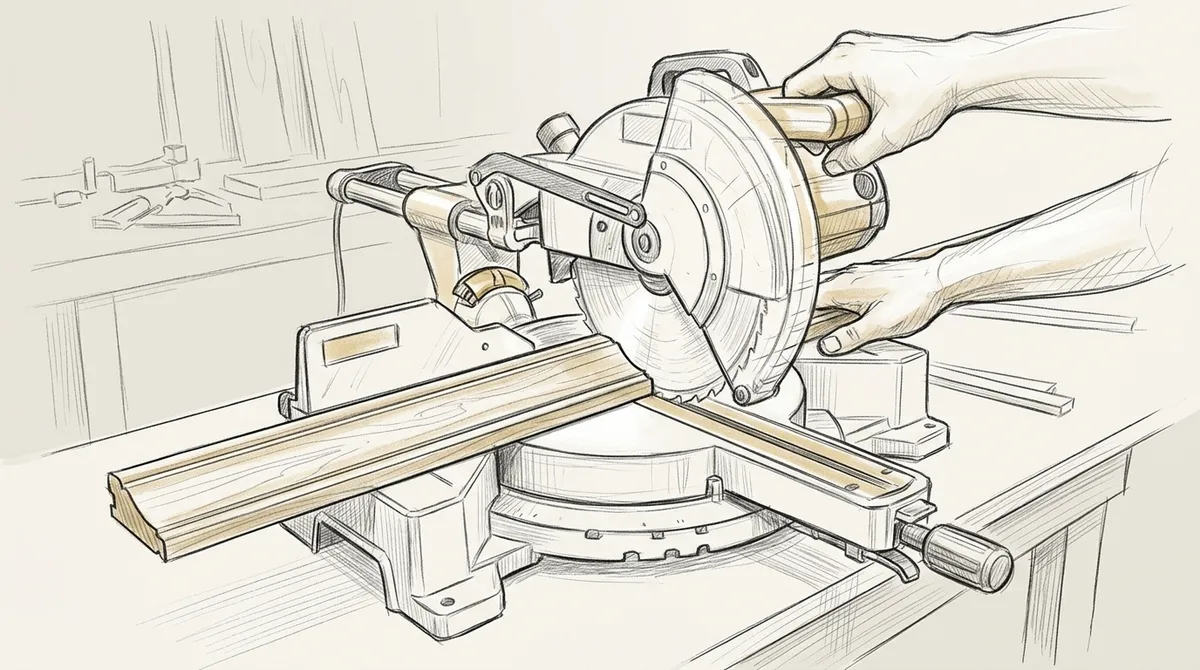
- Use a high-quality miter saw for consistent, accurate angles
- Practice on scrap pieces before cutting your finish material
- Dry-fit every piece before nailing it in place
- Use a coping saw or oscillating tool for coped cuts on complex profiles
Tip 4: Nail, Fill, and Finish Like a Professional
Even perfect cuts can look bad if the finishing work is sloppy. This step requires patience and attention to detail.
Nailing Baseboard Correctly
- Locate wall studs using a stud finder and mark them lightly in pencil.
- Use a finish nailer with 2-inch nails for most baseboard thicknesses.
- Nail into studs along the top edge and near the bottom for a secure hold.
- Keep nails slightly recessed — not flush — so filler covers them cleanly.
Filling and Finishing Steps
- Fill all nail holes with wood filler or painter’s putty
- Caulk the top edge of the baseboard where it meets the wall
- Caulk the bottom edge only if there’s a visible gap above the floor
- Sand lightly after filler dries for a smooth, seamless surface
- Prime before painting for best adhesion and a crisp final look
Professional painters often say that trim is where the real work happens. A clean, well-finished baseboard makes paint colors look richer and rooms feel more refined. For a truly polished result, consider pairing baseboard work with professional painting services to ensure a flawless finish from start to end.
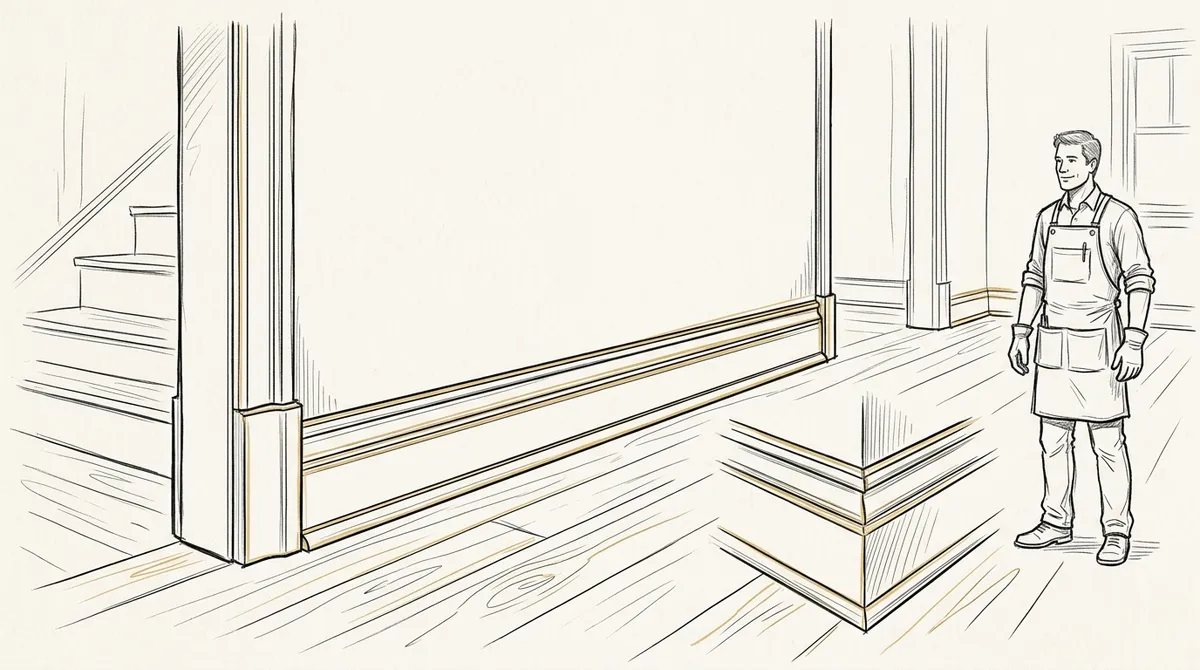
Tip 5: Integrate Baseboards Into Your Broader Interior Design
Baseboards don’t exist in isolation. They’re part of a complete design system. The best results come when baseboards are planned alongside crown molding, door casings, wainscoting, and other architectural trim elements.
How Baseboards Complement Other Trim Elements
- Match baseboard profiles to door casing profiles for visual consistency
- Use taller baseboards in rooms with higher ceilings for proper proportion
- Coordinate baseboard style with crown molding in formal spaces
- Layer baseboards with plinth blocks at door openings for a classic look
- Consider wainscoting panels that sit above the baseboard for a full wall treatment
Design Considerations by Room Type
- Living Rooms: Taller profiles (5–7 inches) add drama and formality.
- Bedrooms: Medium profiles (4–5 inches) balance comfort and style.
- Hallways: Simpler profiles reduce visual clutter in narrow spaces.
- Kitchens and Baths: Moisture-resistant materials and careful caulking are essential.
When baseboards are part of a complete wall enhancement plan, the result is a cohesive, high-end look throughout the home. Interior designers who work with skilled carpenters know that this level of coordination is what clients remember and rave about.
When to Hire a Professional Carpenter
Some homeowners can handle straightforward baseboard runs. But high-end projects demand professional skill. Here’s when you should call in an expert:
- Your home has complex angles, curved walls, or irregular corners
- You’re using premium materials like hardwood or stacked profiles
- The baseboards are part of a larger trim or renovation project
- You want the work done quickly, correctly, and with a warranty-worthy finish
- You’re preparing a property for sale and need luxury-grade results
If you’re unsure about the scope of your project, it helps to find a skilled carpenter near you who can assess the job and recommend the best approach. Bucheli Trim has built a reputation in the Tampa Bay area for delivering exactly this kind of expert craftsmanship — and you can visit us on Google to read reviews from satisfied homeowners, designers, and developers.
Beyond baseboards, professional carpenters can help you explore custom projects that truly make your space unique. From ceiling designs to built-in cabinetry, every element works together to create a home that stands apart. You can also follow along with completed work and design inspiration on Facebook.
Conclusion
Installing baseboards is one of the most impactful finishing touches in any home or commercial space. Done well, it elevates the entire room. Done poorly, it reveals a lack of craftsmanship. These five tips — choosing the right materials, measuring carefully, mastering corner cuts, finishing with precision, and integrating baseboards into your broader design — give you a solid foundation for success. Whether you’re a homeowner tackling a renovation, a designer planning a client’s dream interior, or a developer finishing out a luxury property, these principles apply every time. For projects that demand the highest level of quality and detail, working with a professional custom carpenter is always the best investment. Reach out to our team at Bucheli Trim to get started on your next project and experience what true craftsmanship looks like.
FAQs
Q: What is the best material for installing baseboards in a high-end home?
A: Solid wood species like poplar, oak, or maple are the best choices for luxury homes because they hold detail well and accept stain or paint beautifully. MDF is a cost-effective option for painted finishes, but solid wood provides more durability and a premium look.
Q: Should I use miter cuts or coped cuts when installing baseboards at inside corners?
A: Professional carpenters recommend coped cuts for inside corners. Coped joints stay tight over time because they allow for wood movement caused by humidity changes, while miter cuts can open up and show unsightly gaps after installation.
Q: How tall should baseboards be in a room with high ceilings?
A: As a general rule, taller ceilings call for taller baseboards to maintain visual proportion. For ceilings above 9 feet, baseboards of 5 to 7 inches or more are recommended. In rooms with standard 8-foot ceilings, 3 to 5 inch baseboards are typically appropriate.
Q: Do I need to caulk baseboards after installing them?
A: Yes, caulking is an important finishing step when installing baseboards. Caulk the top edge where the baseboard meets the wall to seal gaps and create a smooth, paintable surface. This also prevents dust buildup and gives the trim a professionally finished appearance.
Q: When should I hire a professional carpenter to install baseboards instead of doing it myself?
A: You should hire a professional when your project involves premium materials, complex angles, curved walls, or when the baseboards are part of a larger trim design. Professional carpenters ensure precise cuts, clean finishes, and results that add lasting value to your home.