Key Takeaways
-
Measure each wall at the top, middle, and bottom and note outlets, vents, and door swing, since walls are rarely straight and custom-fit panels prevent gaps.
-
Inventory your hanging, folded, shoe, and accessory items first, then add 15 to 20 percent extra space because wardrobes grow over time.
-
Use cabinet-grade plywood with solid wood edging for high-end closets, since it resists sagging and handles Florida humidity better than particleboard.
-
Keep shelf spans under about 30 inches for heavy loads, add center supports for longer runs, and fasten cleats and units into wall studs.
-
Plan lighting, outlets, and airflow before walls go up, using LED strips and motion sensors while leaving vents unblocked to limit humidity and musty smells.
-
Hire a professional carpenter when walls are out of square or the project includes drawers, built-in lighting, or structural changes.
A walk in closet is more than extra storage. It is a room that shapes how your day starts. When it is well built, every shirt, shoe, and belt has a home. When it is poorly planned, it turns into a crowded space you dread.
If you want to build a walk in closet in 2026, a clear plan makes all the difference. You need to think about size, layout, materials, lighting, and trim long before the first board is cut. Each choice affects how the closet looks and how well it works.
This guide walks you through 10 steps that custom carpenters follow. It is written for homeowners, interior designers, and developers who want a closet that feels high end. You will learn how to measure, plan, build, and finish a space that lasts. You will also see where professional craftsmanship pays off, especially in the humid Tampa Bay climate.
Why Build a Walk in Closet Instead of Buying a Kit?
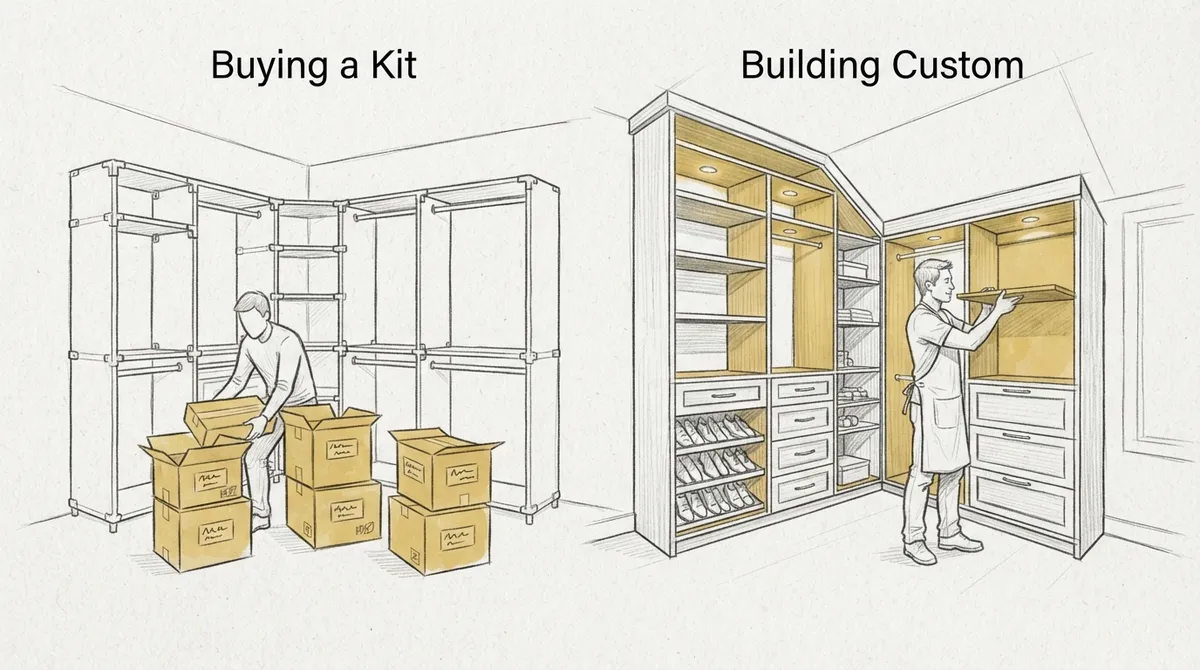
Many people start with a ready-made kit. Kits are fine for simple needs. But a walk in closet is a custom space with its own quirks. Slanted ceilings, odd corners, and off-center windows rarely match a standard kit.
A custom build lets you fit every inch. It also lets you choose real wood, solid shelf edges, and hardware that holds up for years. If you are weighing both paths, this comparison of a custom built closet vs. store-bought options breaks down the trade-offs clearly.
Here is what a custom walk in closet gives you:
- A layout designed around your clothes, shoes, and habits
- Sturdy construction that will not sag under heavy loads
- Clean trim and finish details that match the rest of your home
- Better use of tight or unusual spaces
1. Decide If Your Space Can Support a Walk in Closet
Before you design anything, confirm that the room is big enough. A true walk in closet needs room to stand and move. Most designers suggest at least 4 feet by 6 feet for a basic layout. Larger rooms allow islands, seating, and full-length mirrors.
Use the table below as a quick guide to common layouts.
| Layout | Minimum Width | Best For |
|---|---|---|
| One-wall (linear) | 3 to 4 feet | Narrow spaces, shared closets |
| L-shaped | 5 by 5 feet | Corner rooms, medium closets |
| U-shaped | 6 by 6 feet | Primary suites, large wardrobes |
| Galley (two parallel walls) | 5 to 6 feet | Long, rectangular rooms |
If the space is smaller, you can still gain a lot from built-in storage. Our guide on built-in closets and custom storage shows how to make tight rooms work harder.
2. Measure the Room and Note Every Obstacle
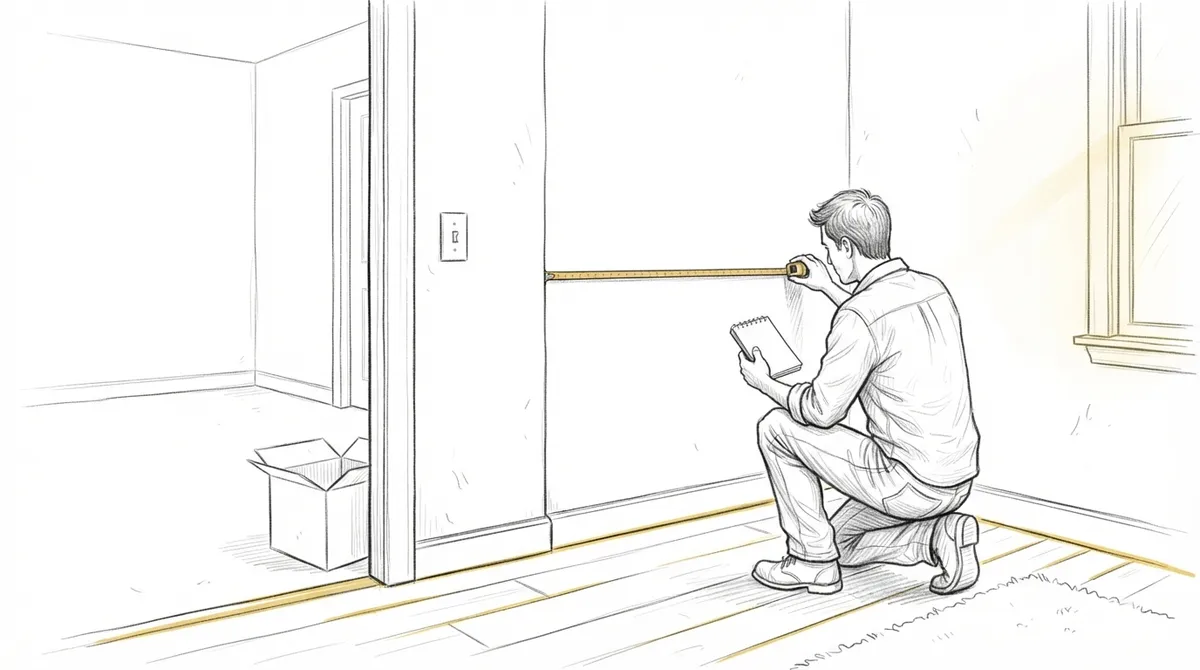
Good measurements prevent costly errors. Measure the walls, ceiling height, and door openings. Then mark anything that gets in the way.
Follow these steps:
- Measure each wall at the top, middle, and bottom. Walls are rarely perfectly straight.
- Record the ceiling height in several spots.
- Note the location of outlets, vents, switches, and windows.
- Check the swing of the door, or plan for a pocket or barn door instead.
- Look for plumbing, attic access, or HVAC lines inside the walls.
Carpenters scribe, or custom-fit, each panel to the real wall. This is one reason custom work looks so clean. Standard panels leave gaps where walls are uneven.
3. List What You Need to Store
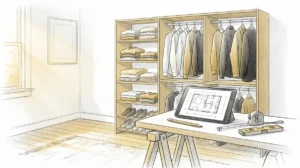
A walk in closet should be designed around what you own. Take a simple inventory before drawing a layout. Count your hanging items, folded items, shoes, bags, and accessories.
A basic inventory should include:
- Short hanging items such as shirts, skirts, and folded pants
- Long hanging items such as dresses, coats, and robes
- Folded stacks like sweaters and jeans
- Shoes, boots, and handbags
- Small items like belts, ties, watches, and jewelry
Then add 15 to 20 percent extra space. Wardrobes grow over time. A closet that fits perfectly today will feel tight in two years.
4. Choose a Layout That Matches Your Routine
The best layouts follow the way you actually get dressed. Put everyday items at eye level and arm reach. Store seasonal or rarely worn items up high or down low.
Common zones in a well-planned closet include:
- Hanging zones: Double hang for shirts, single hang for dresses and coats
- Shelf zones: Adjustable shelves for sweaters, bags, and boxes
- Drawer zones: Deep drawers for jeans and shallow ones for accessories
- Shoe zones: Angled shelves or pull-out racks
For more design inspiration, browse these 12 custom closet build ideas and see which features fit your space.
5. Pick Materials That Hold Up in Florida Conditions
Material choice affects both looks and lifespan. In the Tampa Bay area, humidity can warp low-grade boards. Moisture also swells cheap particleboard at the edges.
Here is how common closet materials compare.
| Material | Strengths | Watch Outs |
|---|---|---|
| Solid hardwood | Very durable, rich look, easy to refinish | Can move with humidity changes |
| Plywood (cabinet grade) | Strong, stable, holds screws well | Edges need banding for a clean look |
| MDF | Smooth for paint, stable, budget friendly | Heavy, and weak if it gets wet |
| Melamine panels | Easy to clean, many colors | Edges can chip with heavy use |
Cabinet-grade plywood with solid wood edging is a common choice for high-end closets. It resists sagging and gives a crisp, furniture-like finish. The shelf weight you plan to carry should guide your thickness choice. Three-quarter-inch panels with a front edge strip help long shelves stay flat.
6. Plan the Structure and Support First
Heavy loads need solid support. A shelf full of folded jeans and a rod full of winter coats can weigh a lot. If the structure is weak, it will pull away from the wall over time.
Good structural planning includes:
- Locating wall studs and marking them before any install
- Using cleats or rails fastened into studs for hanging systems
- Adding vertical dividers so shelves do not span too far
- Placing blocking inside walls for heavy rods or tall units
As a rule, keep shelf spans under about 30 inches for thick loads. Add a center support for longer runs. These small choices keep everything flat and strong for years.
7. Build the Cabinetry and Shelving Carefully
This is where craftsmanship shows. Precision cuts, tight joints, and square corners make the difference between a rough job and a refined one.
A careful build usually follows this order:
- Cut panels to size using accurate measurements.
- Apply edge banding or solid wood face frames.
- Assemble boxes with glue and screws, or with dowels and dado joints.
- Dry-fit the pieces in the room before final install.
- Fasten units to studs, then level and shim as needed.
Drawers deserve special attention. Soft-close slides, full-extension tracks, and solid drawer boxes feel far better than thin builder-grade ones. If your build includes cabinetry and drawers, these 13 steps to install custom cabinets the right way cover the installation details in depth.
8. Add Lighting, Power, and Ventilation
Lighting turns a good closet into a great one. You need to see colors clearly and find small items fast. Dark corners make even the best layout frustrating.
Consider these lighting and utility options:
- LED strip lights under shelves and inside cabinets
- A central ceiling fixture for even, general light
- Motion sensors so lights turn on when you enter
- Outlets for steamers, chargers, or a small vanity
- Passive vents or a gentle airflow path to limit moisture
Moisture control matters in Florida. A closet with poor airflow can trap humidity and cause musty smells. Leave small gaps behind units where possible, and keep vents unblocked. Plan the wiring early, because it is much easier before the walls and shelves go in.
9. Finish With Trim, Paint, and Hardware
Trim is the detail that makes a closet look built into the home rather than added on. Matching your baseboards, casing, and crown to the rest of the house creates a seamless feel. It is a small step with a big visual payoff.
Popular finishing touches include:
- Matching baseboards that tie into adjoining rooms
- Decorative crown molding at the top of tall units
- Beaded or shaker-style door and drawer fronts
- Quality pulls, hooks, and rods in brushed brass, nickel, or matte black
If you want help choosing a profile, our guide to trim work and custom carpentry details explains how profiles change a room’s style. A smooth, durable paint or stain finish also protects the surface from daily wear. Always let finishes cure fully before loading shelves.
10. Hire a Pro When the Job Demands It
Some closet projects are well suited to a skilled DIYer. Others are better left to a trained carpenter. The right choice depends on your tools, time, and goals.
Consider hiring a professional if:
- Your walls or ceiling are uneven or out of square
- You want full-height cabinetry, drawers, and built-in lighting
- The closet needs structural changes or new framing
- You are a designer or developer who needs consistent, repeatable results
Professionals bring planning, specialty tools, and an eye for detail. Many homeowners compare DIY closet installation against hiring out before deciding. For builders and designers, a reliable carpenter also protects schedules and finish quality across multiple units.
At Bucheli Trim, our team focuses on precise, high-end custom carpentry across the Tampa Bay area. You can see what our customers say by visiting Visit us on Google — Bucheli Trim.
Common Mistakes to Avoid When You Build a Walk in Closet
Even careful planners can slip up. Knowing the usual mistakes helps you avoid them.
- Skipping measurements: Small errors add up and cause gaps or tight fits.
- Overlooking door swing: A door that bumps into shelves wastes space.
- Using weak shelving: Thin boards over long spans will sag.
- Ignoring light: A dim closet makes it hard to match colors.
- Forgetting future needs: Build in extra room and adjustable parts.
A little planning up front saves a lot of rework later. If you want more ideas, look at these custom closet organizers that maximize space in 2026 for smart features to include from the start.
How Long Does It Take to Build a Walk in Closet?
Timelines vary with size and detail. A simple one-wall closet may take a few days once materials are ready. A large, fully custom build with drawers, trim, and lighting can take a couple of weeks or more. Design, ordering, and finishing add time on top of the build itself.
The general flow looks like this:
- Design and measurements
- Material selection and ordering
- Shop work or on-site cutting
- Installation and trim work
- Paint or stain, then final hardware and lighting
Allow extra time for finishes to cure. Rushing this step can lead to scratches and sticky surfaces.
Ready to Build Your Walk in Closet?
A great walk in closet starts with a smart plan and ends with careful craftsmanship. When you measure well, choose strong materials, and finish with matching trim, the result feels like a natural part of your home. It also adds lasting value for buyers and clients who notice quality.
If you want expert help, contact the Bucheli Trim team to talk through your space and ideas. Whether you are a homeowner, designer, or developer, we can help you build a walk in closet that is precise, beautiful, and made to last.
FAQs
Q: How big does a room need to be for a walk in closet?
A: Most walk in closets need at least 4 feet by 6 feet to allow standing room and movement. Larger rooms, around 6 by 6 feet or more, allow U-shaped layouts, islands, and seating. Smaller spaces can still use built-in storage to work well.
Q: What is the best material to build a walk in closet in Florida?
A: Cabinet-grade plywood with solid wood edging is a strong choice because it resists sagging and handles humidity better than basic particleboard. Solid hardwood adds a rich look but can move with moisture changes. Good airflow also helps protect any material.
Q: Should I build a walk in closet myself or hire a carpenter?
A: Simple one-wall closets can suit a skilled DIYer with the right tools. Projects with drawers, built-in lighting, trim, or uneven walls usually turn out better with a professional carpenter. A pro also helps with precise fitting and a clean finish.
Q: How long does it take to build a walk in closet?
A: A simple closet may take a few days once materials are ready, while a large custom build can take a couple of weeks or more. Planning, ordering, and finish curing add extra time. Rushing the finishing step can cause damage to the surface.
Q: What lighting works best in a walk in closet?
A: LED strip lights under shelves and a central ceiling fixture give even, clear light. Motion sensors are handy because lights turn on as you enter. Good lighting helps you see true colors and find small items fast.