Key Takeaways
-
Place a chair rail at about one-third of the wall height from the floor; for an 8-foot ceiling that is roughly 32 to 36 inches, adjusting for furniture, sills, and outlets.
-
Choose materials by room: PVC resists moisture in bathrooms and laundry rooms, while solid wood or poplar suits dry living areas, which matters in humid Florida homes.
-
Use a two-tone split or wallpaper above with solid paint below, since the rail hides seams and creates a clean stopping point for color or pattern.
-
Plan around outlets and switches before installation, and use coped inside corners instead of mitered joints so they stay tight as walls shift.
-
Share profile drawings, paint colors, and sheen early, and coordinate rail height with window sills and door casings for consistent details across a development.
-
Hire a skilled carpenter to handle uneven walls and floors, since precise leveling is what makes a chair rail look straight and polished.
Chair rails are one of the oldest tricks in interior design, and they still work. A simple band of trim across the wall can add depth, split a tall surface, and give a room a finished look. In 2026, homeowners across Tampa Bay are bringing chair rails back in fresh, modern ways.
Originally, chair rails kept dining chairs from scraping and denting plaster walls. Today, they serve a design purpose. They add rhythm to a wall, frame paint and wallpaper, and bring in the kind of detail that makes a space feel custom.
This guide covers 12 chair rail ideas, plus practical tips on height, materials, and installation. Whether you are a homeowner planning a refresh, an interior designer shaping a client’s vision, or a developer who wants a premium finish, you will find ideas you can use. Skilled trim work is what makes these details look sharp for years.
What Is a Chair Rail?
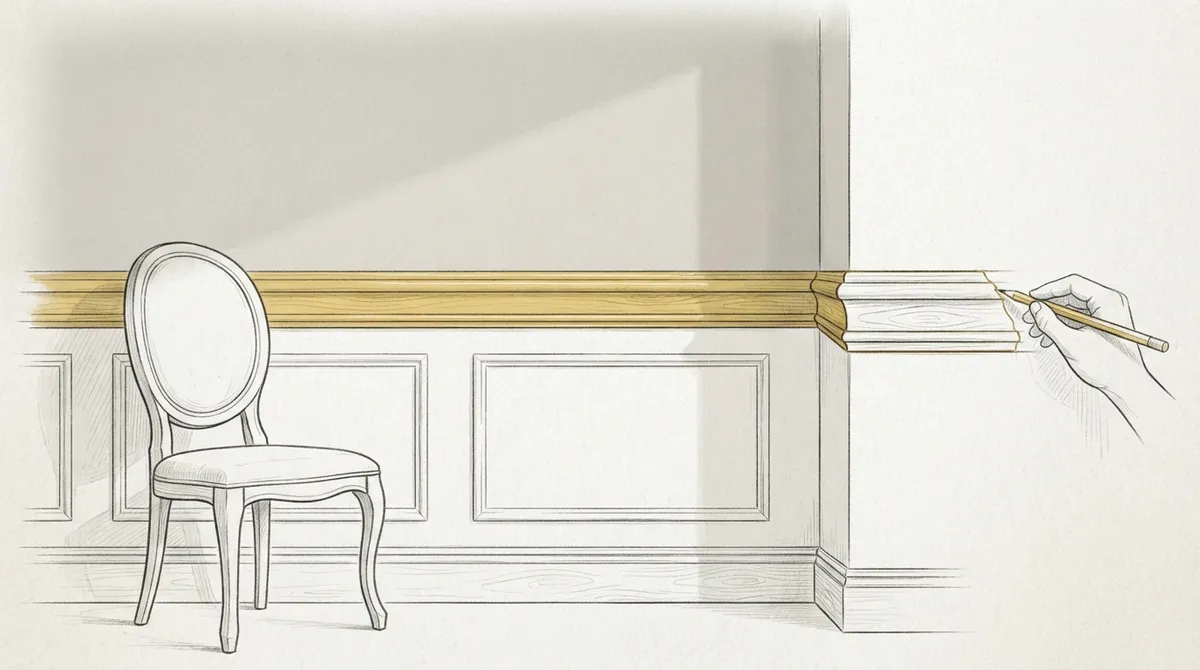
A chair rail is a horizontal strip of molding fastened to the wall, usually about one-third of the way up from the floor. It sits at the height where a chair back would touch the wall. It can be a simple flat board or a layered profile with curves and ridges.
In custom carpentry, chair rails fall under trim and molding. They often pair with wainscoting, picture frame molding, or baseboards to build a full wall treatment. You can read a short history of the design in this overview of carpentry as a craft.
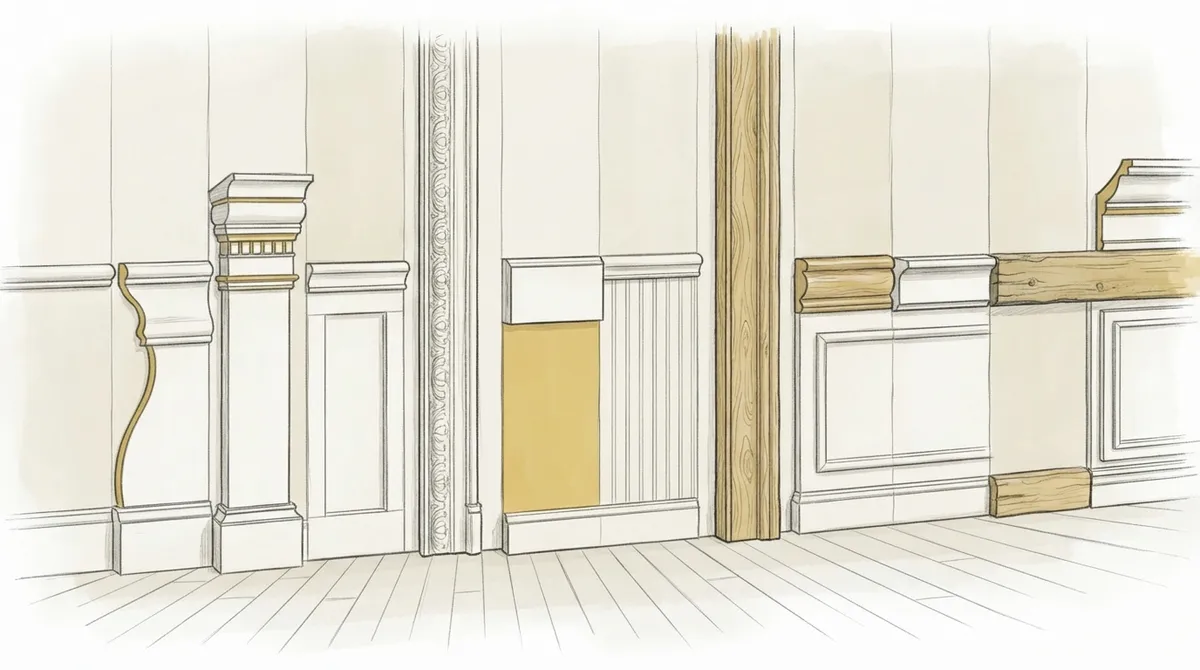
12 Chair Rail Ideas Worth Considering
1. Classic Single-Piece Chair Rail
The simplest option is a single, profiled board. It works well in dining rooms, hallways, and formal living spaces. Pick a profile with a gentle curve for a traditional feel. Paint it the same color as your baseboards for a clean, unified look.
2. Two-Tone Wall Split
Paint the wall below the rail in a deeper color and the wall above in a lighter shade. This trick grounds the room and adds visual interest. Navy over soft white and sage green over cream are popular pairings in 2026.
3. Chair Rail With Wainscoting Panels
Use the rail as a cap on raised or flat panels below. This is the most traditional pairing, and it looks rich in entryways and dining rooms. For more on this approach, see our guide to wainscoting and wall paneling.
4. Picture Frame Molding Below the Rail
Add rectangular molding boxes beneath the chair rail. This creates a tailored, architectural look. It is a favorite for designers who want a layered wall without full paneling.
5. Beadboard Below the Rail
Beadboard is a good match for chair rails in kitchens, mudrooms, and bathrooms. The vertical grooves add texture, and the rail gives a neat top edge. Learn more in our post on wood bead board installation.
6. Shiplap Below the Rail
Horizontal shiplap with a chair rail on top gives a relaxed coastal look. This style fits Tampa Bay homes well. Keep the rail slim so it does not fight with the plank lines.
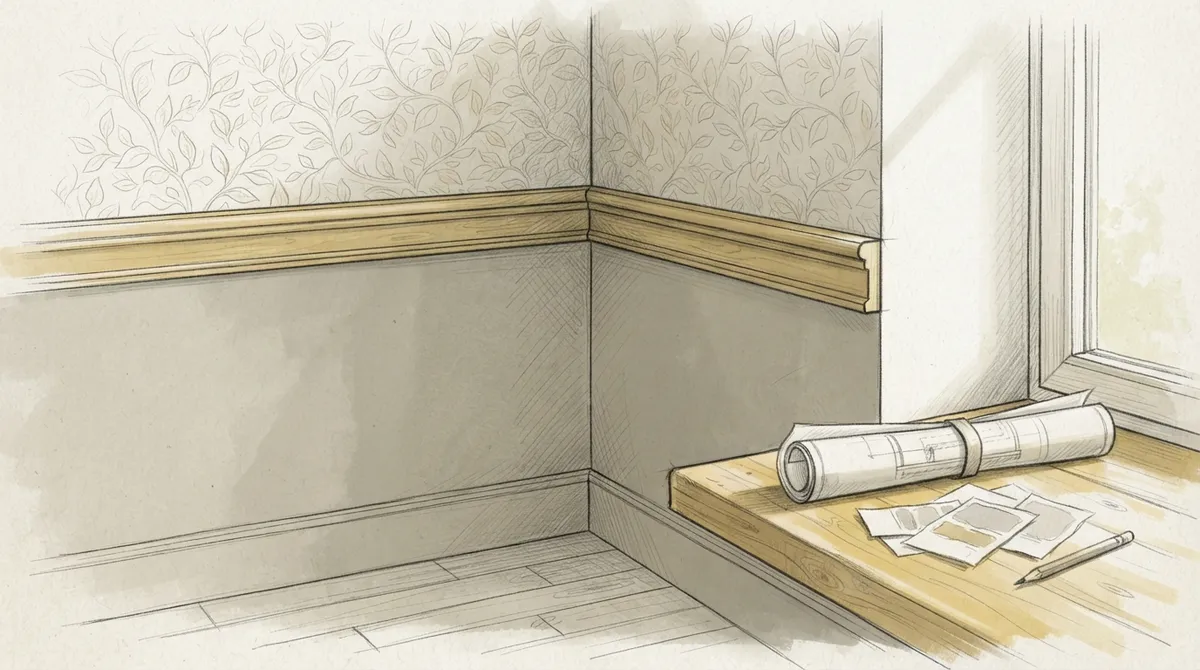
7. Wallpaper Above, Paint Below
A chair rail makes a natural stopping point for wallpaper. Put a bold pattern above and a solid color below. The rail hides the seam and gives the paper a clean border.
8. Stained Wood Chair Rail
Not every rail has to be painted. A stained hardwood rail brings warmth to studies, libraries, and traditional dining rooms. Oak, walnut, and cherry are common choices. Pair it with dark paint for a moody effect.
9. Oversized Chair Rail for Tall Walls
A thin rail can look lost on a tall wall. A wider, built-up rail made from stacked profiles has more presence. It fits well in homes with nine- or ten-foot ceilings.
10. Modern Flat Chair Rail
For a clean, contemporary look, choose a flat-stock rail with square edges. Paint it a bold accent color or match it to the wall for a quiet shadow-line effect. It works well in modern and transitional spaces.
11. Chair Rail Paired With Crown Molding
Matching the rail to your ceiling trim ties the room together. The two profiles speak to each other from top to bottom. See our guide on crown molding styles for ideas that coordinate well. Here is a quick look at crown molding basics too.
12. Chair Rail as an Accent Wall Feature
Run the rail across just one wall to build a focal point. Combine it with paneling, paint, or wallpaper. Our post on choosing accent wall designs explains how to plan this kind of feature.
How High Should a Chair Rail Be?
Height matters more than most people think. A rail placed too high or too low throws off the whole wall. The standard rule is simple: place the rail at about one-third of the wall height.
| Ceiling Height | Typical Rail Height From Floor |
|---|---|
| 8 feet | 32 to 36 inches |
| 9 feet | 36 to 40 inches |
| 10 feet | 40 to 48 inches |
These numbers are a starting point. Furniture, window sills, and outlets can change the final placement. A good carpenter will tape off the line on the wall first, then step back and check it from several spots in the room.
Best Materials for Chair Rails
The material you choose affects both the look and the lifespan of the rail. Here are the common options and how they compare.
| Material | Best For | Key Benefit |
|---|---|---|
| Solid hardwood | Stained or natural finishes | Rich grain and long life |
| Poplar | Painted trim | Smooth surface and easy to shape |
| MDF | Painted trim on a budget-friendly basis | Even finish with no knots |
| PVC | Bathrooms and humid areas | Resists moisture and rot |
| Polyurethane | Ornate profiles | Light and detailed |
Humidity is a real factor in Florida. In bathrooms, laundry rooms, and homes near the water, moisture-resistant materials like PVC can keep the rail from swelling or warping. Solid wood works best in climate-controlled living areas.
Where Chair Rails Work Best
Chair rails are not just for dining rooms. They can improve many spaces in a home.
- Dining rooms: Protect walls and create a formal look.
- Entryways and hallways: Guard against bags, strollers, and daily traffic.
- Kitchens and breakfast nooks: Frame paint, tile, or beadboard.
- Bedrooms and nurseries: Add a soft, tailored detail.
- Home offices and libraries: Support rich, dark color schemes.
- Staircases: Run the rail along the slope for a continuous line.
Step-by-Step: How a Pro Installs a Chair Rail
Good installation is what separates a polished look from a sloppy one. Here is the basic process a skilled carpenter follows.
- Plan the layout. Measure the walls and decide on the rail height. Mark a level line around the room.
- Find the studs. Locate and mark each stud so the rail can be nailed into solid wood.
- Cut the pieces. Use a miter saw for corners. Inside corners are often coped for a tight fit, while outside corners are mitered.
- Dry fit the rail. Hold each piece in place before fastening to check the joints.
- Fasten the rail. Use finish nails and construction adhesive. Keep the rail level against the guide line.
- Fill and sand. Fill nail holes and seams with wood filler. Sand smooth once dry.
- Caulk and paint. Caulk the top and bottom edges for a seamless finish. Then prime and paint or stain.
If you want to see how the full process works across a room, our guide on trim installation steps covers the key stages in more detail.
Common Chair Rail Mistakes to Avoid
Even a good design can fall flat when the details are wrong. Watch out for these common errors.
- Placing the rail too high. This makes the room feel shorter and top-heavy.
- Ignoring outlets and switches. A rail that cuts through an outlet looks awkward. Plan around them.
- Skipping the coped joints. Mitered inside corners can open up as the wall shifts. Coping holds up better.
- Choosing a profile that clashes. The rail should match the home’s style and the other trim in the room.
- Poor caulking and paint prep. Gaps and rough edges are the first thing people notice.
For a broader look at what can go wrong, read our post on trim work mistakes before you start your project.
Custom Chair Rails vs. Stock Molding
Stock chair rail from a big store is easy to find, but it comes in limited profiles and standard lengths. Custom rails can be milled to match the existing trim in an older home, or built up from several pieces for a larger, more detailed look.
For designers and developers, custom work makes a difference in how a space photographs and sells. A rail that matches the home’s architecture feels intentional. To weigh your options, see our comparison of custom vs. stock interior trim.
Tips for Designers and Developers
If you are specifying chair rails for a client or a build, a few habits help the project run smoothly.
- Share profile drawings or samples early so the carpenter can match them.
- Decide on paint colors and sheen before trim goes up.
- Coordinate the rail height with window sills, door casings, and built-ins.
- Plan for consistent details across all rooms in a development for a cohesive feel.
Chair rails also pair well with other custom features such as baseboard trim styles and built-in cabinetry. A well-planned set of details can set a property apart in a competitive market.
Why Hire a Custom Carpenter?
Chair rails look simple, but they test a carpenter’s skill. Walls are rarely perfectly straight, and floors are rarely level. A skilled carpenter adjusts for these quirks so the rail looks straight to the eye. That precision is hard to fake.
At Bucheli Trim, we focus on high-end custom carpentry across the Tampa Bay area, from wall enhancements to molding details. You can read Bucheli Trim reviews on Google to see how our work is received by local homeowners. You can also follow our recent projects on Facebook.
Conclusion
Chair rails are a small detail that delivers a big return. They protect walls, frame color, and add architectural character to any room. From classic wainscoting pairings to sleek modern profiles, there is a style for every home.
The key is thoughtful planning and careful installation. Choose the right height, pick a material that suits the room, and let a skilled carpenter handle the fit and finish. Ready to bring this detail into your home or project? Contact our team to talk through your ideas and get started.
FAQs
Q: What is the purpose of a chair rail?
A: A chair rail was first used to protect walls from chair backs. Today it also adds style, splits tall walls, and gives a clean edge for paint, wallpaper, or paneling.
Q: How high should I install a chair rail?
A: The standard rule is about one-third of the wall height from the floor. For an eight-foot ceiling, that means roughly 32 to 36 inches. Furniture and window sills may change the final placement.
Q: Are chair rails still in style in 2026?
A: Yes. Chair rails are back in fresh forms, such as two-tone walls, modern flat profiles, and paneled looks. They add detail and depth to both traditional and contemporary homes.
Q: What material is best for a chair rail in Florida?
A: It depends on the room. Solid wood or poplar works well in dry living areas, while PVC resists moisture in bathrooms and laundry rooms. Humidity makes material choice an important step in Florida homes.
Q: Can a chair rail be used with wainscoting?
A: Yes. The rail often serves as the cap on top of wainscoting panels. This pairing gives a finished, traditional look and covers the top edge of the panels.