Key Takeaways
-
Choose moisture-resistant materials like PVC, composite, or cellular PVC trim for Tampa's humid climate to prevent warping, swelling, and cracking within months.
-
Measure each wall at least twice, check corner angles with a digital angle finder, and account for non-standard angles common in older Tampa homes before cutting any trim.
-
Hire experienced trim carpenters with verified portfolios who understand Tampa's humidity challenges, rather than general handymen or the cheapest bids, to avoid visible mistakes.
-
Use paintable latex or acrylic caulk on interior trim, apply thin consistent beads, and smooth immediately with a damp finger to prevent moisture penetration and mold.
-
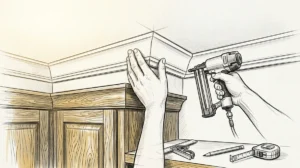
Fasten trim into wall studs and ceiling joists using proper finish nails, not drywall alone, to prevent trim from popping or separating due to Tampa's temperature expansion and contraction.
-
Prepare surfaces by sanding ridges, filling holes with spackling compound, cleaning dust and grease, and checking wall levelness before installation for flush, gap-free results.
Trim work can completely change how a room looks and feels. The right molding, baseboards, and decorative trim add elegance and value to any home. But getting it wrong can cost you time, money, and frustration. In Tampa’s unique climate, with its heat and humidity, mistakes are even more common — and more costly. Whether you’re a homeowner wanting to upgrade your space, an interior designer planning a high-end project, or a developer adding luxury finishes, knowing what to avoid is just as important as knowing what to do. This guide covers the seven most common trim work mistakes made in Tampa homes. Avoid these pitfalls, and your finished results will look polished, professional, and built to last.
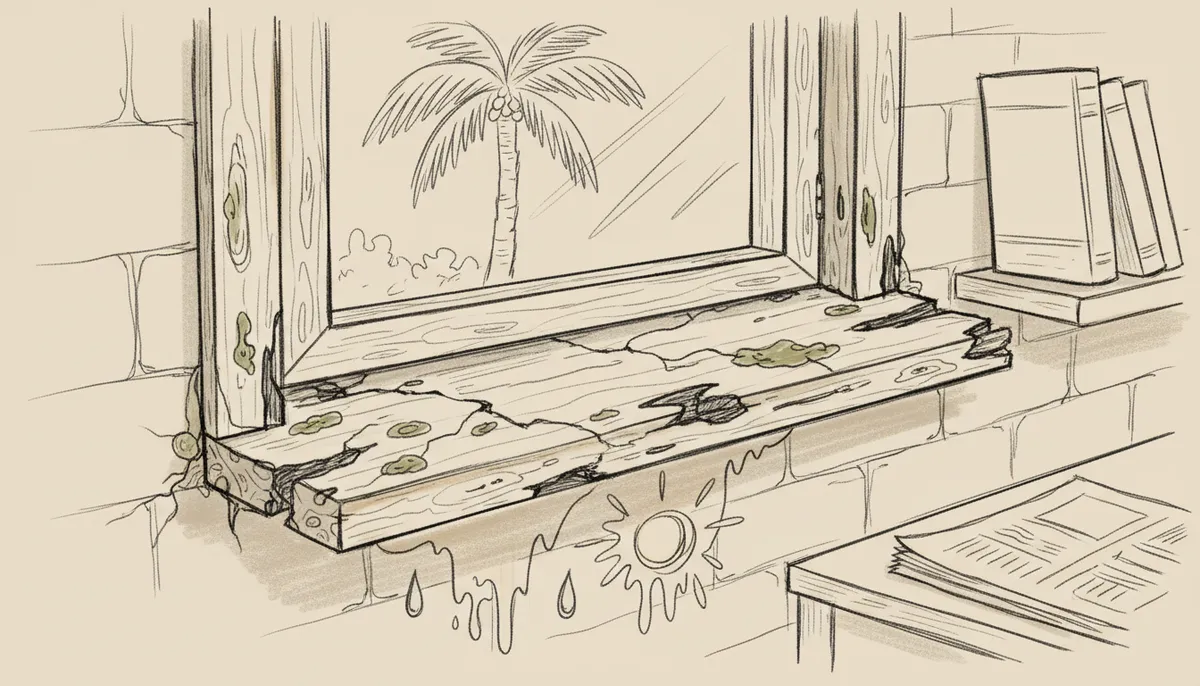
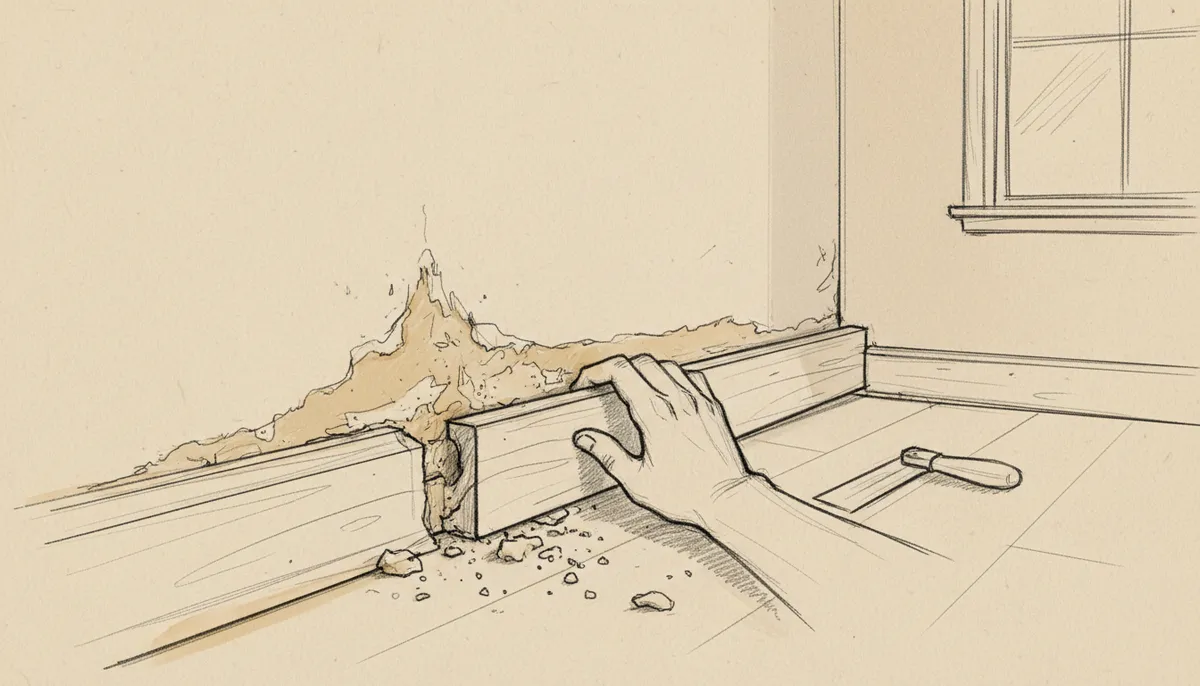
Mistake 1: Choosing the Wrong Materials for Tampa’s Climate
Tampa’s heat and humidity are hard on building materials. Using the wrong type of trim can lead to warping, swelling, and cracking within months. Many homeowners make the mistake of choosing materials that look good in the showroom but fail in real-world conditions.
When selecting trim for Tampa homes, consider how the material handles moisture. MDF trim, for example, absorbs moisture easily. In humid environments like Tampa, it can swell and warp — especially in bathrooms, kitchens, and near exterior walls. You can learn more about crown molding materials and their properties to make better choices.
Here are better material options for Tampa’s climate:
- PVC or composite trim: Moisture-resistant and highly durable
- Hardwood trim: Dense and stable, but needs proper sealing
- Finger-jointed pine: Cost-effective, but must be primed and painted
- Cellular PVC molding: Excellent for high-humidity areas
Matching your material choice to the specific room and its moisture levels is essential. Skipping this step is one of the most expensive mistakes you can make.
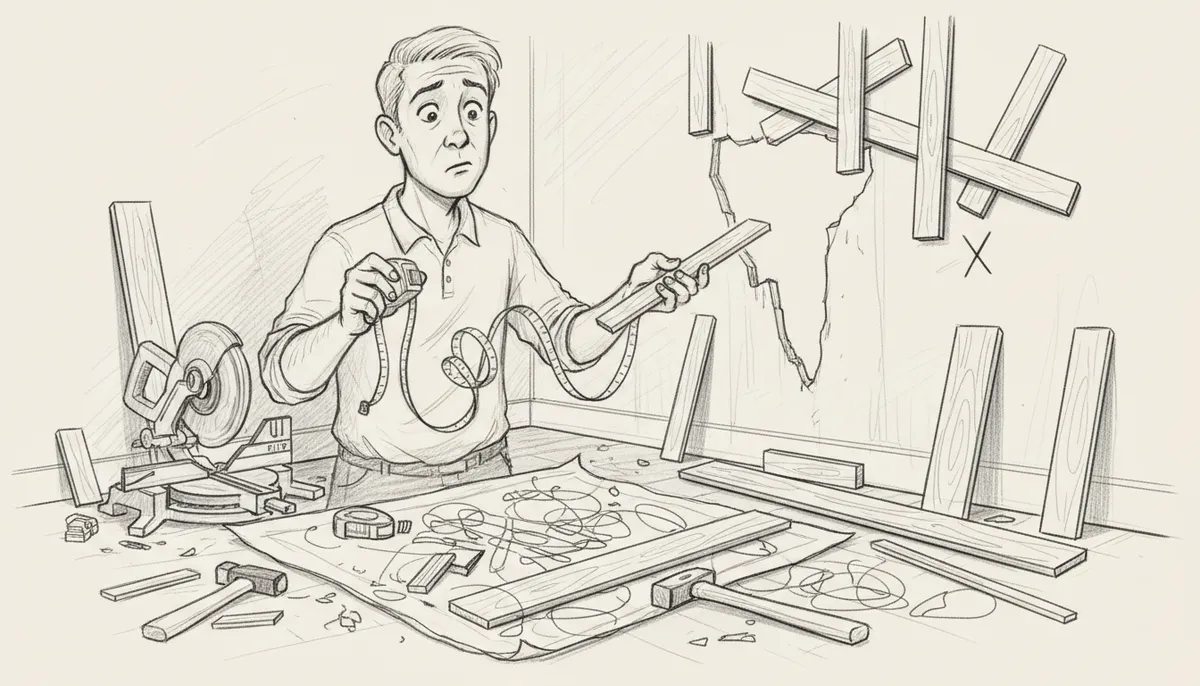
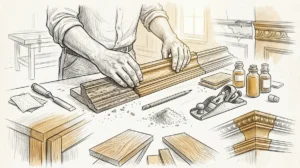
Mistake 2: Skipping Proper Measurement and Planning
Accurate measurements are the foundation of all good trim work. Rushing through measurements leads to gaps, mismatched joints, and wasted materials. This is a mistake that even experienced DIYers make regularly.
Before cutting a single piece of trim, take time to plan the entire project. Measure each wall length, ceiling height, and corner angle carefully. Tampa homes often feature non-standard angles due to settling foundations or older construction — always check before assuming 90-degree corners.
Follow these steps for accurate trim measurement:
- Measure each wall at least twice before cutting
- Check corner angles with a digital angle finder
- Account for door and window openings in your total linear footage
- Add 10-15% extra material for waste and mistakes
- Create a simple sketch of each room before starting
Good planning prevents costly material waste and ensures a smooth, professional finish. Skipping this step almost always leads to problems down the line.
Mistake 3: Ignoring Proper Surface Preparation
Trim work only looks as good as the surface it’s installed on. Many homeowners focus all their attention on the trim itself and forget to prepare the walls and surfaces properly. This leads to poor adhesion, visible gaps, and a less-than-perfect finish.
Surface prep includes filling existing nail holes, sanding rough areas, and cleaning surfaces of dust and grease. It also means checking that walls are plumb and flat before installation begins. If walls are uneven, trim will not sit flush — and gaps will show.
Key surface preparation steps include:
- Sand down any high spots or ridges on walls
- Fill cracks and holes with lightweight spackling compound
- Clean all surfaces with a damp cloth and let dry completely
- Prime bare wood before painting trim
- Check wall levelness with a spirit level or laser level
For those exploring wall enhancements in Tampa Bay, proper surface prep makes a dramatic difference in the final outcome. It’s a step worth taking seriously.
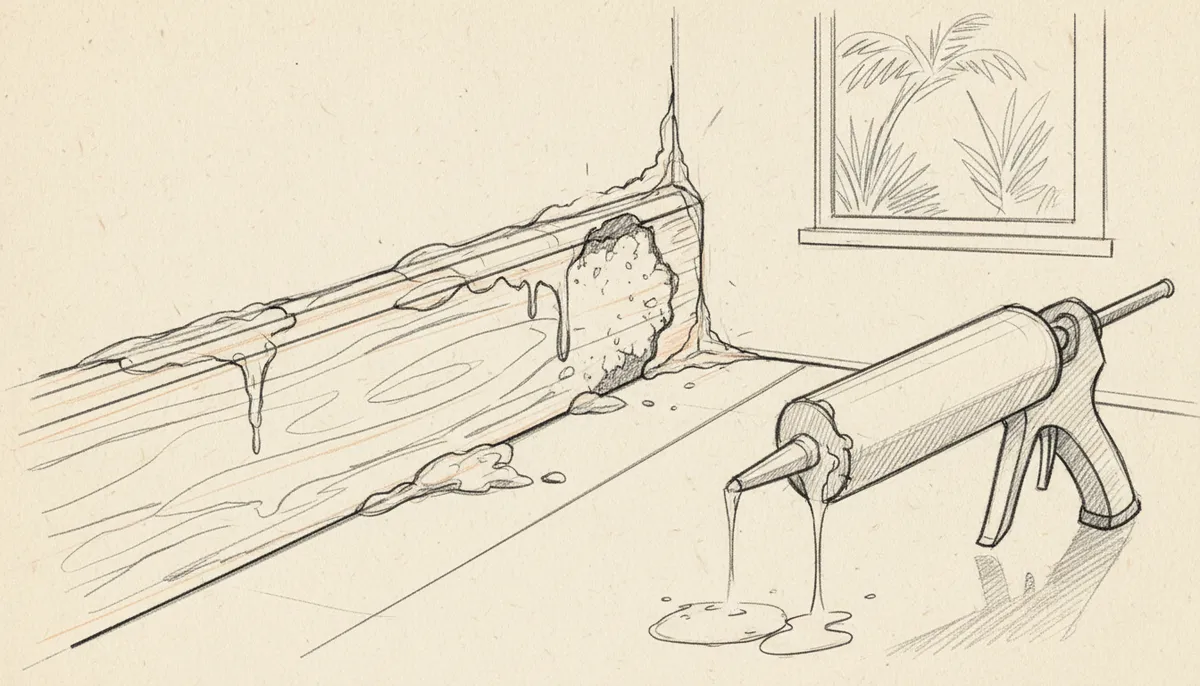
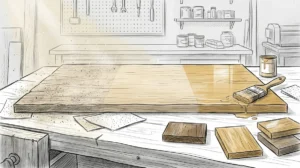
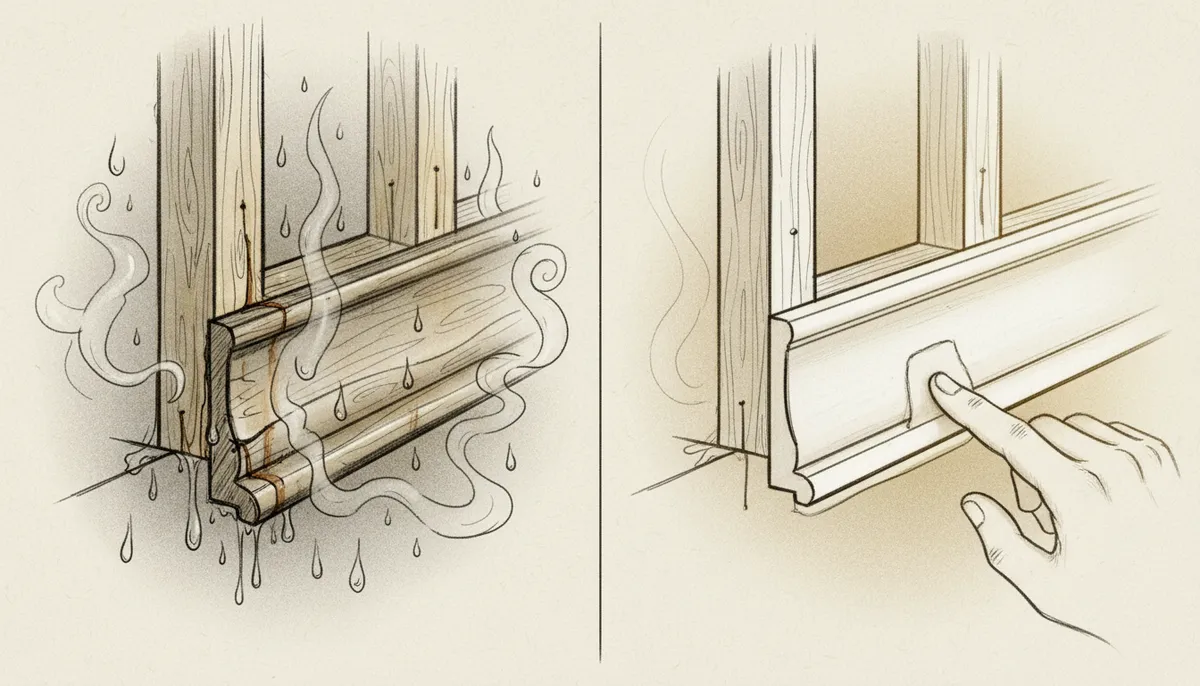
Mistake 4: Poor Caulking and Sealing Techniques
Even perfectly cut and installed trim will look amateur without proper caulking. Gaps between trim and walls, or between trim pieces, are highly visible once paint is applied. Skipping caulk — or applying it carelessly — is a very common trim work mistake.
In Tampa, caulking also serves a practical purpose. It keeps moisture from getting behind trim and causing mold or rot. Choosing the right caulk is just as important as applying it correctly.
Common caulking mistakes to avoid:
- Using silicone caulk on trim that will be painted (it doesn’t accept paint well)
- Applying too much caulk and creating a visible bead
- Not smoothing the caulk bead before it dries
- Skipping caulk on inside corners
- Using old or expired caulk that won’t adhere properly
Always use paintable latex or acrylic caulk for interior trim work. Apply a thin, consistent bead and smooth it immediately with a damp finger. The result will be a clean, professional-looking joint.
Mistake 5: Using Incorrect Nail Placement and Fastening
How you fasten trim to the wall matters more than most people realize. Incorrect nailing can cause trim to split, pop away from the wall, or create visible nail holes in the wrong locations. This mistake is common with both DIYers and inexperienced contractors.
Trim should always be fastened into studs or solid backing whenever possible. Nailing into drywall alone won’t hold trim securely over time — especially in a climate like Tampa’s where seasonal temperature changes cause materials to expand and contract.
| Trim Type | Recommended Fastener | Nailing Location |
|---|---|---|
| Baseboards | 2″ finish nails | Into wall studs |
| Crown Molding | 2.5″ finish nails | Into ceiling joists and top plates |
| Door Casing | 1.5″ finish nails | Into door frame and wall stud |
| Window Casing | 1.5″ finish nails | Into window jamb and rough opening |
| Chair Rail | 2″ finish nails | Into wall studs |
Use a nail gun for faster, more consistent results. Set nails just below the surface using a nail set tool. Fill the holes with wood filler before painting for a seamless finish. You can also explore molding details to see how professional fastening contributes to a polished look.
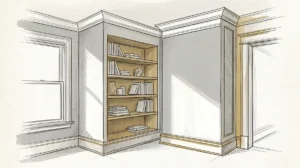
Mistake 6: Neglecting the Bigger Design Picture
Trim work doesn’t exist in isolation. It’s part of a larger design story that includes ceilings, walls, floors, and cabinetry. One of the biggest mistakes homeowners and developers make is choosing trim without considering how it fits with everything else in the space.
For example, ornate crown molding looks stunning in a formal living room but can feel out of place in a minimalist modern kitchen. Similarly, thin baseboards in a room with high ceilings can look undersized and weak. Matching trim style and scale to the overall design is crucial.
Here’s how to ensure design cohesion:
- Choose trim profiles that match your home’s architectural style
- Scale trim height and thickness to room proportions
- Coordinate trim color with walls, ceilings, and cabinetry
- Think about how trim transitions between rooms
- Consider how ceiling designs interact with crown molding choices
Interior designers especially understand this principle. Trim is a design element, not just a finishing detail. It should be planned from the start of any renovation or build project.
If you’re looking for inspiration, trim and molding can truly transform your space with style when chosen thoughtfully.
Mistake 7: Hiring the Wrong Contractor for the Job
Even the best materials and plans can result in poor outcomes with the wrong installer. Trim work requires precision, skill, and experience. Hiring a general handyman or the cheapest bid often leads to visible mistakes — crooked lines, gaps, and poor joints.
In Tampa, many contractors claim to do trim work but lack the specialized carpentry skills needed for high-end results. Always verify experience before hiring. Ask to see photos of completed projects. Check reviews and references carefully.
Red flags when hiring a trim carpenter:
- No portfolio of previous trim work to show
- Unable to explain how they handle Tampa’s humidity challenges
- No proper licensing or insurance in Florida
- Vague timelines and no written contract
- No experience with specific trim types you need
For those who want expert-level results, finding a skilled carpenter near you is worth the research. Quality craftsmanship makes a lasting difference. Visit us on Google to see what customers say about Bucheli Trim’s work in the Tampa Bay area.
You can also learn more about carpentry as a craft to better understand what separates a skilled trim carpenter from an average contractor.
Bonus Tips: What Great Trim Work Actually Looks Like
Understanding mistakes is valuable. But it also helps to know the benchmarks of excellent trim work. Here’s what to expect from a quality installation:
- Tight, clean miter joints with no visible gaps
- Smooth, consistent caulk lines at all edges
- Trim that sits flush against walls and ceilings
- Properly filled nail holes that disappear under paint
- Consistent reveal on all door and window casings
- Trim that complements the room’s overall design
Great trim work is almost invisible — it enhances the space without drawing attention to itself. When done right, it simply makes everything look more refined and intentional. For custom projects that go beyond standard trim, explore custom carpentry projects for inspiration.
Homeowners interested in comprehensive home upgrades can also explore services like built-in cabinetry, professional flooring, and custom doors to complete the look. Each element works together to create a cohesive, high-end result.
For real estate developers, premium trim work is one of the most cost-effective ways to elevate a property’s perceived value. Buyers notice quality finishes. A well-trimmed home signals care, craftsmanship, and attention to detail — exactly what luxury buyers look for. Following Bucheli Trim on Facebook is a great way to stay inspired and see recent project examples.
Conclusion
Trim work in Tampa homes is both an art and a science. The right materials, careful planning, proper installation techniques, and a skilled contractor all play important roles. Avoiding the seven mistakes outlined in this guide will save you time, money, and frustration — and deliver results you’ll be proud of for years to come.
Whether you’re upgrading a single room or completing a full home renovation, quality trim work makes a measurable difference. Don’t let preventable errors hold back your project. If you’re ready to start your trim work project in Tampa Bay, reach out to our team today and let’s bring your vision to life with expert craftsmanship.
FAQs
Q: What type of trim material works best for Tampa homes?
A: In Tampa’s humid climate, PVC, cellular PVC, and composite trim materials perform best because they resist moisture and won’t warp or swell. Hardwood trim is also a strong option when properly sealed and maintained. Avoid untreated MDF in high-moisture areas such as bathrooms, kitchens, or near exterior walls.
Q: How do I know if trim work was installed correctly?
A: Well-installed trim will sit completely flush against walls and ceilings with no visible gaps at the joints. Miter cuts should be tight and clean, nail holes should be filled and invisible under paint, and all edges should have a smooth, consistent caulk line. Any trim that wobbles, gaps, or separates from the wall is a sign of poor installation.
Q: How does trim work affect a home’s value in Tampa?
A: High-quality trim work significantly enhances a home’s perceived value, especially in the competitive Tampa Bay real estate market. Buyers associate detailed moldings, custom casings, and refined finishes with craftsmanship and quality construction. Professionally installed trim can make a property stand out and justify a higher asking price.
Q: Can I do trim work myself, or should I hire a professional?
A: Basic trim installation like simple baseboards can be a DIY project for handy homeowners, but complex work such as crown molding, intricate molding profiles, or custom built-ins requires professional skill. Mistakes in trim work are very visible and can be costly to fix, so hiring an experienced carpenter is often the smarter investment for high-end results.
Q: How long does trim work typically take in a Tampa home?
A: The timeline depends on the scope of the project. A single room with standard baseboard and door casing might take one to two days, while a full home trim installation or custom ceiling and wall molding project can take one to two weeks. Proper surface preparation and drying time for caulk and paint should always be factored into the schedule.