Key Takeaways
-
Anchor every shelf and rod into wall studs whenever possible, since drywall alone cannot hold heavy loads and missed studs are a leading cause of pulled-out shelving.
-
Measure the closet width at the top, middle, and bottom and plan around the smallest number, because walls often bow and small errors add up fast.
-
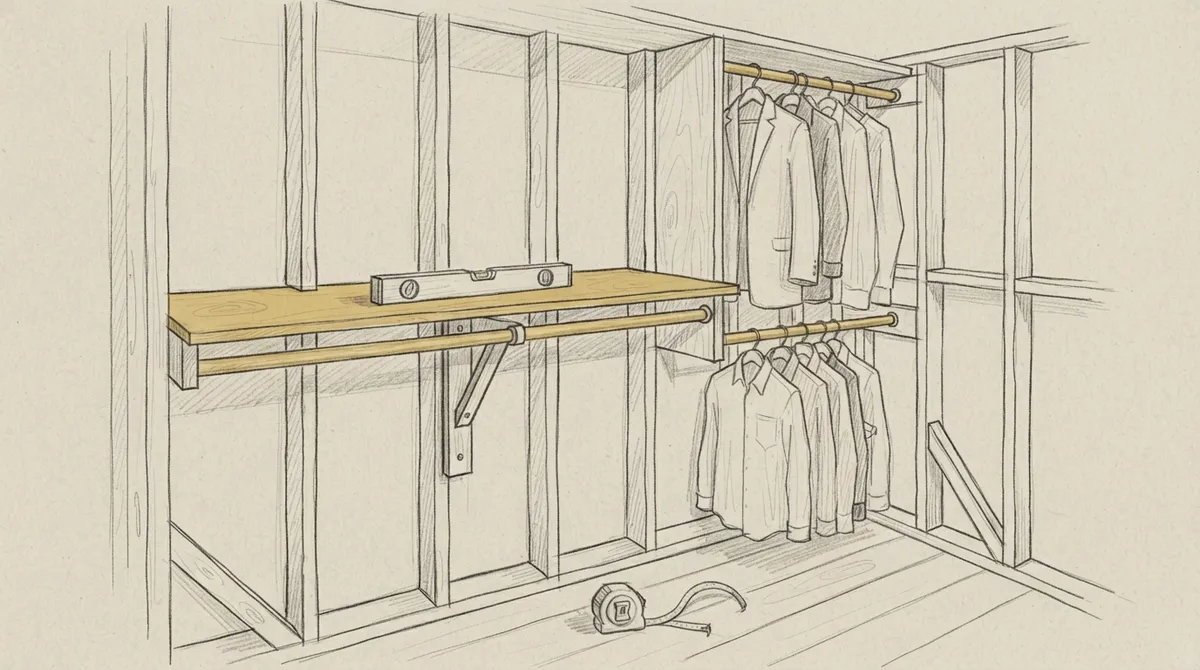
Hang long garments at about 66 inches high and double rods at roughly 40 and 80 inches, and add center supports to any shelf wide enough to sag.
-
Choose plywood with sealed edges over basic laminate in humid climates, since moisture can cause cheap laminate to swell and peel.
-
DIY works best in simple, square closets with straight walls and level floors; angled ceilings, odd corners, or walk-ins usually call for a custom carpenter.
-
Add trim such as baseboard and cap molding to hide gaps and give a finished, built-in look, and plan lighting like LED strips for dark closets.
Many homeowners look at their cluttered closets and think, “I can fix this myself.” It is easy to see why. DIY closet installation promises a fresh look and better storage. Videos make it seem simple. But a closet is more than a few shelves and a rod.
A well-built closet needs exact measuring, solid mounting, and clean finish work. Walls are rarely straight. Studs are not always where you expect them. Small errors add up fast. This guide explains how DIY closet installation really works, where it goes well, and where it can go wrong.
Whether you are a homeowner planning a weekend project, a designer weighing options for a client, or a developer thinking about finishes for a new build, this article will help you decide. You will learn the steps, tools, and common mistakes. You will also learn when a custom carpenter is the smarter choice.
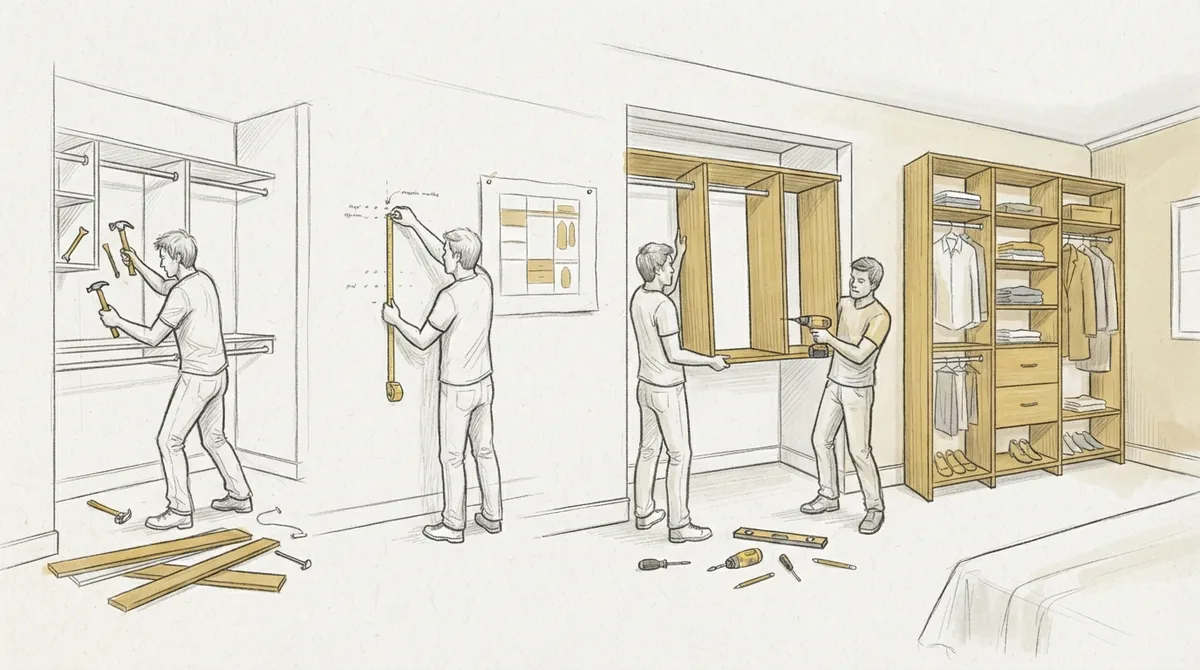
What Does DIY Closet Installation Involve?
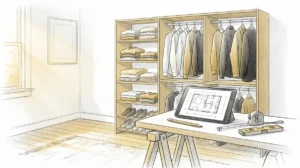
DIY closet installation means you plan, buy, and install a closet system on your own. This often includes shelves, hanging rods, drawers, and side panels. Most people use kits made from laminate-covered boards or wire. Others build simple shelves from lumber.
At its core, the job has four parts:
- Planning: Measuring the space and deciding what you need to store.
- Layout: Marking stud locations, shelf heights, and rod positions.
- Mounting: Fastening rails, uprights, and shelves to the wall.
- Finishing: Adding trim, touching up paint, and adjusting doors or drawers.
Each part takes care. Skipping one can leave you with sagging shelves or gaps along the walls. A closet holds heavy loads. Coats, shoes, and boxes add up to a lot of weight. The system must be strong and well anchored.
What Tools and Materials Do You Need?
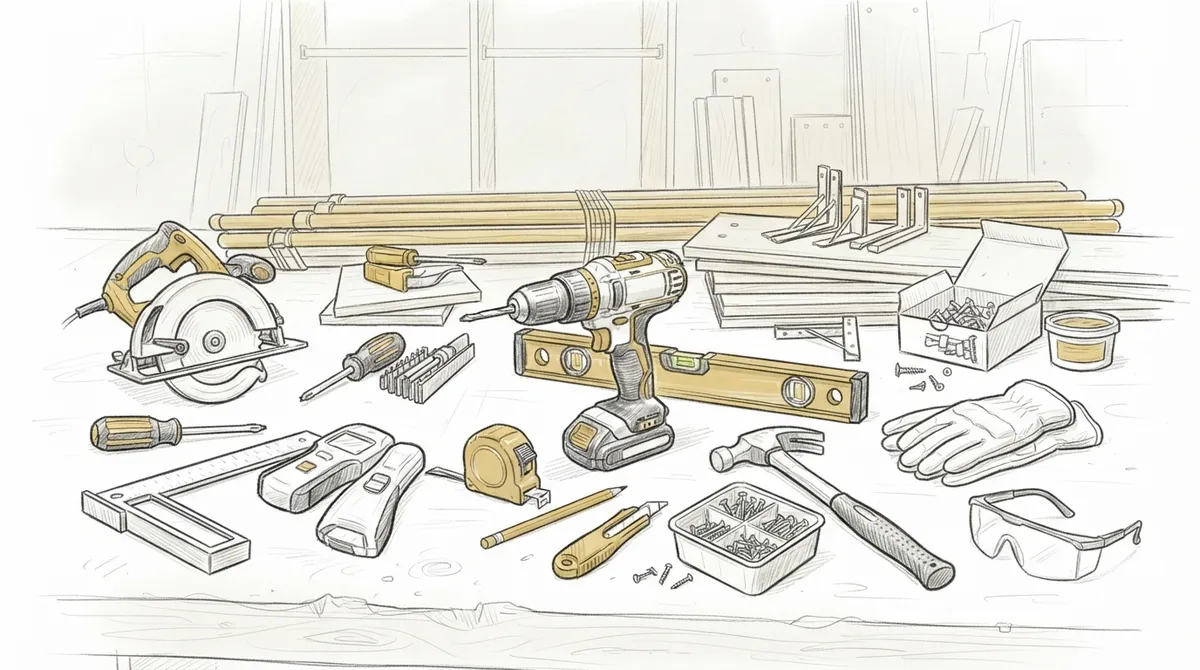
The right tools make a big difference. Without them, even a simple kit can turn into a long, frustrating job. Here is a basic list for most DIY closet projects:
- Tape measure and pencil
- 4-foot level
- Stud finder
- Cordless drill and driver bits
- Wall anchors rated for heavy loads
- Hacksaw or hand saw for rods and rails
- Miter saw or circular saw for cutting boards
- Caulk, wood filler, and touch-up paint
- Safety glasses and dust mask
Material choice matters too. Common options include:
| Material | Strength | Look | Best Use |
|---|---|---|---|
| Wire shelving | Moderate | Basic, utility style | Pantry or utility closets |
| Laminate boards | Good | Clean, uniform | Bedroom and hall closets |
| Plywood with edge banding | Very good | Custom feel | Walk-in closets |
| Solid wood | Excellent | High-end, warm | Statement closets |
Laminate boards are the most popular choice for DIY work. They are easy to find and simple to cut. Still, the edges can chip, and the surface can swell if it gets wet. In humid areas like Tampa Bay, moisture is a real concern.
How Do You Install a Closet System Step by Step?
Here is a clear, step-by-step process for a standard reach-in closet. Take your time with each step. Rushing is the top cause of errors.
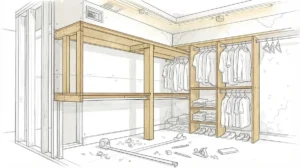
- Empty and prep the closet. Remove everything. Take down old shelves and rods. Patch holes and sand rough spots. Paint the walls now, since it is hard to paint later.
- Measure the space. Measure the width at the top, middle, and bottom. Walls can bow, so the numbers may differ. Use the smallest width for your plan. Measure height and depth too.
- Plan your layout. Decide what goes where. Long hanging space suits dresses and coats. Double hanging works for shirts and pants. Shelves hold sweaters and bins. Drawers store small items.
- Find and mark the studs. Use a stud finder and mark each stud with a pencil. Strong anchoring depends on hitting studs whenever you can.
- Install the top rail or cleat. Draw a level line across the wall. Screw the rail into the studs. This rail carries much of the weight, so it must be solid.
- Attach the uprights. Place the vertical pieces and secure them to the rail and the floor or wall. Check that they are plumb with your level.
- Add shelves and rods. Set shelves at your marked heights. Install the hanging rod brackets into studs. Test each one by pressing down firmly.
- Install drawers or accessories. Slide in drawers and adjust the glides. Add hooks, shoe racks, or baskets last.
- Finish the edges. Caulk gaps between the system and the walls. Add trim for a clean, built-in look.
Most reach-in closets take one to two days for a first-timer. Larger walk-in closets can take several days. If you want a deeper look at what a professional approach involves, see this guide on closet shelving installation.
What Are the Biggest Benefits of DIY Closet Installation?
DIY work does have real advantages. For the right project, it can be a smart move.
- Hands-on control: You choose every layout detail and work at your own pace.
- Personal satisfaction: Finishing a project yourself feels great.
- Quick fixes: Simple spaces like a pantry or kids’ closet suit a basic kit.
- Flexible timing: You can work on weekends and evenings.
DIY works best in simple, square closets with straight walls. It also works well when you need a short-term solution, such as in a rental or a starter home.
What Challenges Do DIYers Often Face?
Closets look easy until you start. Here are the problems that come up most often.
Crooked Walls and Uneven Floors
Older homes shift over time. Walls lean. Floors dip. A kit made with flat, square parts will not fit tight against a crooked wall. This leaves gaps and wobbly shelves. Professionals scribe and trim parts to match the exact shape of the space.
Weak Anchoring
Drywall alone cannot hold heavy loads. If you miss a stud, shelves can pull out of the wall. This can damage the drywall and your belongings. Always anchor into studs or use heavy-duty anchors made for the weight.
Cutting Mistakes
Cutting boards to size is tricky. One bad cut wastes material. Laminate chips easily if you use the wrong blade. Edges may look rough without proper banding.
Limited Design Options
Kits come in set sizes and styles. You may end up with wasted space or awkward gaps. Odd angles under stairs or sloped ceilings are hard to solve with a standard kit.
Moisture and Wear
Florida’s humidity can cause cheap laminate to swell and peel. Good materials and sealed edges last much longer.
DIY vs. Custom Carpentry: A Side-by-Side Look
Many people compare a kit with a built-in closet made by a carpenter. The table below shows the main differences.
| Factor | DIY Kit | Custom Carpentry |
|---|---|---|
| Fit | Standard sizes, may leave gaps | Built to exact measurements |
| Materials | Laminate, wire, light boards | Plywood, hardwood, premium finishes |
| Strength | Depends on your anchoring | Engineered for heavy loads |
| Design | Limited choices | Fully tailored to your needs |
| Finish | Visible seams and edges | Seamless, trimmed, built-in look |
| Time | Days to weeks of your effort | Handled by a skilled team |
| Home value | Modest impact | Strong appeal to buyers |
For a deeper comparison, read about custom built closets versus store-bought options. You can also explore why custom closets are worth the investment for many homeowners.
7 Common DIY Closet Mistakes to Avoid
If you decide to go the DIY route, avoid these frequent errors:
- Skipping the stud search. Anchors alone often fail under heavy loads.
- Measuring only once. Always measure twice, and check at several heights.
- Ignoring the floor. A floor that is not level throws off every shelf.
- Hanging rods too high or too low. A standard rod sits about 66 inches high for long garments. Double rods work at about 40 and 80 inches.
- Overloading shelves. Long spans sag. Add center supports for wide shelves.
- Forgetting the finish. Raw edges and gaps make the closet look unfinished.
- Not planning for lighting. A dark closet is hard to use. Plan for LED strips or a ceiling light.
Many of these mistakes also appear in DIY versus professional cabinetry installation projects. The lessons are the same: precision matters.
Planning Tips for a Better Closet Layout
Good planning makes any closet work better. These tips apply whether you build it yourself or hire a pro.
- Sort by type: Group clothes by length and use. Hang long items on one side and short items on another.
- Use vertical space: Add high shelves for seasonal items. Use the floor for shoes or bins.
- Add drawers: Drawers keep small items tidy and out of sight.
- Leave room to grow: Plan for 20 percent more storage than you need today.
- Think about access: Place daily items at eye level. Store rarely used items up high.
If you want inspiration for different layouts, check out these custom closet build ideas. You can also see how built-in closets are designed to fit each home.
When Should You Call a Custom Carpenter Instead?
DIY is not always the best path. Consider hiring a professional when:
- Your closet has angled ceilings, odd corners, or uneven walls.
- You want a walk-in closet with islands, drawers, and lighting.
- You need heavy-duty storage for a large wardrobe.
- You want a high-end, furniture-grade look.
- You are preparing a home for sale and want strong buyer appeal.
- You are a designer or developer who needs consistent, premium results across a project.
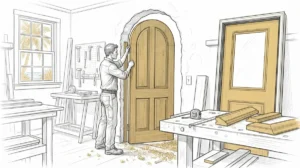
A skilled carpenter measures the space exactly, builds each piece to fit, and installs it with care. The result looks like part of the home rather than an add-on. Learn more about carpentry and the craft behind this kind of work. In Tampa Bay, Bucheli Trim builds custom closets, built-ins, and detailed trim that suit the local climate and style.
Homeowners across the area often share their experience with local carpenters. You can read what Bucheli Trim customers say by visiting our Bucheli Trim location on Google.
How Do Finish Details Change the Final Look?
Finish work is where DIY and professional results differ most. A basic kit often ends with raw edges and visible gaps. A custom closet includes details that make it feel complete.
These details include:
- Face frames: Wood strips that cover edges and add a built-in look.
- Crown molding and baseboards: Trim that ties the closet to the rest of the room. Learn about styles in this guide to trim work.
- Soft-close hardware: Drawers and doors that glide smoothly and quietly.
- Smooth, sealed paint or stain: A finish that resists wear and moisture.
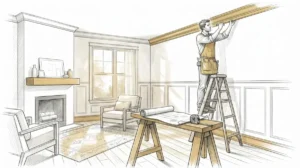
Even a DIY closet can look better with a bit of trim. Adding baseboard and a simple cap molding can hide gaps and give a cleaner result. If you want to try this step yourself, review these tips on installing baseboards like a pro.
Is DIY Closet Installation Right for You?
Ask yourself a few simple questions:
- Is my closet square, with straight walls and a level floor?
- Do I own the tools, or am I willing to buy them?
- Am I comfortable measuring and cutting with care?
- Do I have the time to finish the job right?
- Is a basic look good enough for this space?
If you answered yes to most of these, a DIY closet may work well. If you answered no to several, a custom carpenter can save you stress and give you a better result.
Final Thoughts: Choose the Path That Fits Your Space
DIY closet installation can be a rewarding project for simple spaces. With good planning, the right tools, and patience, you can create a useful, tidy closet. But walls, floors, and heavy loads make this job harder than it looks. Mistakes are common, and finish work takes skill.
For closets that need to fit perfectly, look beautiful, and last for years, custom carpentry is a strong choice. It brings together smart design, quality materials, and expert craftsmanship. If you are ready to explore options for your home, project, or client, contact the Bucheli Trim team to start the conversation. You can also follow our latest work on Facebook.
FAQs
Q: How long does DIY closet installation take?
A: A basic reach-in closet usually takes one to two days for a first-timer. Walk-in closets with drawers and many shelves can take several days. Prep work like patching and painting adds extra time.
Q: Can you install a closet system without hitting wall studs?
A: You can use heavy-duty wall anchors, but studs give far stronger support. Closets carry heavy loads, so anchoring into studs is always the safest choice. Wall anchors alone may pull out over time.
Q: What is the best material for a DIY closet in a humid climate?
A: Plywood with sealed edges holds up better than basic laminate in humid areas. Moisture can make cheap laminate swell and peel. Solid wood or properly finished plywood lasts longer in places like Tampa Bay.
Q: When is custom carpentry better than a DIY closet kit?
A: Custom carpentry is a better fit when walls are uneven, ceilings are sloped, or you want a high-end look. It also suits heavy storage needs and homes being prepared for sale. A carpenter builds each piece to fit the space exactly.