Key Takeaways
-
Measure width at the floor, middle, and top, height in two spots, and depth to the door frame, then use the smallest number, since walls are rarely perfectly straight.
-
Anchor all cleats, panels, and rods into wall studs, not drywall anchors alone, because anchors can fail under the weight of clothes and shoes.
-
Hang rods at about 80 inches and 40 inches in reach-in closets, and add a center support on any rod span longer than 48 inches to prevent sagging.
-
Paint the empty closet before installing shelves and panels, since it is much easier than painting around a finished system.
-
Keep shelves no deeper than 14 inches so items at the back stay visible, and store your most-used outfits at eye level.
-
Hire a custom carpenter for sloped ceilings, odd corners, full-height cabinetry, or seamless trim matches, and consider a hybrid approach where you handle prep and painting.
A messy closet wastes space and time. You dig through piles, hunt for shoes, and fight with bent hangers every morning. A well-planned DIY closet system can fix all of that. It gives each item a home and makes your daily routine smoother.
Many homeowners start with a simple weekend project. They measure, buy parts, and build. Some love the result. Others hit snags with uneven walls, weak mounting, or poor layouts. The difference usually comes down to planning and knowing where your skills end.
This guide walks you through the full process. You will learn how to measure, choose materials, design a layout, install the parts, and finish the job. You will also learn when a custom carpentry pro makes more sense. Whether you are a homeowner, a designer, or a developer preparing a property, these steps will help you make smart choices.
What Is a DIY Closet System?
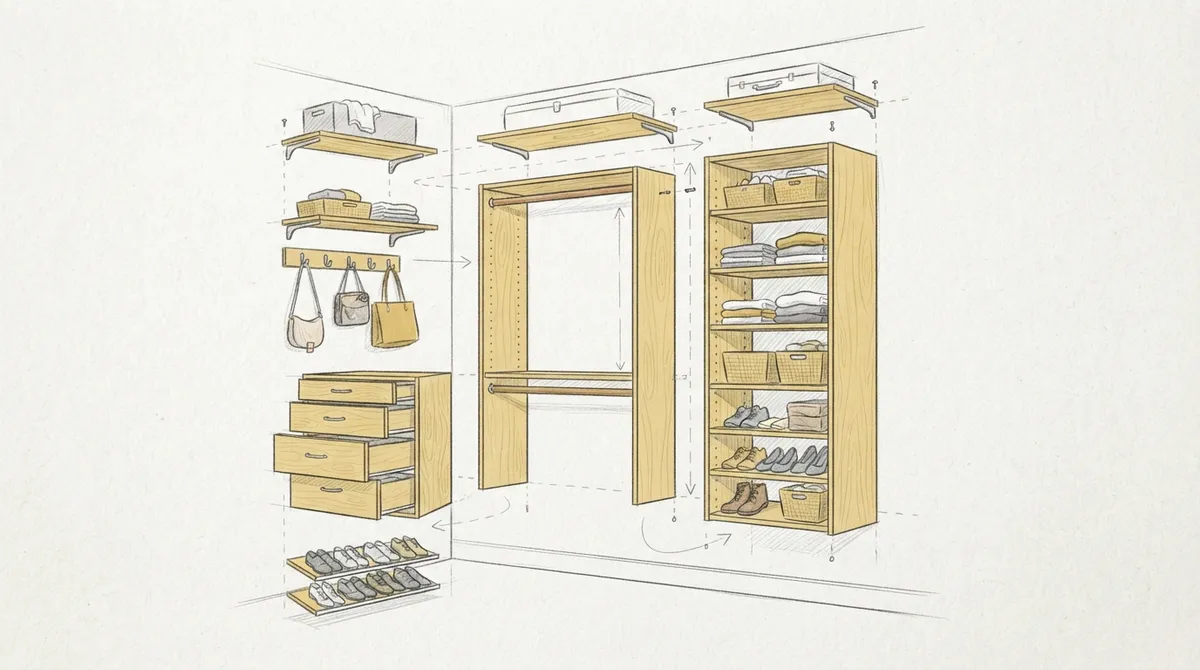
A DIY closet system is a set of shelves, rods, drawers, and supports that you plan and install yourself. Most systems fall into three groups:
- Wire systems: Light, simple, and easy to adjust.
- Laminate or modular systems: Pre-cut panels with hardware kits.
- Wood-built systems: Made from plywood, solid wood, or hardwood boards that you cut and finish.
Each type has strengths. Wire is fast. Modular looks clean. Wood-built systems feel solid and can be shaped to fit odd spaces. If you want a deeper look at how fixed storage compares to off-the-shelf options, read Custom Built Closet vs. Store-Bought: Which Wins?
Step 1: Measure Your Closet the Right Way
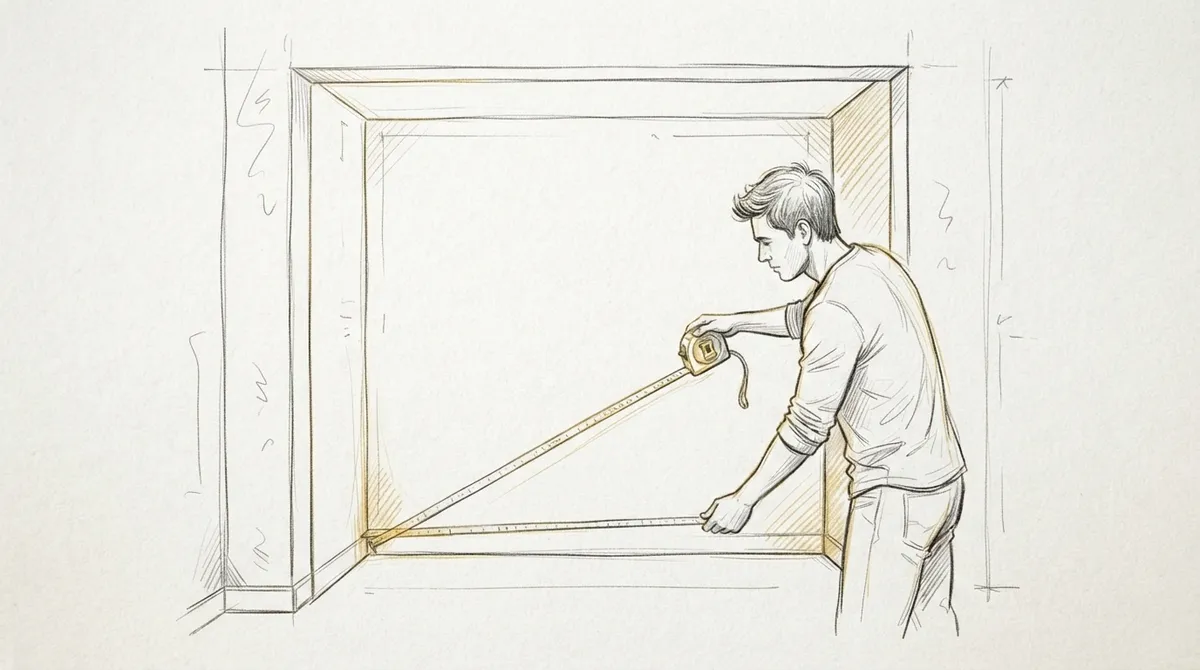
Good measurements prevent most DIY mistakes. Take your time here. Grab a tape measure, a pencil, a level, and a notepad.
- Measure the width at the floor, the middle, and the top. Walls are rarely perfectly straight, so use the smallest number.
- Measure the height from floor to ceiling in at least two spots.
- Measure the depth from the back wall to the door frame or opening.
- Mark obstacles such as outlets, light switches, vents, and baseboards.
- Locate wall studs with a stud finder and mark them with painter’s tape.
- Check the floor and walls with a level to spot slopes or bows.
Write every number down. Sketch the closet on paper with simple boxes. This sketch becomes your blueprint.
Step 2: Decide What You Need to Store
A closet should match your life, not a store catalog. Before you pick parts, list what you own. Count the items in each group.
- Long hanging items like dresses, coats, and robes
- Short hanging items like shirts and folded pants
- Folded clothes such as sweaters and jeans
- Shoes and boots
- Bags, hats, belts, and accessories
- Bulky items like luggage or seasonal bins
Next, think about daily habits. Do you grab the same five outfits each week? Put those at eye level. Store rarely used items on the top shelf. This simple rule saves time and keeps the closet tidy.
Step 3: Choose a Layout
The layout shapes how well your closet works. Most closets use one of these designs.
Reach-In Closets
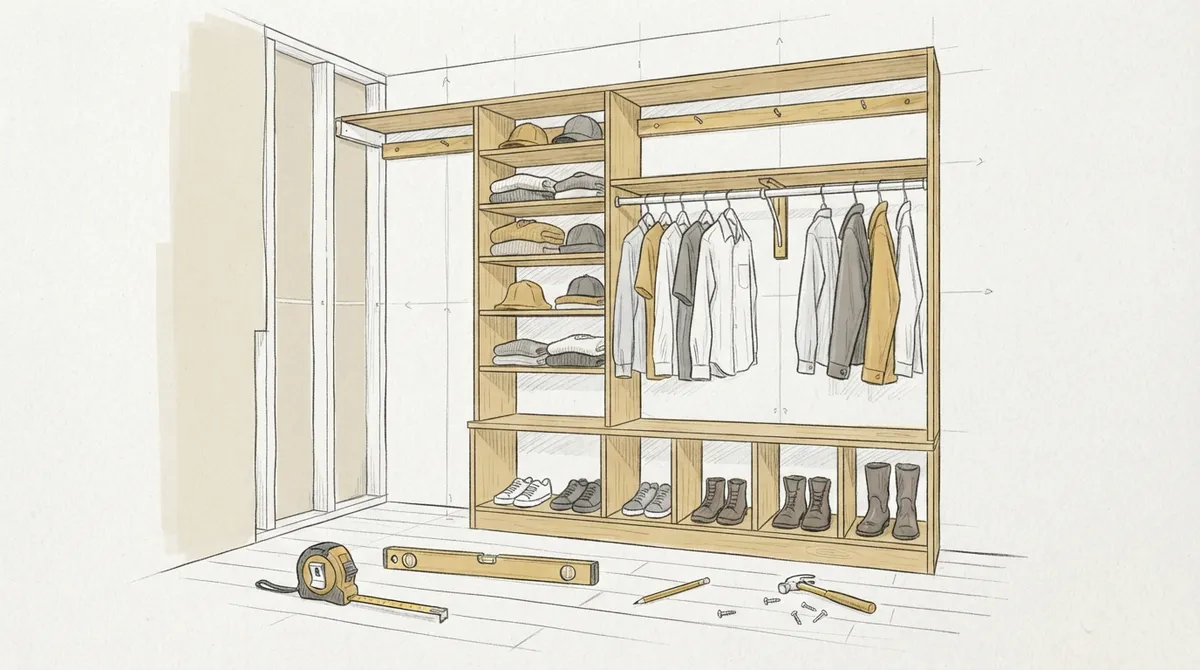
Reach-in closets sit behind a standard door. They are shallow, so use every inch. Double hanging rods work well here. Place one rod at about 80 inches and a second at about 40 inches for shirts and pants.
Walk-In Closets
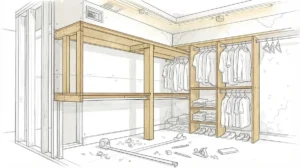
Walk-in closets give you room for three walls of storage. Use the longest wall for hanging. Add shelves and drawers on the side walls. Leave at least 36 inches of walking space in the center.
Corner and Angled Spaces
Odd shapes are tricky. Corner shelves, angled rods, and cut panels help you use dead space. This is where DIY projects often get hard, because angled cuts need precision.
| Closet Type | Best Layout | Difficulty for DIY |
|---|---|---|
| Small reach-in | Double hanging rods plus top shelf | Easy |
| Wide reach-in | Center hanging with side shelving | Easy to moderate |
| Walk-in | U-shaped layout with drawers | Moderate |
| Angled or sloped ceiling | Custom-cut panels and rods | Hard |
Step 4: Pick Your Materials
Material choice affects strength, looks, and lifespan. Here is a quick look at the common options.
| Material | Strength | Look | Best Use |
|---|---|---|---|
| Wire | Light to medium | Basic | Utility closets, pantries |
| Melamine or laminate | Medium | Clean, uniform | Bedroom closets |
| Plywood (finish grade) | High | Natural, paintable | Shelves, cabinets, drawers |
| Solid hardwood | Very high | Premium | Visible shelves and trim |
In Tampa Bay, humidity matters. Moisture can warp cheap boards and loosen hardware. Choose sealed plywood or well-finished wood for better stability. Closets on exterior walls need extra care.
Step 5: Gather Tools and Hardware
You do not need a full workshop. You do need a few reliable tools.
- Tape measure and pencil
- 4-foot level
- Stud finder
- Cordless drill and driver bits
- Circular saw or track saw
- Miter saw for trim and angled cuts
- Wall anchors and screws rated for your load
- Shelf pins, brackets, and closet rod supports
Buy hardware rated for the weight you plan to hang. A loaded rod can hold over 100 pounds. Cheap brackets will bend or pull out of the wall.
Step 6: Install Your DIY Closet System
Follow this order for a clean, sturdy build. Work slowly and check your level often.
- Clear and prep the closet. Remove old shelves, rods, and nails. Patch holes and sand rough spots.
- Paint first. It is easier to paint an empty closet than one full of shelves.
- Mark your layout on the walls. Use a level to draw lines for rods and shelf heights.
- Install the support cleats. Screw a cleat board into studs. This carries the shelf weight.
- Mount the vertical panels. Secure them to studs and to the floor or cleats. Keep them plumb.
- Add shelves. Rest them on cleats or shelf pins. Fasten them so they cannot slide.
- Hang the rods. Use center supports on spans longer than 48 inches to stop sagging.
- Install drawers or baskets. Test the slides before you fill them.
- Add trim. Finish edges with trim to hide gaps and give a built-in look.
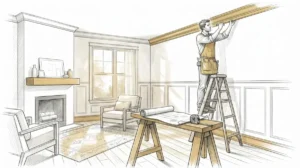
Trim is what turns a basic kit into something that looks custom. If you want to learn how it changes a space, see Trim Work: The Custom Carpentry Detail That Defines Style.
Common DIY Closet Mistakes to Avoid
Most problems come from rushing. Watch out for these errors.
- Skipping the studs. Drywall anchors alone cannot hold heavy loads.
- Ignoring uneven walls. Gaps appear when panels do not sit flush.
- Hanging rods too high. You should reach clothes without a stool.
- Forgetting airflow. Tight, closed closets in humid areas can trap moisture.
- Overbuilding shelves. Shelves deeper than 14 inches hide items in the back.
- Poor edge finishing. Raw plywood edges look unfinished without edge banding or trim.
Many of these issues are common in other home projects too. For a broader look at the choice between doing it yourself and hiring help, read DIY Carpentry vs. Professional Service: Which Wins?
Smart Features That Make a Closet Feel Custom
Small upgrades make a big difference. You can add these even on a DIY budget of time and effort.
- Pull-out belt and tie racks for quick access
- Shoe shelves set at an angle so you can see every pair
- Soft-close drawers for a smooth, quiet feel
- LED strip lighting under shelves for clear visibility
- Valet rods that fold out for planning outfits
- Cedar or sealed lining in drawers for fresh storage
Lighting is often overlooked. A dark closet hides clutter and makes color matching hard. Battery or plug-in LED strips are simple to add.
When to Call a Custom Carpentry Pro
DIY is rewarding, but it has limits. Some jobs need tools, training, and an eye for detail that takes years to build. Consider a professional when:
- Your closet has sloped ceilings, arches, or odd corners
- You want full-height cabinetry with doors and drawers
- You need a seamless match with existing trim and millwork
- You are preparing a home for sale and want a premium finish
- You are an interior designer who needs exact specs executed well
- You manage multiple units and need consistent quality
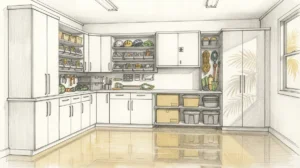
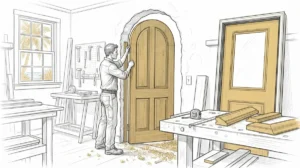
Custom carpenters build to your exact space. They scribe panels to uneven walls, hide fasteners, and finish every edge. The result looks like it grew out of the house itself. To see what a full build can deliver, explore Built-In Closets: Custom Storage That Fits Your Home or What Makes Custom Closets Worth the Investment?
Some homeowners take a hybrid path. They handle painting and basic prep, then hire a carpenter for the cabinetry and trim. This can cut time while still delivering a polished result. At Bucheli Trim, we work with homeowners across Tampa Bay who want that balance of personal involvement and expert craftsmanship. You can see what our Bucheli Trim customers say on Google to learn how those projects turn out.
DIY vs. Custom Carpentry at a Glance
| Factor | DIY Closet System | Custom Carpentry |
|---|---|---|
| Fit | Standard sizes, some gaps | Built to exact measurements |
| Time | Weekends of your own work | Handled by a professional crew |
| Finish quality | Depends on your skill | Seamless, furniture-grade |
| Flexibility | Limited by kit parts | Any shape, style, or feature |
| Resale appeal | Moderate | High, especially for luxury buyers |
If you are weighing a similar choice for cabinets, DIY vs. Professional Cabinetry Installation: Which Saves More? covers many of the same trade-offs.
Maintenance Tips to Keep Your Closet Working
A good system stays good with a little care. Follow these habits.
- Check screws and brackets twice a year and tighten any that loosen.
- Wipe shelves with a dry or slightly damp cloth.
- Rotate seasonal clothes to avoid overload.
- Use moisture absorbers in humid months.
- Do a quick purge each season to keep clutter from returning.
Keeping the weight balanced across shelves and rods also extends the life of the system. For more upkeep ideas across your home, see the Home Maintenance Guide for Custom Carpentry in 2026.
Final Thoughts
A DIY closet system can be a smart, satisfying project when you plan well. Measure carefully, choose strong materials, anchor into studs, and finish the edges. Those steps alone will put you ahead of most first-time builders.
Know your limits, too. Tricky angles, full cabinetry, and high-end finishes often call for a skilled carpenter. If you want a closet that fits your space perfectly and looks built into the home, our team can help. Contact Bucheli Trim today to talk about your closet project and get expert guidance on the best path forward.
For more background on the craft itself, you can learn more about carpentry and how it shapes the spaces we live in.
FAQs
Q: How long does it take to install a DIY closet system?
A: A simple reach-in closet usually takes one weekend, including painting and prep. A larger walk-in with drawers and trim can take several days. Careful measuring at the start saves the most time later.
Q: What is the best material for a DIY closet system?
A: Finish-grade plywood is a strong choice because it holds weight well and can be painted or stained. Melamine panels are also popular for a clean look. In humid areas like Tampa Bay, sealed or well-finished materials resist warping better.
Q: How much weight can a closet rod hold?
A: A properly mounted rod can hold well over 100 pounds when screwed into studs with strong brackets. Spans over 48 inches need a center support to prevent sagging. Always check the rating on your hardware.
Q: Can I install a closet system without finding wall studs?
A: It is not recommended for anything heavy. Drywall anchors can fail under the weight of clothes, shoes, and shelves. Locate studs with a stud finder and anchor your cleats and panels into them.
Q: When should I hire a custom carpenter instead of doing it myself?
A: Hire a pro if your closet has sloped ceilings, odd corners, or you want full cabinetry with a seamless finish. A carpenter builds to your exact space and matches existing trim. This is especially helpful for high-end remodels and home sales.