Key Takeaways
-
Match crown molding width to your ceiling height and room size: larger rooms with tall ceilings handle wider profiles, while smaller rooms need simpler, narrower trim to avoid overwhelming or underwhelming the space.
-
Hire experienced installers who understand coping and mitering techniques, wood behavior in humid climates, and proper finishing—professional installation prevents visible gaps, cracking, and separation that DIY efforts often create.
-
Check for wall and ceiling imperfections before installation and plan carefully with accurate measurements and sketches; skipping this step leads to visible gaps, uneven joints, and a rough finished look.
-
Pair crown molding with complementary trim details like baseboards, wainscoting, and door casings for a cohesive, high-end appearance that increases perceived home value and buyer appeal.
Crown molding can turn a plain room into a stunning space. But many homeowners, designers, and builders make small errors that hurt the final look. These mistakes cost time, money, and can lower the value of a home. In this guide, we break down the five most common crown molding mistakes and show you how to avoid them. Whether you are updating a single room or finishing a new luxury build in Tampa Bay, this article will help you get it right the first time.
Crown molding is more than trim near the ceiling. It is a design detail that adds depth, style, and character to any room. When done well, it makes ceilings feel higher and rooms feel more finished. When done poorly, it can look uneven, cheap, or out of place. Let’s look at the mistakes to avoid and how skilled carpentry changes the outcome.
What Is Crown Molding and Why Does It Matter
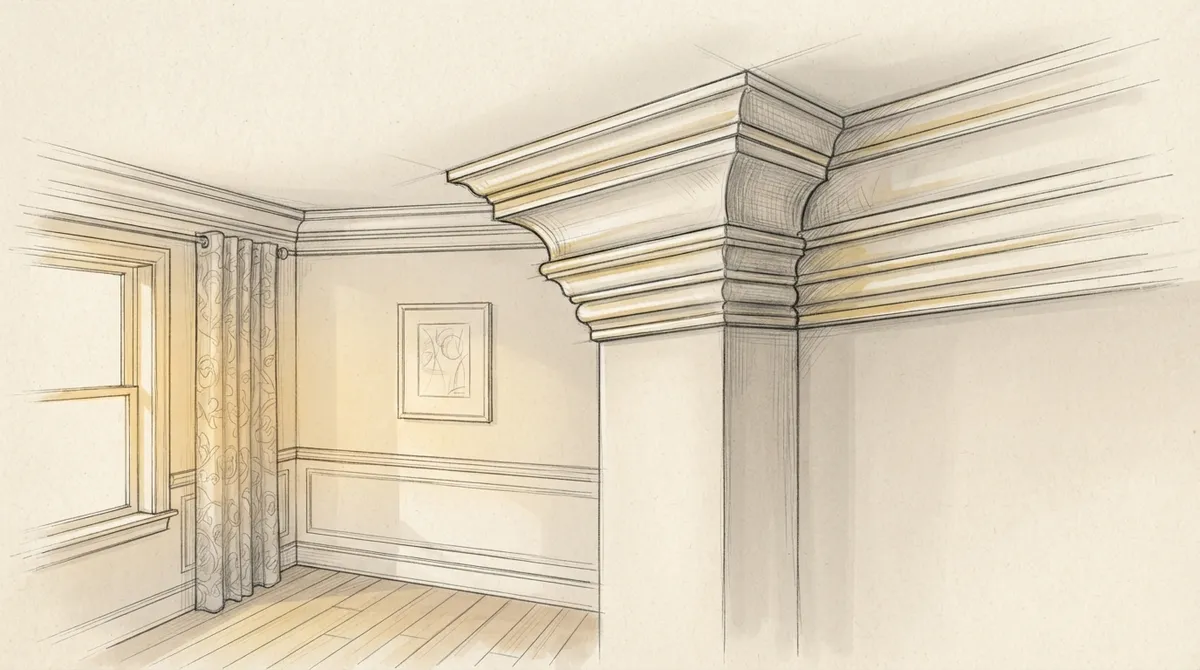
Crown molding is a decorative trim installed where the wall meets the ceiling. It softens the hard edge between the two surfaces and adds a finished, polished look. You can crown molding in many styles, from simple and modern to bold and traditional.
Good molding work does more than look nice. It hides small gaps and uneven lines where the wall and ceiling meet. It also adds value to a home, which matters a lot to real estate developers and sellers. Buyers often notice trim details, even if they can’t explain why a room feels more expensive.
Common Styles of Crown Molding
- Traditional cove molding with a curved profile
- Modern flat or stepped designs for clean lines
- Layered molding that combines multiple trim pieces
- Coffered ceiling accents paired with crown trim
- Simple, thin profiles for smaller rooms
Choosing the right style depends on ceiling height, room size, and the overall design goal. A skilled carpenter can guide you through these choices based on your home’s layout.
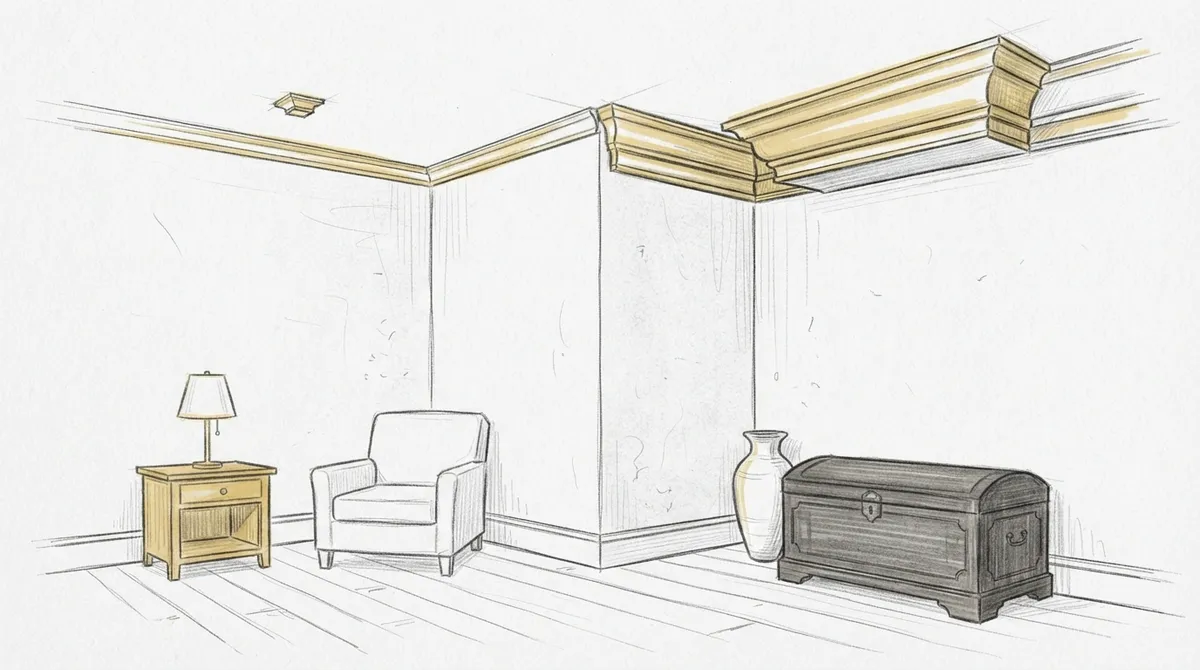
Mistake 1: Choosing the Wrong Size for the Room
One of the biggest mistakes homeowners make is picking molding that does not fit the scale of the room. Large, bold molding can overwhelm a small room. Thin, delicate trim can get lost in a large space with high ceilings.
As a rule, larger rooms with taller ceilings can handle wider, more detailed molding. Smaller rooms need simpler, narrower profiles. This keeps the room feeling balanced instead of cluttered or empty.
How to Pick the Right Size
- Measure your ceiling height first
- Compare your room size to standard molding width charts
- Look at existing trim in the home, like baseboards and door casings
- Ask a professional for a visual sample before installing
- Consider the overall style of the home, modern or traditional
Getting this step right sets the tone for the rest of the room. If you’re unsure, browsing molding details from a trusted carpentry provider can help you compare options before making a final decision.
Mistake 2: Ignoring Ceiling and Wall Imperfections
Older homes often have walls and ceilings that are not perfectly straight. Installing crown molding without checking for these imperfections leads to visible gaps and uneven lines.
A skilled carpenter checks for these issues before starting the job. They may need to adjust angles, use caulk, or custom-cut pieces to fit uneven surfaces. Skipping this step is a fast way to end up with molding that looks unfinished.
Signs Your Walls or Ceiling May Be Uneven
- Visible gaps at the corners where trim meets the wall
- Molding that looks tilted from certain angles
- Cracks appearing months after installation
- Trim that doesn’t sit flush against the surface
If you notice these signs in an older home, it’s worth reviewing our guide on what makes custom ceilings worth considering before starting your project.
Mistake 3: Poor Corner Cuts and Joints
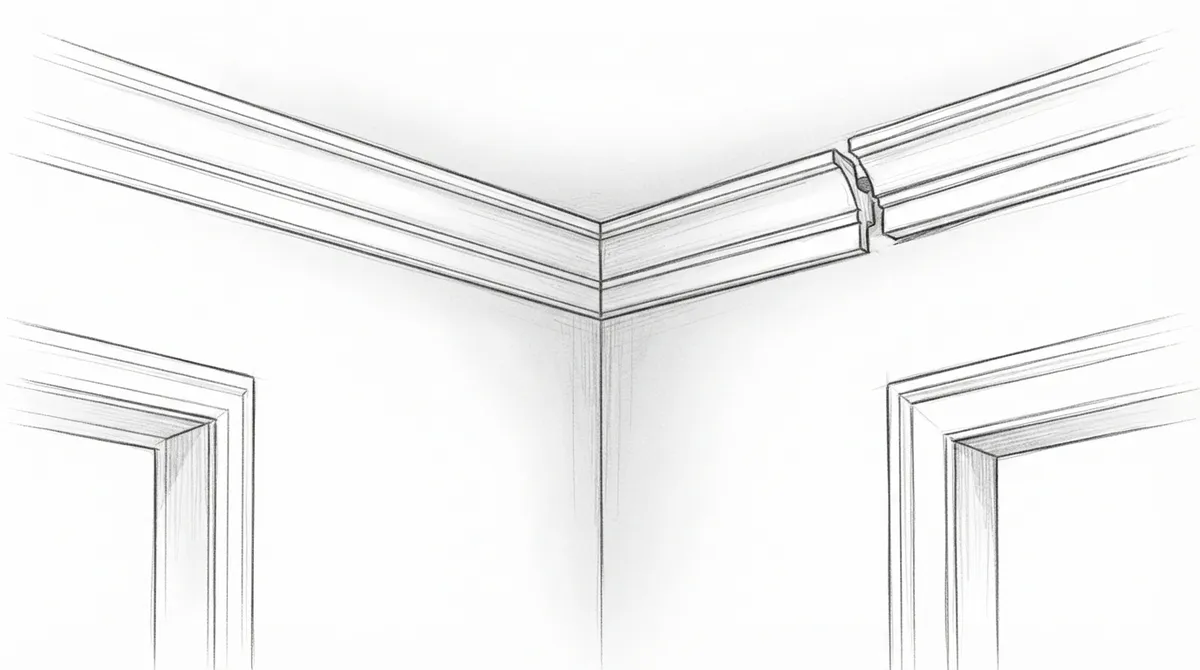
Corners are the hardest part of any molding installation. A mistake here is one of the most noticeable in the whole room. Poorly cut corners create gaps, uneven joints, and a rough finished look.
There are two main techniques used for corners: coping and mitering. Coping tends to give a tighter, more durable fit, especially in homes where walls settle over time. Mitering is faster but can open up small gaps as the house shifts.
| Technique | Best For | Durability |
|---|---|---|
| Coped Joints | Older homes, uneven corners | High |
| Mitered Joints | New construction, straight walls | Moderate |
| Combination Method | Complex rooms with mixed angles | High |
Professional installers often use a mix of both techniques depending on the room. This is one reason why hiring an experienced skilled carpenter near you makes such a big difference in the final result.
Mistake 4: Skipping Proper Planning and Measurements
Rushing into an installation without a clear plan often leads to wasted material and mismatched pieces. Crown molding requires careful measuring, especially in rooms with multiple corners or unusual shapes.
Planning also includes deciding how the molding will interact with other design elements, like wall enhancements or built-in features. Skipping this step can create a disconnected look between different parts of a room.
Steps for Proper Planning
- Sketch the room layout, including all corners and angles
- Measure each wall length accurately
- Calculate the amount of material needed, plus extra for waste
- Decide on the joint technique for each corner
- Confirm the molding style matches other trim in the home
Interior designers working on multiple rooms often find that clear planning saves time and prevents costly rework later. This is especially important for custom projects that involve detailed ceiling and wall designs.
Mistake 5: Hiring Inexperienced Installers
Perhaps the biggest mistake of all is hiring someone without the right experience. Crown molding looks simple, but it requires precision, patience, and knowledge of angles, materials, and finishing techniques.
An inexperienced installer may rush the job, use the wrong tools, or skip important steps like caulking and sanding. This leads to a finished product that looks rough instead of polished.
What to Look for in a Qualified Installer
- Years of hands-on experience with trim and molding work
- A portfolio of completed projects you can review
- Clear communication about timelines and process
- Knowledge of different wood types and finishes
- Positive reviews from past clients
Before hiring anyone, it helps to review common mistakes to avoid when hiring carpenters. Taking time to vet a contractor protects your investment and your home’s overall look.
Why Professional Installation Beats DIY for Crown Molding
Many homeowners consider installing crown molding themselves to save time. But this project involves more skill than it appears. Cutting accurate angles, especially for coped joints, takes practice and the right tools.
Professional installers bring years of learn more about carpentry techniques to every job. They understand how wood expands and contracts with humidity, which matters a lot in Florida’s climate. This knowledge helps prevent cracking and separation over time.
Benefits of Hiring a Professional
- Precise cuts and tight joints with no visible gaps
- Correct material choice based on your home’s climate
- Faster completion without sacrificing quality
- Proper finishing, including caulk and paint-ready surfaces
- Long-lasting results that hold up over time
If you’re weighing your options, our comparison on DIY vs. pro crown molding install breaks down the pros and cons in more detail.
How Crown Molding Fits Into a Larger Design Plan
Crown molding rarely stands alone. It works best when paired with other trim details, like baseboards, door casings, and wainscoting. This creates a cohesive look throughout the home.
Interior designers often use crown molding to tie together different design elements in a room. It can complement ceiling designs, built-in shelving, and even custom cabinetry. When all these pieces work together, the result feels intentional and high-end.
Design Elements That Pair Well With Crown Molding
- Coffered or tray ceilings for added depth
- Wainscoting or panel molding on lower walls
- Custom built-in cabinetry near fireplaces or media walls
- Matching door and window trim throughout the home
- Consistent paint or stain finish across all trim pieces
Real estate developers looking to add luxury touches to new builds often find that these small details make a big impact on buyer perception. For homes throughout Tampa Bay, this kind of finish work can set a property apart in a competitive market.
Maintaining Your Crown Molding Over Time
Once installed, crown molding needs some care to keep it looking its best. Dust and small cracks can appear over time, especially in humid climates like Florida.
Simple Maintenance Tips
- Dust regularly with a soft cloth or duster
- Check for small gaps or cracks each season
- Repaint or touch up finish every few years
- Address humidity issues that may cause wood movement
- Call a professional for repairs instead of DIY fixes
Routine maintenance helps protect your investment and keeps your home looking polished for years to come.
Final Thoughts on Avoiding Crown Molding Mistakes
Crown molding is one of the easiest ways to elevate a room, but only when done correctly. Avoiding these five common mistakes, wrong sizing, ignoring wall imperfections, poor corner cuts, lack of planning, and hiring inexperienced installers, can save you time, money, and frustration.
Bucheli Trim has helped homeowners, designers, and developers across Tampa Bay achieve clean, professional results with custom trim and molding work. You can see examples of past projects and visit us on Google — Bucheli Trim to read reviews from local clients. You can also connect with the team on Facebook for more updates and project photos.
If you’re ready to upgrade your space with expert craftsmanship, now is the time to take the next step. Get in touch with our team today to discuss your crown molding project and bring your vision to life.
FAQs
Q: What is crown molding used for?
A: Crown molding is decorative trim placed where walls meet the ceiling. It hides gaps, softens hard edges, and adds a finished, polished look to any room.
Q: How do I choose the right crown molding size for my room?
A: Match molding width to your ceiling height and room size. Larger rooms with tall ceilings can handle wider profiles, while smaller rooms look best with narrower, simpler trim.
Q: Should I install crown molding myself or hire a professional?
A: Crown molding requires precise angle cuts and knowledge of how wood reacts to humidity. Most homeowners get better, longer-lasting results by hiring an experienced installer.
Q: Why does crown molding crack or separate over time?
A: Cracks often happen due to humidity changes, poor installation, or low-quality joints. Proper coping techniques and quality materials reduce this risk significantly.
Q: Can crown molding increase my home’s value?
A: Yes, crown molding adds a high-end, finished look that many buyers notice right away. It’s a small upgrade that can make a strong impression during home showings.