Key Takeaways
-
Secure vanities to wall studs rather than drywall alone to prevent sagging and pulling away over time, and always check floor levelness before installation to avoid gaps or self-swinging doors.
-
Choose moisture-resistant materials like marine-grade plywood or well-sealed solid wood for humid climates like Tampa Bay, as standard MDF and particleboard warp and swell when exposed to bathroom humidity.
-
Custom vanities outperform stock options by fitting exact bathroom dimensions, accommodating plumbing quirks, and matching existing home style—especially valuable in older homes with irregular layouts.
-
Coordinate with plumbers and electricians before final installation to ensure proper access for drain/supply lines and outlet placement, and seal all edges around sink cutouts to prevent water damage and mold.
-
Verify wall studs, plumbing height, and floor slope during the assessment phase before any cutting or construction begins, as fixing mistakes after installation is significantly more costly.
-
Maintain your vanity by wiping standing water regularly, checking and resealing caulking annually, and addressing separation between vanity and wall immediately to prevent long-term damage.
A bathroom vanity does more than hold your sink. It sets the tone for the whole room. If you have ever walked into a bathroom and noticed how the cabinetry felt built for the space instead of squeezed into it, that is the mark of skilled bathroom vanity installation. For homeowners in Tampa Bay, interior designers managing client projects, and real estate developers polishing new builds, this detail can make or break how a bathroom feels.
Custom vanity installation is not just about screwing a cabinet to the wall. It involves careful measuring, plumbing coordination, level surfaces, and finish work that matches the rest of your home. Done right, it becomes a lasting feature. Done poorly, it can lead to water damage, uneven doors, and a look that feels off no matter how nice the fixtures are.
In this guide, we will walk through what goes into professional bathroom vanity installation, why custom builds often outperform stock options, and what to expect when you hire a skilled carpenter for the job. Whether you are renovating a single powder room or outfitting dozens of units in a new development, understanding this process helps you make smarter decisions.
What Bathroom Vanity Installation Actually Involves
Many people assume vanity installation is simple. You buy a cabinet, set it in place, and connect the plumbing. In reality, the process has several steps that require precision and experience.
A carpenter first checks the room’s dimensions and existing plumbing lines. Bathrooms are rarely perfectly square, so walls may be uneven or floors may slope slightly. Skilled installers account for these imperfections before any cutting begins.
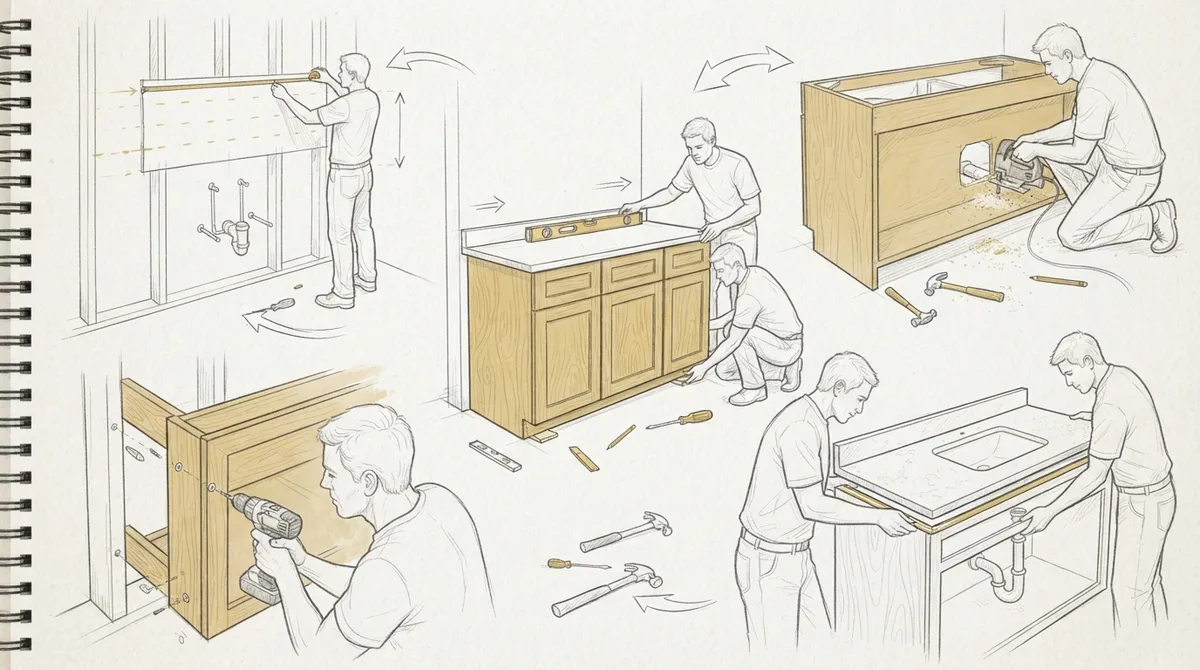
Step-by-Step Overview
- Site Assessment: The carpenter measures the space, checks water lines, and notes any electrical outlets near the install area.
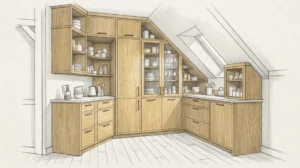
- Custom Fitting: Cabinets are adjusted or built to match the room’s exact dimensions, including scribing to uneven walls.
- Plumbing Coordination: Sink cutouts, drain access, and shutoff valves are aligned with the cabinet design.
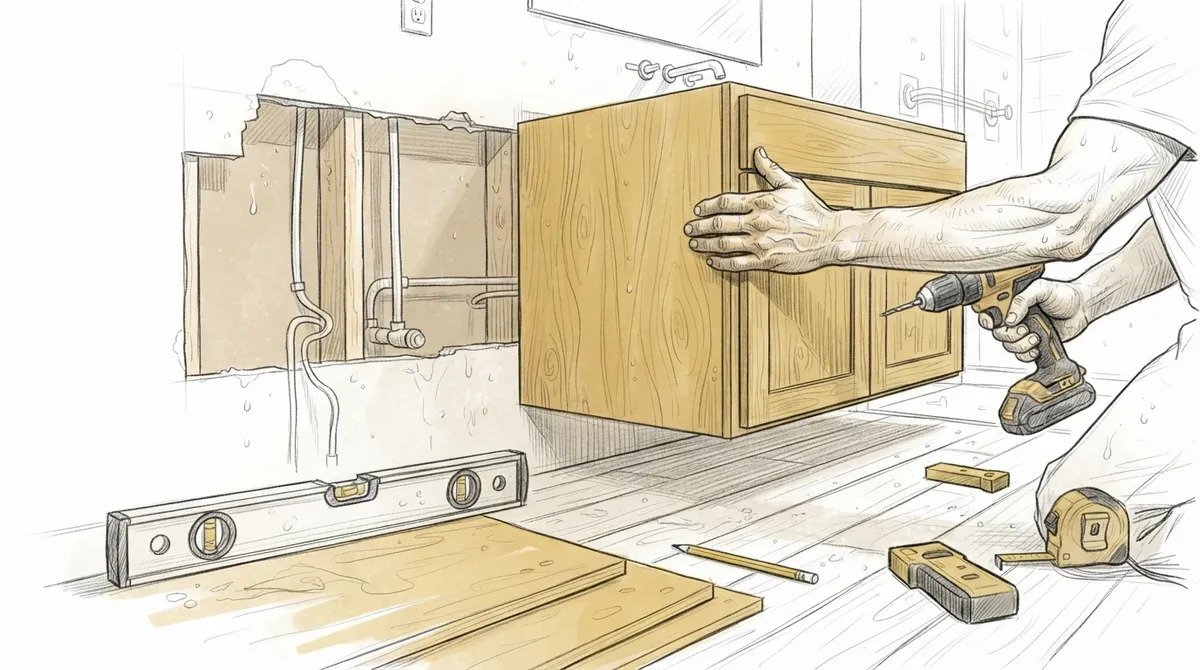
- Leveling and Anchoring: The vanity is secured to wall studs, not just drywall, to support weight and prevent shifting.
- Countertop and Sink Integration: Whether it is stone, quartz, or wood, the top must sit flush and be sealed properly.
- Finish Work: Trim, molding, and paint touch-ups blend the vanity into the surrounding wall and floor.
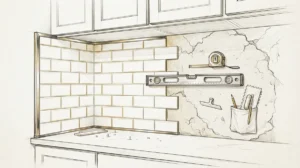
This process overlaps with several other carpentry services, including custom cabinetry and tile work, since the vanity often needs to align with backsplash tile or flooring transitions.
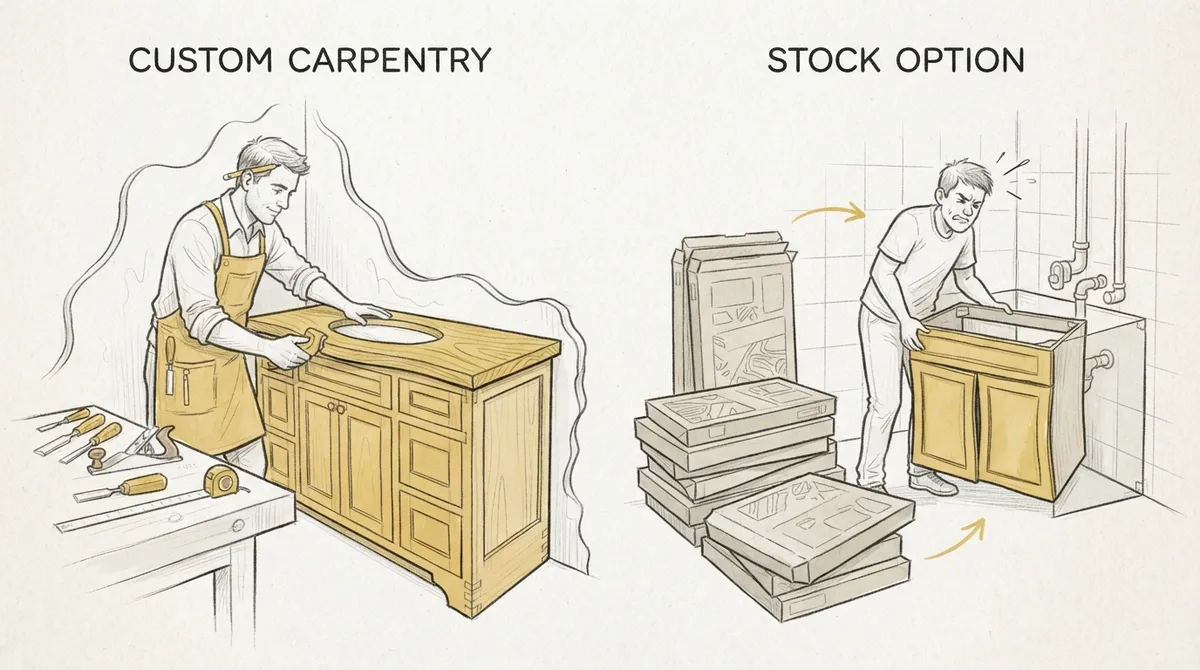
Why Custom Vanity Installation Beats Stock Options
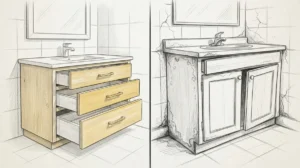
Stock vanities from big box stores come in standard sizes. They rarely fit awkward bathroom layouts, and they often use lower-grade materials that swell or warp when exposed to bathroom humidity.
Custom builds solve these problems. A carpenter can design a vanity that fits your exact wall space, works around plumbing quirks, and uses materials suited for wet environments. This is especially valuable in older Tampa Bay homes, where bathrooms were often built to different standards decades ago.
Key Advantages of Custom Vanity Work
- Exact fit for irregular or tight bathroom spaces
- Choice of moisture-resistant materials and finishes
- Matching cabinetry style with the rest of the home
- Better storage design based on how you actually use the space
- Higher resale value due to visible craftsmanship
Interior designers often prefer custom vanities because they allow full control over finish details like hardware, molding profiles, and paint color. This flexibility is harder to achieve with mass-produced cabinets. You can browse examples of tailored work through our custom projects gallery for inspiration.
Common Materials Used in Vanity Construction
Material choice affects how well a vanity holds up in a humid bathroom environment. Below is a comparison of common options.
| Material | Moisture Resistance | Best Use Case |
|---|---|---|
| Solid Wood | Moderate (needs sealing) | High-end custom builds with proper finish |
| Plywood with Veneer | Good | Balanced cost and durability |
| MDF (Medium-Density Fiberboard) | Poor unless sealed well | Budget-conscious painted finishes |
| Marine-Grade Plywood | Excellent | High-humidity bathrooms or coastal homes |
For Tampa Bay homes, where humidity levels stay high year-round, choosing the right base material matters as much as the finish. A skilled carpenter will guide you toward the option that fits your climate and budget goals without pushing unnecessary upgrades.
How Vanity Installation Connects to Other Carpentry Details
A bathroom vanity rarely stands alone. It usually connects to trim, baseboards, and sometimes wall paneling. Getting these details right creates a cohesive look throughout the room.
For example, if your bathroom has wainscoting or wall paneling, the vanity height and trim lines need to match up visually. Similarly, molding details around the vanity mirror or backsplash can tie the whole space together.
Real estate developers building multiple units often request consistent vanity styles across properties. This requires a carpenter who can replicate designs accurately while adjusting for slight differences in each unit’s layout. Our team has handled projects like this, drawing on lessons from broader custom millwork solutions for Tampa bathroom remodels.
Coordinating With Other Trades
Vanity installation often requires coordination with plumbers, electricians, and tile setters. A good carpenter communicates clearly with these trades to avoid delays or mismatched work. This is one reason hiring an experienced team pays off, since they know how to sequence the work properly.
- Plumbers need access before cabinets are fully sealed
- Electricians may need to add outlets for lighting or outlets inside cabinets
- Tile setters often need final vanity placement before finishing floor edges
Mistakes to Avoid During Vanity Installation
Even experienced homeowners can run into trouble if they rush the process or skip steps. Here are common mistakes that lead to costly repairs later.
- Ignoring Wall Studs: Anchoring only into drywall can cause the vanity to sag or pull away over time.
- Skipping Waterproofing: Failing to seal edges near the sink cutout invites water damage and mold growth.
- Mismatched Plumbing Height: Installing the vanity before confirming drain and supply line positions can cause costly rework.
- Poor Material Choice: Using non-moisture-resistant wood in a high-humidity bathroom shortens the vanity’s lifespan.
- Uneven Leveling: Cabinets installed without checking floor slope can leave visible gaps or doors that swing open on their own.
These issues are avoidable with proper planning. If you are unsure where to start, reviewing guidance on bathroom renovation mistakes Tampa homeowners make can help you plan ahead.
What to Expect When Hiring a Professional
When you bring in a professional for bathroom vanity installation, the process usually starts with a consultation. The carpenter will look at your space, discuss your storage needs, and review material options.
From there, expect a clear timeline. Most single vanity installations take one to three days, depending on whether custom cabinetry needs to be built or adjusted on-site. Larger projects, like multi-vanity builds for developers, will take longer and require more scheduling coordination.
Questions to Ask Before Hiring
- Do you build custom cabinets on-site or in a workshop?
- What materials do you recommend for humid bathrooms?
- How do you handle plumbing coordination during installation?
- Can you match existing trim or molding styles in my home?
- What is your process for fixing uneven walls or floors?
Asking these questions upfront helps you gauge whether a carpenter has the experience needed for a smooth installation. According to general woodworking standards outlined in resources like this overview of carpentry practices, precision measuring and proper joinery are foundational to any lasting cabinetry work, including bathroom vanities.
Design Considerations for Different Bathroom Styles
Vanity style should match the overall design of your bathroom and home. A modern farmhouse bathroom calls for different vanity details than a sleek contemporary space.
Popular Style Directions
- Transitional: Simple lines with subtle trim details, works well in most Tampa Bay homes
- Coastal: Light wood tones or painted finishes that reflect natural light
- Modern: Flat-panel doors, minimal hardware, floating vanity options
- Traditional: Raised panel doors, detailed molding, furniture-style legs
Interior designers often pair vanity choices with broader wall enhancements or ceiling designs to create a unified look throughout the bathroom. If your project includes a fireplace mantel or built-in shelving elsewhere in the home, matching those design cues in the bathroom vanity creates a cohesive feel across the property.
Why Local Experience Matters
Tampa Bay’s climate presents unique challenges for cabinetry. High humidity, occasional flooding risk, and coastal moisture all affect how materials perform over time. A carpenter familiar with these local conditions will choose sealants, woods, and finishes that hold up better than generic recommendations.
Bucheli Trim has worked on custom carpentry projects throughout the Tampa Bay area, including vanity installations that account for these regional factors. You can see examples of past work and read about our approach on our about page, or check out reviews from our customers on Google to get a sense of what clients experience working with our team.
We also share project photos and updates on our Facebook page, where you can see finished bathroom vanities and other custom carpentry work completed across the region.
Maintaining Your Vanity After Installation
Once your vanity is installed, a few simple habits help it last for decades. Wipe up standing water near the sink area regularly. Check caulking around the countertop edge once a year and reseal if it looks worn. Avoid slamming cabinet doors, as repeated stress can loosen hinges over time.
If you notice any separation between the vanity and the wall, or if drawers start sticking, address it quickly. Small issues are easier and less costly to fix than problems that have had time to worsen.
Bringing Your Vanity Project to Life
Bathroom vanity installation is one of those details that seems small until you see how much it affects the whole room. A well-built, properly installed vanity brings function and style together in a way that stock options rarely achieve. Whether you are a homeowner upgrading a single bathroom, a designer managing several client projects, or a developer outfitting new units, the right carpentry partner makes all the difference.
If you are ready to start planning your bathroom vanity project, our team is here to help guide you through material choices, design options, and installation timelines. Reach out to our team today to discuss your project and get started on a vanity built to last.
FAQs
Q: How long does bathroom vanity installation take?
A: Most single vanity installations take one to three days, depending on whether the cabinet is custom-built or ready-made. Larger projects with multiple vanities or custom fitting for uneven walls may take longer.
Q: Why should I choose a custom vanity over a stock one?
A: Custom vanities fit your exact bathroom dimensions and can use moisture-resistant materials suited to your climate. They also let you match cabinetry style with the rest of your home for a more cohesive look.
Q: What materials work best for bathroom vanities in humid climates?
A: Marine-grade plywood and well-sealed solid wood hold up best in humid environments like Tampa Bay. These materials resist warping and swelling better than standard MDF or particleboard.
Q: Do I need to hire a plumber separately for vanity installation?
A: In many cases, a carpenter coordinates directly with a plumber to align sink cutouts and drain access during installation. It is best to ask your carpentry team how they handle this coordination before starting the project.
Q: What are signs my vanity was installed incorrectly?
A: Common signs include gaps between the vanity and the wall, doors that swing open on their own, or water damage near the sink cutout. These issues often point to poor leveling, weak anchoring, or missing waterproofing during installation.