Key Takeaways
-
In humid climates like Tampa Bay, choose moisture-resistant materials such as PVC or composite for trim instead of solid wood to prevent warping and swelling caused by humidity changes.
-
Quality interior trim installation is one of the most cost-effective upgrades to boost home value and perceived luxury, with buyers immediately noticing clean lines and well-finished corners.
-
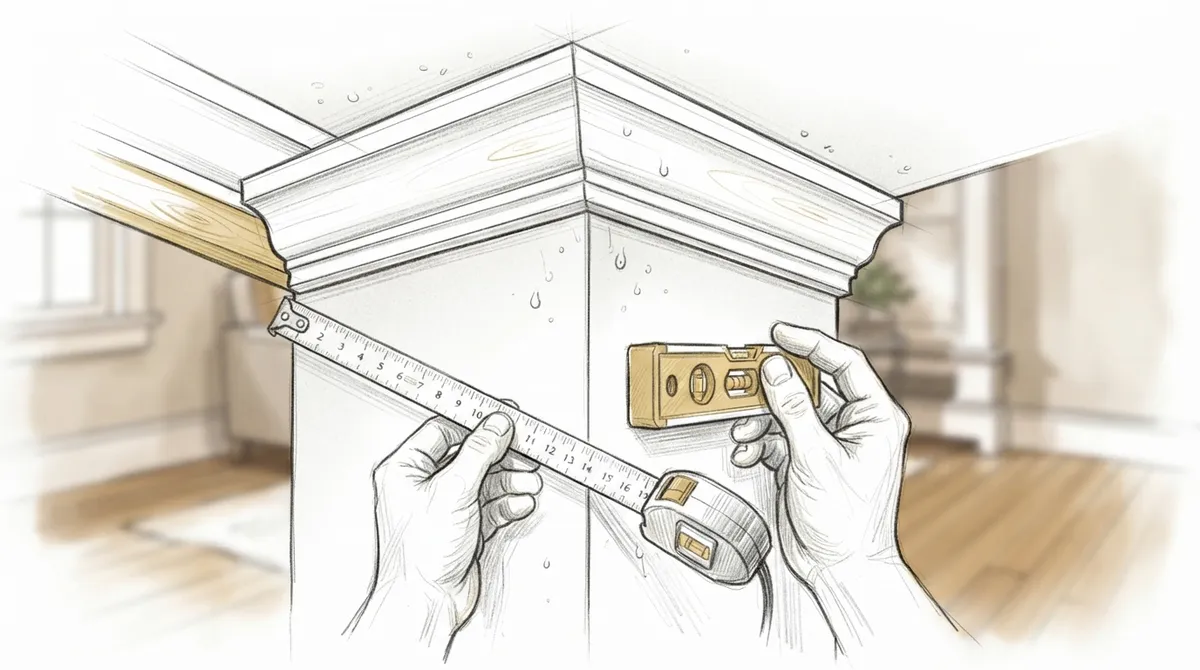
Precise measurements and accurate angle cuts are critical during installation; skipping proper planning and measurement steps often leads to costly redos and mismatched joints throughout a room.
-
Professional carpentry teams should be evaluated based on their portfolio of completed trim projects, experience with your climate, clear communication about timelines, and willingness to discuss design options before starting.
-
Combine interior trim with other finishing upgrades like painting and flooring to create a cohesive, high-end aesthetic; using complementary materials and styles across rooms prevents a disjointed appearance.
-
Routine maintenance including regular dusting, prompt paint touch-ups, yearly caulking inspection, and checking for gaps during humid seasons will keep trim looking sharp for years.
Interior trim installation can transform a plain room into a polished, high-end space. Whether you’re a homeowner dreaming of crisp baseboards, an interior designer sourcing skilled hands for a client project, or a developer aiming to boost property value, trim work matters more than most people realize. It ties together ceilings, walls, doors, and floors into one cohesive design story.
This guide walks you through what interior trim installation involves, why it matters, and how to plan it the right way. You’ll learn about materials, styles, the installation process, and common mistakes to avoid. By the end, you’ll know exactly what to look for when hiring a custom carpentry team for your next project.
What Is Interior Trim Installation?
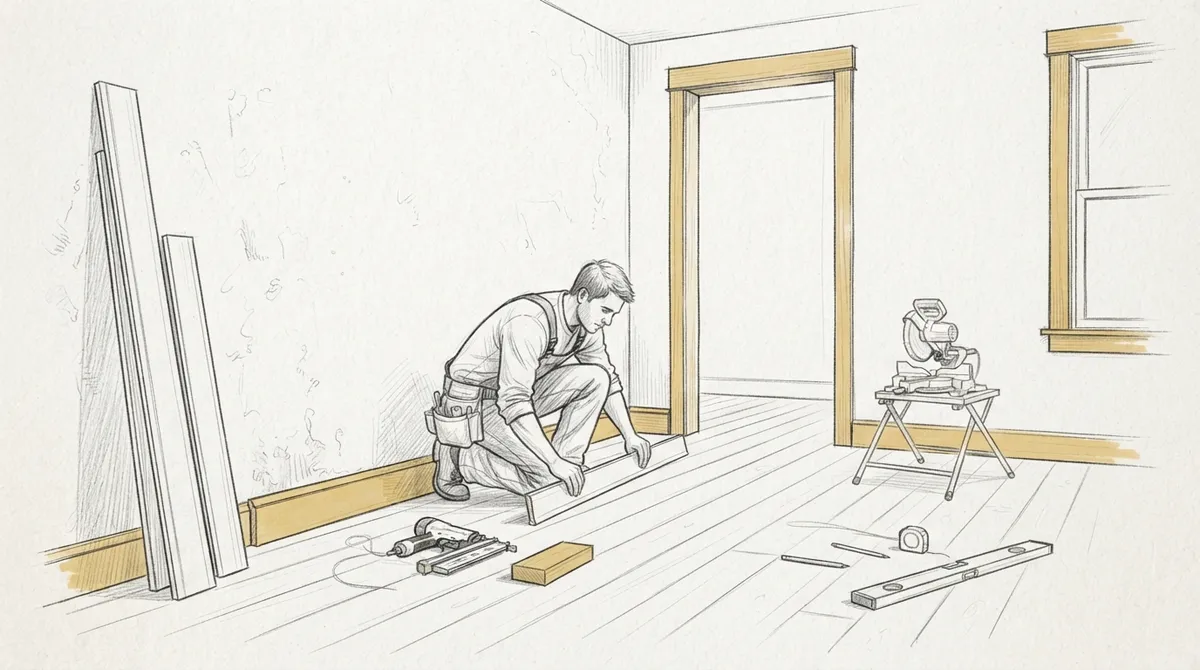
Interior trim installation refers to adding finishing woodwork around the edges of a room. This includes baseboards, crown molding, door and window casings, and chair rails. Trim covers gaps between building materials and adds a clean, finished look to any space.
Good trim work does more than hide seams. It defines a room’s style, from traditional to modern minimalist. A skilled carpenter uses precise measurements and quality materials to make every joint look seamless. You can learn more about carpentry techniques that have shaped this trade for centuries.
Why Trim Matters for Every Space
Trim isn’t just decoration. It protects walls from dings and scuffs, especially near doorways and baseboards. It also hides the small gaps that appear naturally where walls meet floors or ceilings.
For homeowners, trim adds character and warmth to a home. For designers, it’s a tool to create a signature look for clients. For developers, quality trim work can be the difference between a house that sits on the market and one that sells fast.
Common Types of Interior Trim
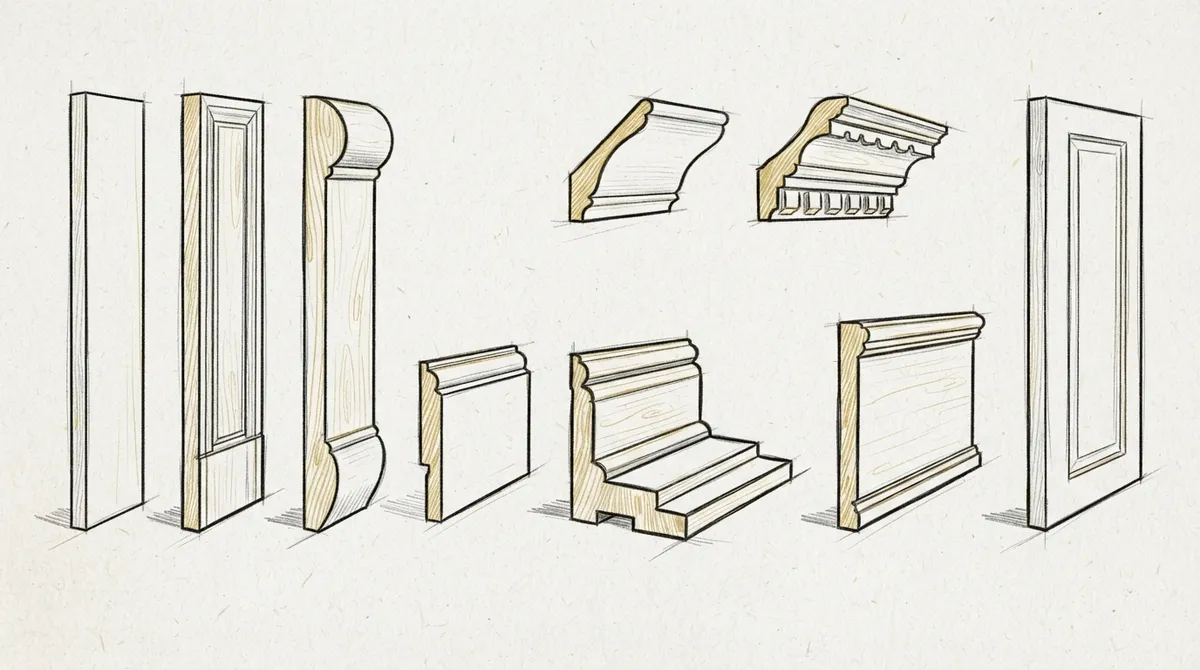
Before starting a project, it helps to understand the different trim types available. Each style serves a different purpose and fits different design goals.
- Baseboards: Installed where walls meet the floor to protect against scuffs and cover expansion gaps.
- Crown molding: Added where walls meet the ceiling for a decorative, upscale finish.
- Door and window casing: Frames the edges of doors and windows for a tailored look.
- Chair rails: Placed partway up a wall to protect it and add visual interest.
- Wainscoting and paneling: Covers the lower portion of a wall with decorative panels or boards.
- Picture rails: A narrow molding used to hang artwork without damaging walls.
Each of these can be customized to match a home’s architecture. Bucheli Trim offers detailed molding details that show how these elements come together in real homes across Tampa Bay.
Materials Used in Interior Trim Installation
The material you choose affects durability, cost, and appearance. Here’s a quick comparison of common trim materials.
| Material | Durability | Best Use | Finish Options |
|---|---|---|---|
| Solid Wood | High | High-end homes, custom projects | Stain or paint |
| MDF (Medium-Density Fiberboard) | Moderate | Painted trim, budget-friendly rooms | Paint only |
| PVC/Composite | High, moisture-resistant | Bathrooms, humid climates | Paint |
| Polyurethane | High, flexible | Curved walls, detailed crown molding | Paint |
In humid climates like Tampa Bay, moisture-resistant materials often perform better over time. A knowledgeable carpenter can help you choose the right material based on your home’s location and layout.
How to Plan Your Interior Trim Installation
Planning ahead saves time and money. Follow these steps to set your project up for success.
- Assess your space: Walk through each room and note ceiling height, wall condition, and existing trim.
- Choose a style: Decide if you want a traditional, transitional, or modern trim profile.
- Select materials: Pick wood, MDF, or composite based on your room’s needs and moisture levels.
- Measure carefully: Accurate measurements prevent wasted material and mismatched joints.
- Hire a skilled carpenter: Look for someone with proven experience in custom trim work.
- Schedule the installation: Coordinate timing around painting, flooring, and other renovation steps.
- Inspect the final result: Check corners, seams, and paint lines for a clean finish.
Skipping steps, especially measuring and material selection, often leads to costly redos. If you’re unsure where to start, reviewing signs you need professional carpentry can help you decide if it’s time to call in an expert.
Step-by-Step Installation Process
Once planning is done, the actual installation follows a fairly consistent process. Understanding these steps helps you know what to expect from your carpentry team.
- Prep the walls by cleaning surfaces and marking stud locations.
- Cut trim pieces to size using precise angle cuts for corners.
- Dry-fit each piece before nailing to check for gaps.
- Secure trim using finish nails or adhesive, depending on material.
- Fill nail holes and seams with wood filler or caulk.
- Sand rough spots for a smooth surface.
- Prime and paint or stain to match your design vision.
This process might sound simple, but precision matters at every step. A slightly off angle cut can throw off an entire room’s look. That’s why many homeowners and designers turn to professionals rather than tackle it themselves.
Interior Trim Installation for Different Audiences
For Homeowners Upgrading Their Living Space
If you’re renovating your home, trim installation is one of the most cost-effective ways to add value. It pairs well with other upgrades like wall enhancements and custom ceiling designs. Many homeowners start with baseboards and door casings, then expand to crown molding once they see the difference it makes.
Trim also helps hide imperfections in older homes. If your walls have settled over time, quality trim can mask uneven gaps and give rooms a fresh, finished appearance.
For Interior Designers Seeking Skilled Partners
Designers need carpenters who can execute detailed, custom work without compromising on vision. Precise trim installation brings a designer’s plans to life, whether it’s a layered crown molding design or a custom custom project with unique profiles.
Working with a carpentry team that understands both craftsmanship and design language makes collaboration smoother. It also reduces the back-and-forth often needed when communicating technical details to a general contractor.
For Real Estate Developers Adding Value
Trim details can set a property apart in a competitive market. Buyers notice clean lines, upscale molding, and well-finished corners even if they can’t name what makes a room feel expensive. Quality trim work signals attention to detail throughout the entire build.
Developers working on multiple units benefit from partnering with a consistent carpentry team. This ensures uniform quality across every home in a development, which supports stronger resale value and buyer confidence.
Common Mistakes to Avoid
Even experienced homeowners and contractors can make errors during trim installation. Here are mistakes that often lead to disappointing results.
- Using the wrong nail spacing, causing trim to warp or loosen over time.
- Ignoring humidity levels, especially in Florida’s climate, which can cause wood to swell.
- Mismatching trim styles between rooms, creating a disjointed look.
- Skipping caulk on seams, leaving visible gaps after painting.
- Choosing the wrong material for high-moisture areas like bathrooms.
- Rushing measurements, leading to uneven corners and wasted material.
Avoiding these pitfalls often comes down to experience. A trained carpenter knows how to adjust for Florida’s humidity and how to match trim profiles across an entire home.
Interior Trim vs. Other Finishing Touches
Trim isn’t the only way to elevate a space, but it often works best alongside other finishing details. Combining trim with painting and flooring upgrades creates a cohesive, high-end feel throughout a home.
| Feature | Interior Trim | Wall Paneling | Crown Molding Alone |
|---|---|---|---|
| Visual Impact | High | Very High | Moderate |
| Installation Complexity | Moderate | High | Moderate |
| Best Rooms | Any room | Living rooms, dining rooms | Formal spaces |
| Maintenance | Low | Low to Moderate | Low |
If you’re weighing options, it helps to review guides like how trim and molding transform a space with style. This can help you decide which combination fits your budget and design goals.
How to Choose the Right Carpentry Team
Not all carpentry teams offer the same level of precision. When hiring for interior trim installation, look for these qualities.
- Portfolio of completed trim and molding projects.
- Clear communication about timelines and materials.
- Experience working in your climate, especially with humidity concerns.
- Positive reviews from past clients.
- Willingness to walk through design options before starting work.
Reading about mistakes to avoid when hiring carpenters can also help you ask the right questions during your search. A good team should feel like a partner, not just a service provider.
Bucheli Trim has built a reputation across Tampa Bay for precise, high-end trim work that fits both traditional and modern homes. Their team understands how crown molding and other trim details can transform a space when installed with care and attention to detail.
Maintaining Your Interior Trim Over Time
Once installed, trim needs some care to stay looking sharp. Here are simple maintenance tips to extend its life.
- Dust baseboards and molding regularly to prevent buildup.
- Touch up paint or stain as soon as you notice chips or scuffs.
- Check for gaps or separation, especially in humid seasons.
- Avoid using harsh chemical cleaners that can strip finishes.
- Inspect caulking yearly and reapply if it starts to crack.
Routine care keeps your trim looking fresh for years. If you notice larger issues like warping or separation from the wall, it may be time to call in a professional for repairs.
Bringing It All Together
Interior trim installation is one of the most impactful upgrades you can make to a home or property. It adds structure, style, and value while tying together every other design element in a room. Whether you’re upgrading a single room or planning a full custom carpentry project, the right trim work makes a lasting difference.
From baseboards to crown molding, every detail matters. Pairing trim with other services like custom cabinetry or door upgrades can create a fully cohesive look throughout your home. For those managing larger properties, quality trim work across every unit builds trust with future buyers.
Bucheli Trim proudly serves homeowners, designers, and developers across the Tampa Bay area with precise, custom trim installation. You can see what local clients say by visiting Visit us on Google — Bucheli Trim, or follow along with recent projects on Facebook. For outdoor projects that complement your interior upgrades, teams like All Trusted Lawn Care can help maintain your property’s curb appeal too.
Ready to start your project? Reach out to our team today to discuss your interior trim installation needs and bring your vision to life.
FAQs
Q: What is interior trim installation?
A: Interior trim installation is the process of adding finishing woodwork like baseboards, crown molding, and door casings around a room. It covers gaps, protects walls, and gives spaces a polished, finished look.
Q: How long does interior trim installation take?
A: Timing depends on room size and trim complexity, but most single rooms take one to two days. Larger homes with detailed molding or multiple trim types may take longer to complete properly.
Q: What material is best for interior trim in humid climates?
A: PVC or composite materials resist moisture better than solid wood in humid areas like Tampa Bay. These options hold up well against swelling and warping caused by humidity changes.
Q: Can interior trim installation increase home value?
A: Yes, quality trim work adds a polished, high-end look that buyers notice immediately. It’s one of the most cost-effective upgrades for boosting a home’s perceived value.
Q: Should I hire a professional for interior trim installation?
A: Professional installation ensures precise cuts, clean joints, and proper material choices for your climate. While simple projects can be DIY, detailed molding work benefits greatly from skilled craftsmanship.