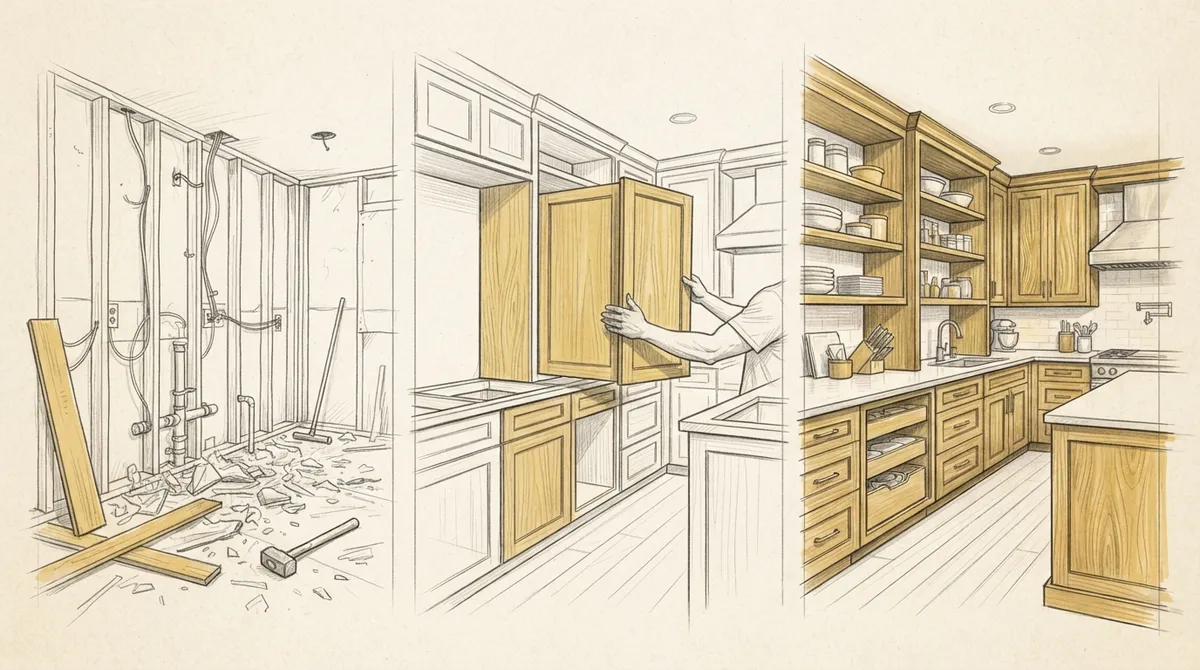
Key Takeaways
-
Order custom cabinetry early during planning and preparation since it has longer lead times and is crucial to avoid delays during installation phases.
-
Break down kitchen remodels into 10 clear phases to set realistic timelines, prepare budgets, and communicate effectively with carpentry and trade teams.
-
Most kitchen remodels take 6-12 weeks total, with demolition revealing hidden issues like water damage that must be addressed before cabinetry installation.
-
Custom cabinetry outperforms standard cabinets by fitting exact spaces, adding built-in storage features, and creating seamless designs that store-bought options cannot match.
-
Coordinate multiple trades carefully during structural and mechanical work phases—carpenters, electricians, and plumbers often work back-to-back, requiring clear communication to stay on schedule.
-
Set up a temporary kitchen area before demolition and protect nearby rooms with plastic sheeting, as dust and noise are normal during the 2-5 day demolition phase.
A kitchen remodel can feel like a maze of decisions, deadlines, and dust. But when you break it down into clear kitchen remodeling phases, the whole project becomes easier to plan and enjoy. Whether you are a homeowner dreaming of custom cabinetry, an interior designer coordinating a client’s vision, or a real estate developer adding luxury finishes to a new build, understanding each stage helps you set realistic timelines and avoid costly surprises.
This guide walks through every phase of a kitchen remodel, from early planning to the final walkthrough. We focus on the carpentry side of the process, since custom woodwork often makes the biggest difference in how a kitchen looks and functions. Along the way, we will show how skilled trim carpenters and cabinet makers turn rough plans into finished, functional spaces.
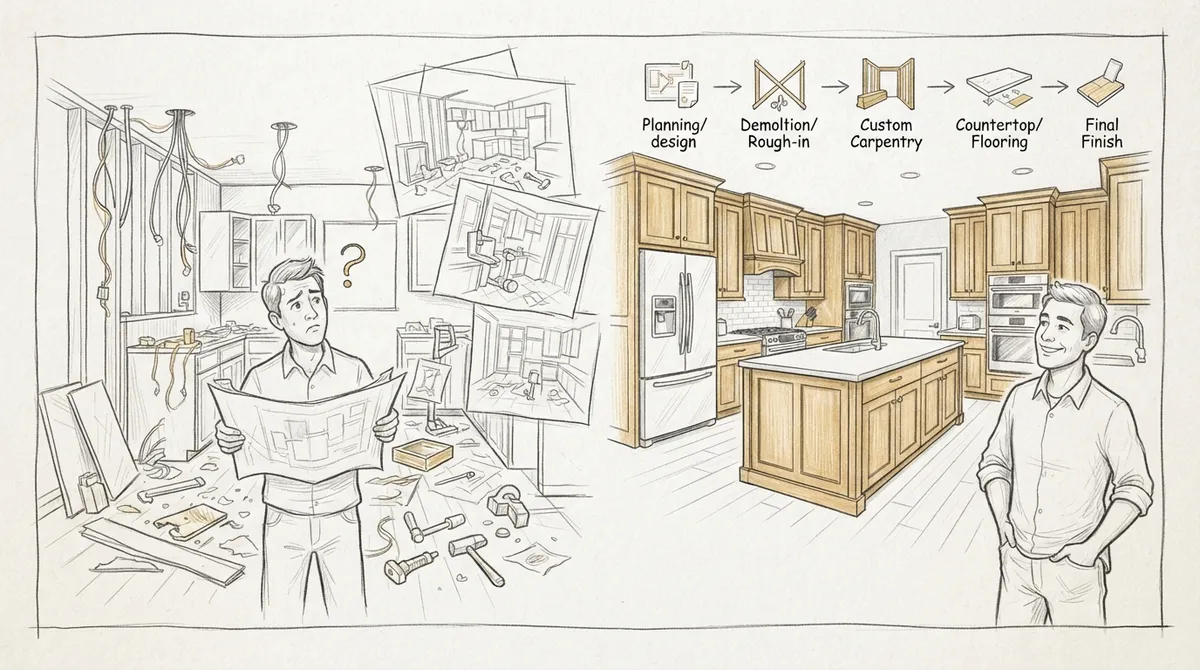
Why Understanding Kitchen Remodeling Phases Matters
Kitchens are the busiest rooms in most homes. A poorly planned remodel can leave you without a working kitchen for weeks longer than expected. Knowing the phases ahead of time helps you prepare, budget your time, and communicate clearly with your carpentry team.
For homeowners, this means fewer surprises and more confidence in the process. For designers, it means better coordination between vendors and contractors. For developers, it means predictable timelines across multiple units or homes. You can read more about the general process in our guide to planning a kitchen renovation.
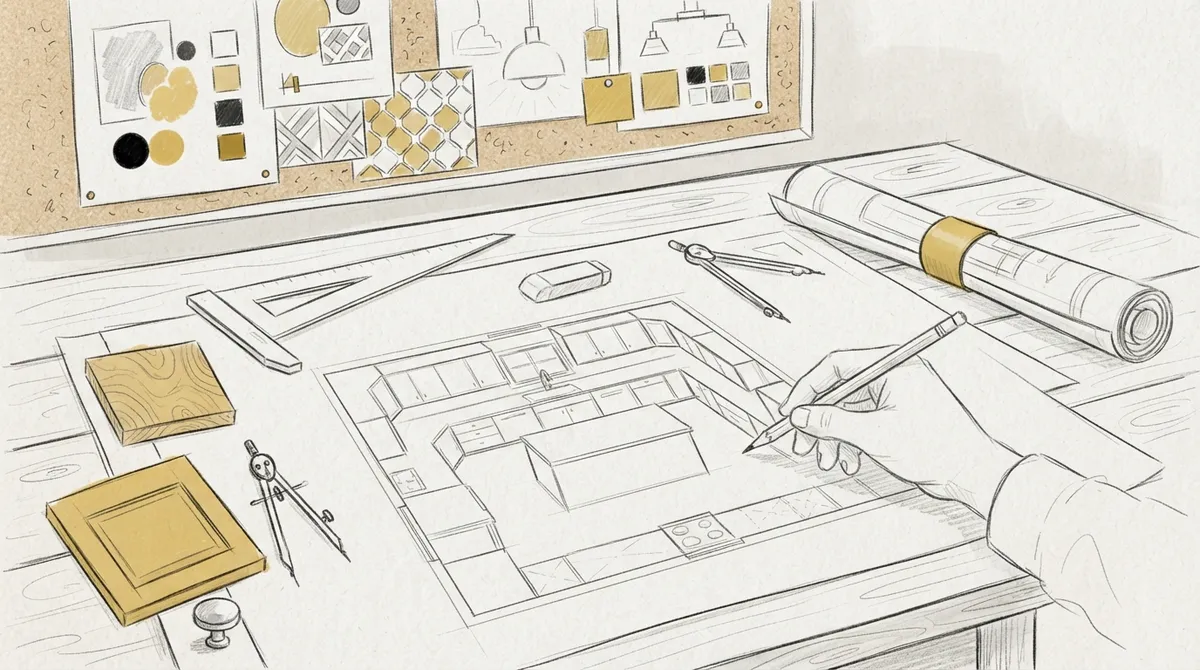
Phase 1: Planning and Design
Every successful kitchen remodel starts with a solid plan. This phase sets the tone for everything that follows.
Setting Goals and Priorities
Start by asking what you want the kitchen to do better. Do you need more storage? Better flow for cooking? A bigger island for entertaining? Write down your top three goals before meeting with a carpenter or designer.
Working with a Carpentry Team
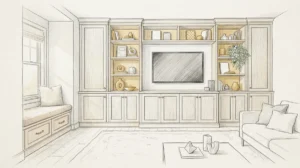
This is the stage where custom carpentry really shines. A skilled carpenter can suggest built-in cabinetry, custom shelving, or unique ceiling designs that store-bought options simply cannot match. Bucheli Trim often meets with homeowners and designers during this early phase to review layouts and material choices before any demolition begins.
- Define your budget range and must-have features
- Choose a design style (modern, farmhouse, transitional, or traditional)
- Select cabinet materials and finishes
- Decide on layout changes, if any
- Confirm timeline expectations with your carpentry team
Phase 2: Permits and Preparation
Before any tools come out, most kitchen remodels need permits. This step protects your investment and keeps the work up to code.
What Permits Typically Cover
Permits usually apply to structural changes, electrical work, and plumbing moves. Simple cabinet swaps or trim updates may not need permits, but it is smart to check local rules first.
Preparing Your Home
This is also the time to clear out the kitchen, protect nearby rooms, and set up a temporary cooking space. Many homeowners use a garage or basement as a makeshift kitchen during this phase.
- Confirm required permits with your local building department
- Order custom cabinetry and materials in advance
- Clear out kitchen items and pack away breakables
- Set up a temporary kitchen area
- Schedule demolition and delivery dates with your carpentry team
Phase 3: Demolition
Demolition marks the real start of construction. Old cabinets, countertops, and sometimes flooring come out to make room for the new design.
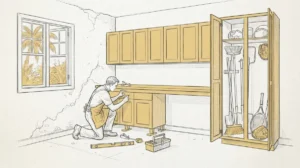
This phase moves fast, often taking just a few days. However, it can reveal hidden issues like water damage or outdated wiring. A good carpentry team knows how to adapt quickly if surprises come up behind the walls.
What to Expect During Demolition
- Dust and noise are normal, so protect other rooms with plastic sheeting
- Old cabinets and fixtures are removed and hauled away
- Flooring may be pulled up if it is being replaced
- Walls may be opened to check for structural issues
- A final walkthrough confirms the space is ready for the next phase
Phase 4: Structural and Mechanical Work
If your remodel involves moving walls, adding windows, or changing the layout, this is when that work happens. Electrical, plumbing, and HVAC updates also occur during this phase.
Why This Phase Needs Coordination
Carpenters, electricians, and plumbers often work back-to-back or even alongside each other. Clear communication between trades keeps the project on schedule. This is also a good time to plan for wall enhancements like paneling or accent trim that will be added later.
| Task | Typical Trade Involved | Timing |
|---|---|---|
| Wall removal or framing | Carpenter | Early in this phase |
| Electrical rewiring | Electrician | After framing |
| Plumbing relocation | Plumber | Alongside electrical |
| Insulation and drywall prep | Carpenter or contractor | End of this phase |
Phase 5: Flooring Installation
Once walls and mechanicals are settled, flooring goes in. This step happens before cabinets in most remodels, since it is easier to install flooring in an open space.
Many homeowners choose hardwood, tile, or epoxy floors for kitchens because they hold up well to spills and heavy foot traffic. Learn more about the benefits of epoxy coatings if you are considering a durable, modern finish. For more on how flooring choices affect your remodel, see our article on professional flooring installation.
Phase 6: Custom Cabinetry Installation
This is often the most exciting phase for homeowners. Custom cabinets bring the design vision to life and set the tone for the whole kitchen.
Why Custom Beats Standard Cabinets
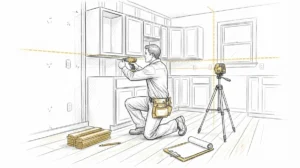
Standard cabinets come in fixed sizes and styles. Custom cabinetry, on the other hand, fits your exact space and matches your design goals. A skilled carpenter can build in extra storage, hide appliances, or create a seamless look that store-bought options cannot achieve. Our guide on custom vs. stock kitchen cabinet installation breaks down the differences in more detail.
- Cabinets are measured and custom-built to fit exact dimensions
- Hardware, hinges, and soft-close features are installed
- Built-in features like pull-out shelves or spice racks are added
- Cabinet fronts are finished with paint, stain, or specialty coatings
Phase 7: Countertops and Backsplash
Once cabinets are set, countertops and backsplash tile follow. These finishing touches tie the whole kitchen together.
Carpenters often work closely with tile and stone installers during this phase to make sure edges, trim, and transitions look seamless. For more on this process, check out our article on why kitchen backsplash remodeling needs a carpenter.
Phase 8: Trim, Molding, and Finishing Details
This is where the small details make a big difference. Crown molding, baseboards, and window trim give the kitchen a polished, complete look.
Common Finishing Touches
- Crown molding along the top of cabinets or ceiling line
- Baseboards to match the rest of the home
- Window and door trim for a cohesive style
- Custom hardware installation on cabinets and drawers
Adding crown molding is a simple way to elevate a kitchen’s overall style without a major redesign. If you are unsure which style fits your space, our molding details page covers popular options in more depth.
Phase 9: Painting and Wall Finishes
With cabinetry and trim in place, painting comes next. Walls, ceilings, and any exposed woodwork get their final coats.
This phase is quick compared to others, but it makes a huge visual impact. A fresh coat of paint highlights the craftsmanship of custom cabinets and trim. See our painting services page for more on how finishing touches complete a remodel.
Phase 10: Final Walkthrough and Cleanup
The last phase is all about the details. Your carpentry team does a final walkthrough to check for any issues before calling the project complete.
- Inspect all cabinetry for proper alignment and function
- Test drawers, hinges, and soft-close features
- Check trim and molding for gaps or uneven seams
- Confirm all hardware is secure and functioning
- Do a full site cleanup and remove construction debris
This final step ensures your new kitchen is ready for daily use. It is also a good time to review any warranty details or care instructions for your custom cabinetry and finishes.
How Long Do Kitchen Remodeling Phases Typically Take
Timelines vary based on the size of the kitchen and the scope of work. However, most remodels follow a similar general pattern.
| Phase | Typical Duration |
|---|---|
| Planning and Design | 2-6 weeks |
| Permits and Preparation | 1-3 weeks |
| Demolition | 2-5 days |
| Structural and Mechanical Work | 1-2 weeks |
| Flooring Installation | 3-7 days |
| Cabinetry Installation | 1-2 weeks |
| Countertops and Backsplash | 1 week |
| Trim and Finishing | 3-5 days |
| Painting | 2-4 days |
| Final Walkthrough | 1 day |
Tips for a Smoother Remodel
A little planning goes a long way when it comes to kitchen remodeling phases. Here are some practical tips to keep your project on track.
- Order custom cabinetry early since it often has a longer lead time
- Communicate clearly with every trade involved in the project
- Set aside a buffer in your timeline for unexpected delays
- Choose a carpentry team with experience in your design style
- Ask for references or examples of past custom projects
Working with the Right Carpentry Team
Not every contractor understands the fine details of custom carpentry. Look for a team with a strong portfolio of built-in cabinetry, trim work, and finish carpentry. You can learn more about what sets skilled carpenters apart in our article on signs of true craftsmanship in custom carpentry.
If you are searching for a trusted team in the Tampa Bay area, Bucheli Trim has years of experience guiding homeowners, designers, and developers through every phase of a kitchen remodel. You can also check out real client feedback and visit us on Google — Bucheli Trim to see how past projects turned out.
For homeowners tackling other parts of a home renovation at the same time, it also helps to have trusted partners for related services. If your kitchen remodel includes HVAC updates, a company like Marks Air can help keep your home comfortable during and after construction. And if your project is part of a larger home upgrade near dental offices or medical spaces, local businesses like Dental Theory show how quality craftsmanship matters across many industries, not just carpentry.
Common Mistakes to Avoid During Kitchen Remodeling Phases
Even well-planned remodels can run into trouble. Here are common mistakes homeowners and designers should watch for.
- Skipping the planning phase and rushing straight to demolition
- Choosing cheap materials that wear out quickly
- Failing to account for lead times on custom cabinetry
- Not budgeting extra time for structural surprises
- Overlooking small details like trim and molding that tie the room together
Learning more about the craft itself can also help you make better decisions. To learn more about carpentry as a trade, this resource offers a helpful overview of techniques and history behind the work.
Bringing It All Together
Understanding kitchen remodeling phases helps you plan smarter, avoid delays, and get the most out of your investment. From early design decisions to the final trim details, each phase builds on the last to create a kitchen that looks great and works well for years to come.
Whether you are updating a single-family home, working on a designer’s vision, or preparing a property for sale, custom carpentry makes a lasting difference. Bucheli Trim proudly serves the Tampa Bay area with expert craftsmanship in cabinetry, trim, and finish carpentry. Follow along on Facebook for project updates and inspiration.
Ready to start planning your kitchen remodel? Reach out to our team today to discuss your project and get expert guidance through every phase of the process.
FAQs
Q: What are the main kitchen remodeling phases?
A: The main phases include planning and design, permits and preparation, demolition, structural work, flooring, cabinetry installation, countertops, trim and finishing, painting, and a final walkthrough. Each phase builds on the last to create a finished, functional kitchen.
Q: How long does a full kitchen remodel typically take?
A: Most kitchen remodels take between 6 and 12 weeks from planning to final walkthrough. Timelines depend on the size of the kitchen, the complexity of custom cabinetry, and whether structural changes are involved.
Q: When should custom cabinetry be ordered during a remodel?
A: Custom cabinetry should be ordered during the planning and preparation phase, often weeks before demolition begins. This lead time allows carpenters to build cabinets to exact specifications without delaying the installation phase.
Q: Why is the demolition phase important in kitchen remodeling?
A: Demolition clears out old materials and can reveal hidden issues like water damage or outdated wiring. Addressing these problems early prevents delays later in the cabinetry and finishing phases.
Q: What role does trim and molding play in the final phase?
A: Trim and molding add polish and cohesion to a finished kitchen, covering gaps and tying cabinetry to walls and ceilings. This finishing detail often makes the biggest visual difference in the overall design.