Key Takeaways
-
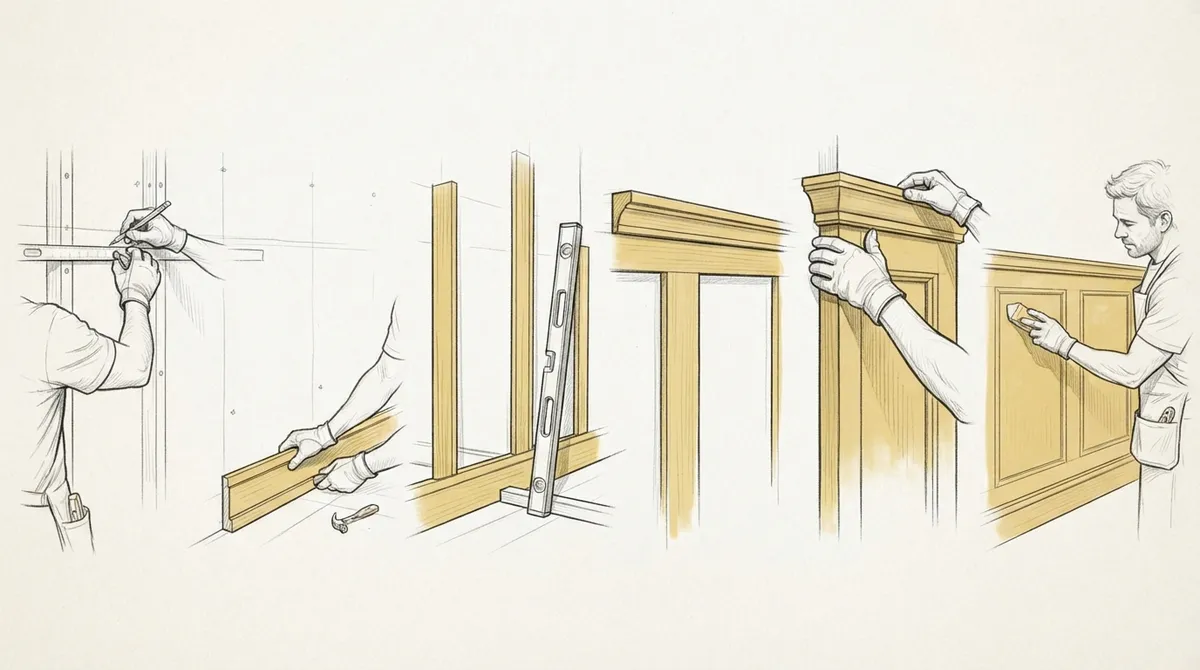
Accurate wall measurement and layout planning are critical first steps—carpenters must account for obstacles, stud locations, and align wainscoting height with door casings or window sills for a balanced, professional appearance.
-
Thorough wall preparation (cleaning, checking for level, marking studs, patching holes) is essential before installation; skipping this step is a common reason wainscoting fails early and causes uneven panel adhesion.
-
Material selection significantly impacts durability and maintenance—use PVC or vinyl in moisture-prone areas like bathrooms, solid wood for high-end finishes, and MDF for painted projects on a budget.
-
Professional installation delivers precision tools and craftsmanship that DIY attempts rarely match; professionals are especially necessary for uneven walls, intricate raised panel designs, multi-room projects, and tight timelines.
Wainscoting installation is one of the fastest ways to add character and value to a home. This classic wall treatment brings texture, depth, and a polished look to dining rooms, hallways, and entryways. But getting it right takes more than a saw and some boards. From measuring walls to choosing the right panel style, every step matters if you want a finish that lasts for decades.
Whether you are a homeowner planning an upgrade, an interior designer sourcing skilled hands for a client project, or a real estate developer looking to add luxury touches to new builds, understanding the wainscoting installation process helps you make smarter decisions. This guide breaks down the six key steps professional carpenters follow, along with tips on styles, materials, and common mistakes to avoid.
What Is Wainscoting and Why Does It Matter?
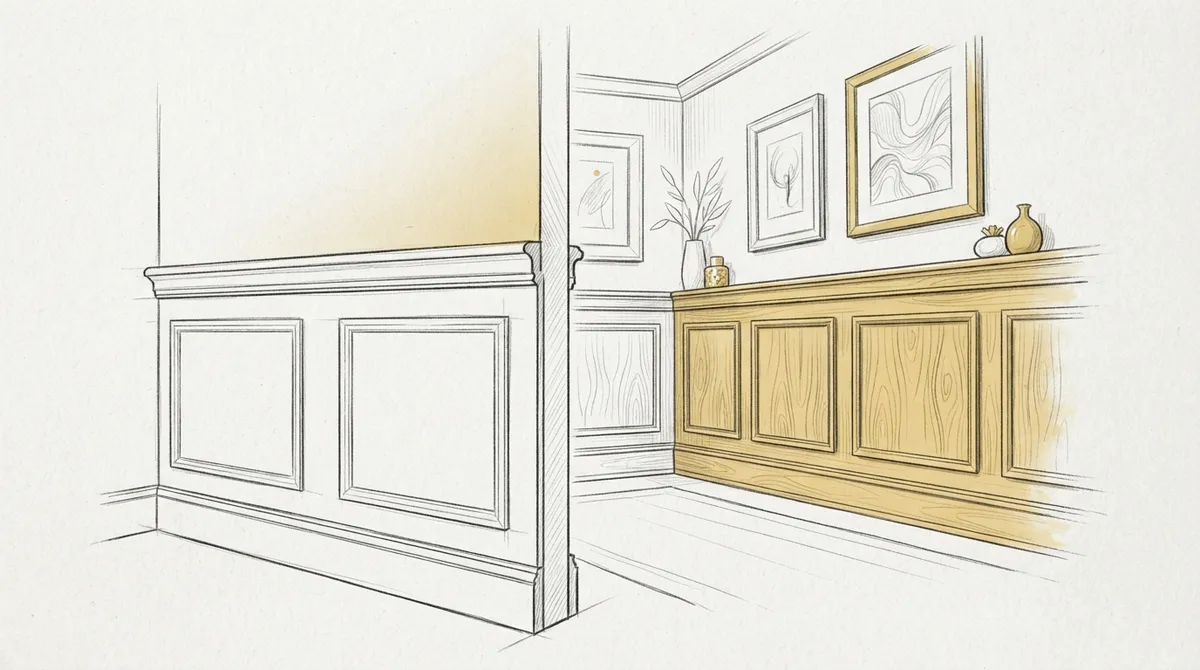
Wainscoting is a decorative wood paneling applied to the lower portion of a wall, usually between 32 and 42 inches high. It started centuries ago as a way to protect walls from moisture and damage, and today it’s prized mostly for its style. You’ll often see it paired with molding details like chair rails and baseboards for a cohesive, tailored appearance.
Good wainscoting does more than look nice. It adds a layer of protection to walls in high-traffic areas, hides minor imperfections, and increases a home’s resale appeal. For a deeper dive into panel styles, check out this complete guide to wall paneling.
6 Steps of Professional Wainscoting Installation
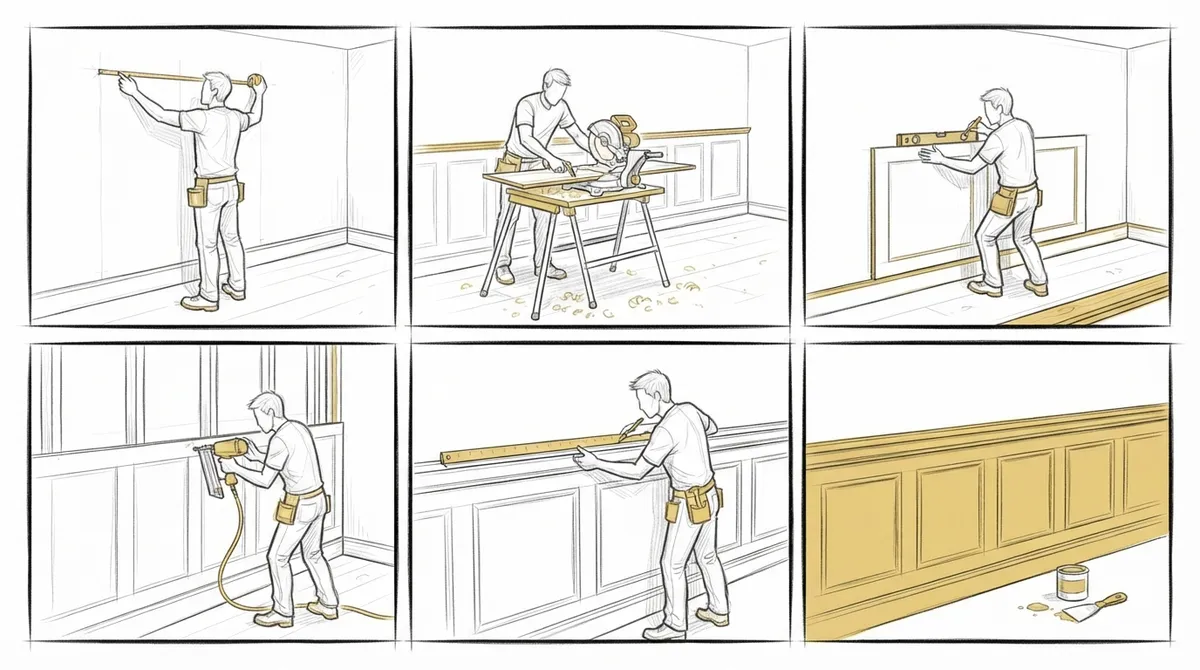
A proper installation follows a clear sequence. Skipping steps or rushing the process often leads to uneven panels, gaps, or warped wood down the road. Here is how experienced carpenters approach the job from start to finish.
1. Measure and Plan the Layout
Every successful project starts with accurate measurements. Carpenters measure wall length, height, and any obstacles like outlets, doors, or windows. This step determines panel sizing and spacing so the final layout looks balanced and symmetrical.
Planning also includes choosing the wainscoting height. Most homes use a height that aligns with door casing or window sills for a natural, unified look. Skilled carpenters also account for corners and transitions, which is where learn more about carpentry techniques really come into play.
2. Choose the Right Panel Style
Not all wainscoting looks the same. Picking the right style depends on the room’s function, ceiling height, and overall design goals.
- Raised panel wainscoting for a traditional, formal look
- Flat panel wainscoting for a clean, modern feel
- Beadboard wainscoting for cottage or coastal-style homes
- Board and batten for a farmhouse or transitional style
- Shaker-style panels for simple, timeless appeal
Interior designers often lean on custom options to match a client’s vision. Explore custom projects for inspiration on tailored panel designs that fit unique spaces.
3. Prepare the Wall Surface
Before any panel goes up, the wall must be clean, dry, and free of major damage. Carpenters check for level walls and mark stud locations to ensure secure attachment points.
This step also includes removing existing trim, patching holes, and sanding rough spots. Skipping wall prep is one of the most common reasons wainscoting fails early. Proper prep pairs well with fresh painting work, since many homeowners repaint walls right before or after installation.
4. Cut and Fit the Panels
Precision cutting is where craftsmanship really shows. Panels must be cut to fit exact wall dimensions, including notches for outlets, vents, or trim work around doors.
Carpenters use table saws, miter saws, and sometimes routers to create clean edges and decorative details. This is also the stage where crown molding techniques often inspire the trim details added at the top of the wainscoting for a finished, elegant edge.
5. Install and Secure the Wainscoting
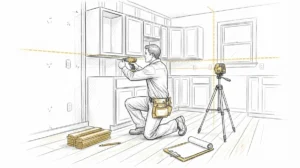
Once panels are cut, they get attached to the wall using adhesive, nails, or a combination of both. Carpenters work section by section, checking for level and plumb at every step.
- Apply construction adhesive to the back of each panel
- Position the panel against the wall at the marked height
- Secure with finish nails into wall studs
- Check alignment with a level before moving to the next section
- Fill nail holes and seams with wood filler
This methodical approach prevents gaps and ensures panels stay firmly attached for years. For homes with unique layouts, professionals may also incorporate wall enhancements to blend wainscoting with other design features.
6. Add Trim, Caulk, and Finish
The final step brings everything together. Carpenters add cap rail trim along the top, caulk all seams and edges, and sand any rough spots smooth.
After the caulk cures, the wainscoting gets primed and painted or stained to match the room’s design. This finishing touch is what separates a professional job from a DIY attempt. Many clients pair this final step with matching doors or trim to create a fully cohesive interior.
Common Materials Used for Wainscoting Installation
Material choice affects durability, cost, and overall appearance. Here’s a quick breakdown of popular options.
| Material | Best For | Durability |
|---|---|---|
| Solid Wood | High-end, custom homes | Excellent, long-lasting |
| MDF (Medium-Density Fiberboard) | Painted finishes, budget-conscious projects | Good, moisture-sensitive |
| PVC or Vinyl | Bathrooms and humid spaces | Very good, water-resistant |
| Plywood Veneer | Large panel projects | Good, stable under temperature changes |
Each material has trade-offs. Solid wood offers unmatched authenticity but requires more upkeep, while MDF is easier to paint and holds detail well. For bathrooms or laundry rooms, moisture-resistant options paired with tile work often create a durable, stylish combination.
Common Mistakes to Avoid
Even experienced homeowners can run into trouble with wainscoting projects. Knowing these pitfalls ahead of time saves time, money, and frustration.
- Skipping wall prep, which leads to uneven panel adhesion
- Choosing the wrong panel height for the room’s proportions
- Ignoring humidity levels when picking materials
- Rushing the cutting process, resulting in poor fits
- Forgetting to account for outlets, vents, or door swings
- Using low-quality caulk that cracks over time
For a broader look at trim-related pitfalls, this article on molding mistakes that ruin your home’s style covers related issues worth reviewing before starting a project.
Why Hire a Professional for Wainscoting Installation
While some homeowners attempt DIY wainscoting, professional installation offers real advantages. Skilled carpenters bring precision tools, years of hands-on experience, and an eye for detail that’s hard to replicate without training.
Real estate developers especially benefit from professional work, since consistent quality across multiple units protects a brand’s reputation. Interior designers also rely on experienced carpenters to execute complex custom designs accurately and on schedule. If you’re comparing options, this guide on DIY carpentry vs. professional service breaks down the pros and cons in detail.
Signs You Need Professional Help
Certain situations almost always call for a trained carpenter rather than a DIY approach.
- Your walls are uneven or out of square
- You want intricate raised panel or custom designs
- The project spans multiple rooms or a whole floor
- You need the work done on a tight timeline
- You’re installing wainscoting in high-moisture areas like bathrooms
Bucheli Trim has helped many Tampa Bay homeowners and designers bring wainscoting visions to life with clean lines and lasting durability. Their team also handles complementary upgrades like cabinets and built-ins, making it easier to coordinate a full room transformation under one roof.
How Wainscoting Fits Into a Larger Design Plan
Wainscoting rarely stands alone in a well-designed space. It often works alongside other carpentry features to create a unified, high-end feel throughout a home.
- Pairing wainscoting with custom ceiling designs for a cohesive top-to-bottom look
- Matching wood tones with existing flooring for visual flow
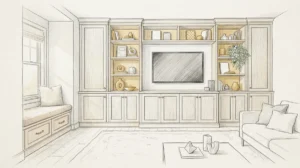
- Coordinating with built-in shelving or entertainment centers
- Using consistent trim profiles throughout connected rooms
Real estate developers often use this layered approach to boost perceived value in model homes. Buyers notice the extra detail, and it can be a deciding factor during showings. For more ideas on combining trim elements, see this piece on trim and molding transforming a space with style.
Maintaining Your Wainscoting After Installation
Proper care keeps wainscoting looking sharp for years. Regular dusting and occasional cleaning with a damp cloth prevent buildup without damaging the finish.
- Avoid harsh chemical cleaners on painted or stained surfaces
- Check caulk lines yearly and reseal if cracks appear
- Keep humidity levels stable to prevent wood movement
- Touch up paint or stain in high-traffic areas as needed
With the right upkeep, quality wainscoting can last decades without needing major repairs or replacement.
Final Thoughts on Wainscoting Installation
Wainscoting installation is a proven way to elevate any room’s style while adding lasting value to a property. From measuring and material selection to precise cutting and finishing, each step requires skill and attention to detail. Whether you’re a homeowner refreshing a dining room, a designer executing a client’s vision, or a developer adding luxury touches to new builds, professional installation makes all the difference.
Bucheli Trim brings craftsmanship and precision to every wainscoting project across the Tampa Bay area. You can Get in Touch with Our Team to discuss your project details and timeline. To see how past clients feel about the results, visit us on Google — Bucheli Trim, and follow ongoing project updates on Facebook for fresh inspiration and behind-the-scenes work.
FAQs
Q: How long does wainscoting installation typically take?
A: Most single-room wainscoting projects take two to four days, depending on wall complexity and panel style. Larger homes or intricate raised panel designs may take a week or more. Professional carpenters can give a precise timeline after measuring your space.
Q: What is the best material for wainscoting in bathrooms?
A: PVC or vinyl wainscoting works best in bathrooms because it resists moisture and won’t warp over time. Solid wood can be used but requires proper sealing and ventilation. Many homeowners also pair moisture-resistant panels with tile work for added durability.
Q: Can wainscoting be installed on uneven walls?
A: Yes, but uneven walls need extra prep work before installation begins. Carpenters often use shims, sanding, or patching to create a flat surface for secure panel attachment. Skipping this step usually leads to gaps and an unstable finish.
Q: Does wainscoting installation add value to a home?
A: Wainscoting can boost a home’s resale value by adding a polished, custom look that buyers notice. It’s especially appealing in dining rooms, entryways, and hallways. Real estate developers often use it to differentiate properties with luxury finishes.
Q: How do I choose the right wainscoting height for my room?
A: A common rule is to align the top of the wainscoting with your door casing or window sills for a balanced look. Rooms with higher ceilings can support taller panels, while smaller rooms often look better with a lower height. A professional carpenter can recommend proportions based on your specific space.