Key Takeaways
-
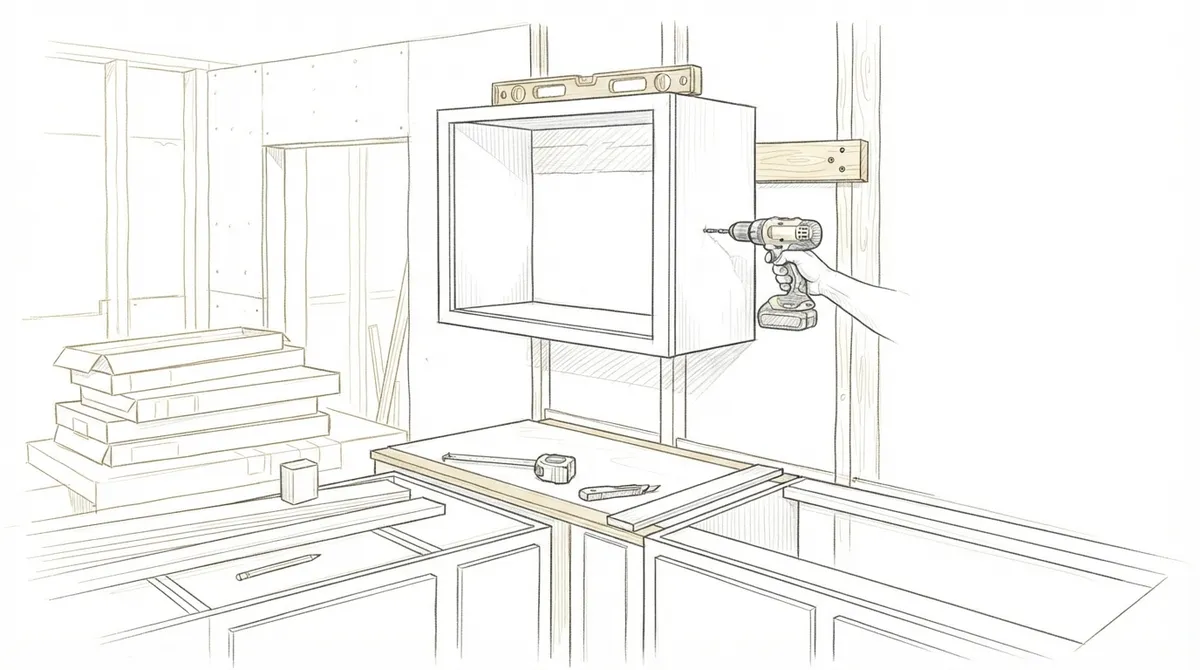
Shim and level every cabinet box in all directions, then screw into wall studs rather than drywall alone, since cabinets are heavy and can sag or pull away from the wall over time.
-
Level the base cabinets from the highest point of the floor so countertops sit flat, which keeps seams tight and prevents cracks.
-
Hang upper cabinets before base units, using a temporary ledger board to support each box while it is leveled and fastened.
-
Use scribe strips, filler panels, and trim to hide gaps caused by out-of-square or uneven walls rather than trying to force cabinets to fit perfectly.
-
Inspect all delivered cabinet boxes on day one against the order list to catch dents, warping, or missing parts before installation begins.
-
Ask installers for a portfolio with close-up photos, clear timelines, and experience with trim and built-in work when choosing a carpenter.
Your kitchen cabinets do more than hold dishes. They set the style of the room, shape how you cook, and add lasting value to your home. But even the best cabinets look poor if they are installed badly. A gap here or a crooked door there can ruin the whole look.
That is why professional kitchen cabinet installation matters so much. A skilled carpenter checks every wall, measures every inch, and fits each box so it sits tight and level. For homeowners, this means a kitchen that works well for years. For interior designers, it means your vision shows up exactly as drawn. For developers, it means a finish that helps your property stand out to buyers.
In this guide, we walk through 12 clear steps that skilled carpenters follow in 2026. You will learn what happens before, during, and after the install. You will also learn how to spot quality work. Let’s get started.
Why Professional Kitchen Cabinet Installation Matters
Cabinets are heavy. A full set, loaded with plates, pots, and food, can weigh hundreds of pounds. If the boxes are not anchored well, they can sag, pull away from the wall, or even fall.
Walls and floors are rarely perfect, especially in older Tampa Bay homes. A trained carpenter knows how to work with uneven surfaces. They use shims, scribe strips, and careful layout to hide flaws. The result looks seamless.
Here is what a professional install gives you:
- Tight, even gaps between doors and drawers
- Level and plumb boxes that stay put over time
- Strong anchoring into wall studs
- Clean finish work with trim, filler panels, and crown
- Fewer repairs down the road
If you are weighing the cost of effort against skill, read our guide on DIY vs. professional cabinetry installation to see how the two paths compare.
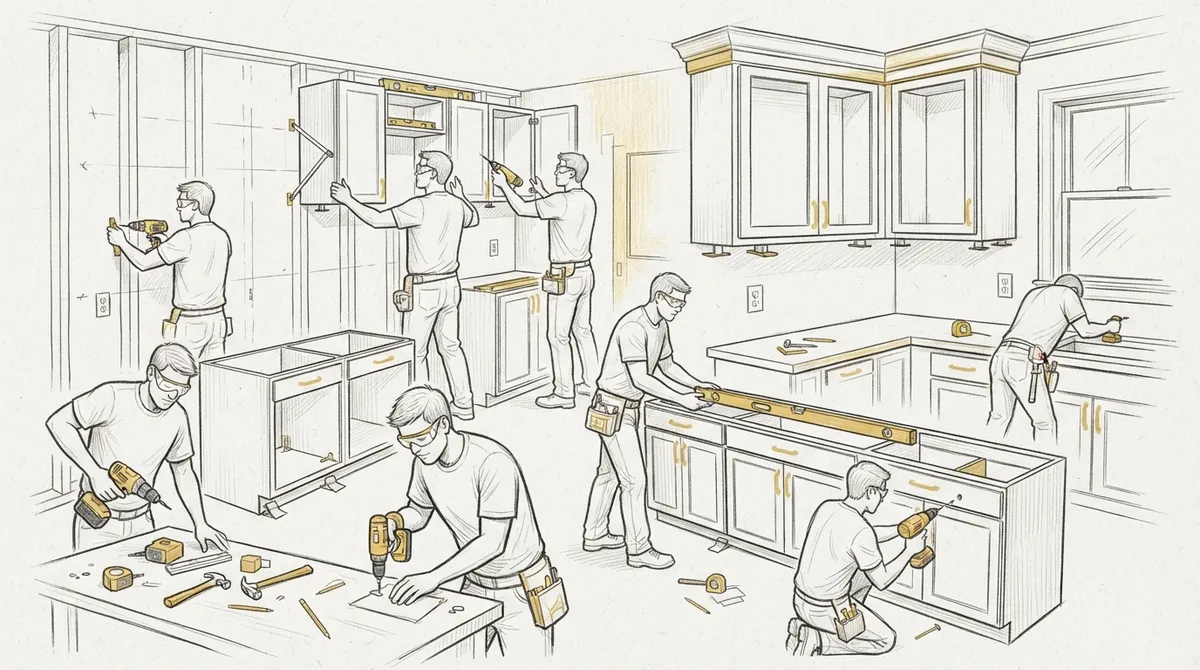
The 12 Steps of Professional Kitchen Cabinet Installation
1. Site Review and Measuring
Every good install starts with a site visit. The carpenter measures wall lengths, ceiling height, and window and door locations. They also note where plumbing, gas lines, and electrical outlets sit.
This step catches problems early. A wall that is out of square by half an inch can change how the whole layout fits. It is far easier to plan for that now than to fix it later.
2. Reviewing the Design Plan
Next, the carpenter studies the kitchen plan. This may come from the homeowner, an interior designer, or a builder. They check cabinet sizes, door styles, hardware, and finish details.
Clear plans prevent costly surprises. If you are still shaping your layout, our article on how to choose custom kitchen cabinets in Tampa, FL can help you make confident choices.
3. Checking Delivered Cabinets
Before any work begins, the crew unpacks and inspects every box. They compare each piece to the order list. They look for dents, scratches, warped panels, or missing parts.
Catching damage on day one saves time. It also keeps the project on schedule.
4. Preparing the Space
The room must be clear and safe to work in. Old cabinets are removed. Floors are covered to prevent scratches. Walls are patched if needed, and any drywall repair is finished first.
Skipping this step often leads to trouble. A rough wall or an uneven floor makes tight, clean lines almost impossible.
5. Marking Layout Lines
Now comes the planning on the wall itself. The carpenter finds the highest point of the floor. This becomes the starting point for base cabinets. They then draw a level line across the wall for the cabinet tops.
Next, they mark every stud location. Cabinets must be screwed into studs, not just drywall. These marks guide the whole install.
6. Installing Upper Cabinets First
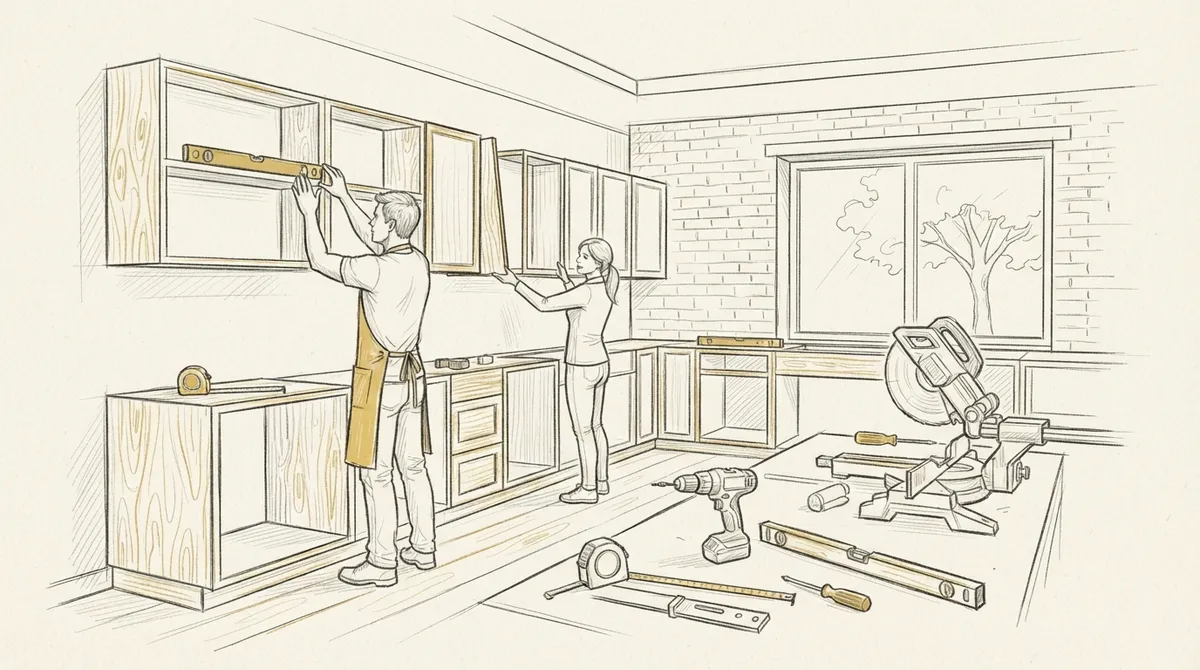
Many pros hang the upper cabinets before the base units. This keeps the lower boxes from getting in the way. It also gives the crew room to lift and position each piece.
A ledger board is often screwed to the wall as a temporary support. The cabinet rests on it while the carpenter checks level and fastens it in place.
7. Leveling and Securing the Boxes
Each cabinet is checked for level from side to side and front to back. Thin wood shims fill any gaps between the box and the wall. The carpenter then drives long screws through the back rail and into the studs.
Neighboring boxes are clamped together first. They are then screwed side by side so the faces line up with no steps or gaps. Here is the basic order of work for each cabinet:
- Lift the box into position
- Check level in all directions
- Add shims where needed
- Clamp to the neighboring box
- Screw into studs and into the next cabinet
8. Setting the Base Cabinets
Base cabinets follow the same process, starting at the high point of the floor. The carpenter shims each unit so the tops line up in one flat plane. This is vital because the countertop will rest on them.
A flat, level top means the stone or wood countertop sits evenly. It also keeps seams tight and prevents cracks. For a deeper look at the full order of work, see our post on 13 steps to install custom cabinets the right way.
9. Fitting Corners, Fillers, and Scribes
Corners are tricky. Blind corner cabinets, lazy Susans, and filler strips all need careful fitting. Fillers close the small gap between a cabinet and a wall or appliance.
Scribe trim is cut to match the shape of an uneven wall. This hides gaps and gives a built-in look. It is a small detail that separates average work from fine carpentry.
10. Hanging Doors and Drawers
Once the boxes are fixed in place, the doors and drawer fronts go on. Modern hinges let the carpenter adjust each door up, down, in, and out. The goal is even gaps all around.
Drawers are tested for smooth glide. Soft-close parts are checked and tuned. Handles and knobs are then installed with a template so every pull sits in the same spot.
11. Adding Trim and Finishing Details
This is where a kitchen starts to look custom. Crown molding runs along the top of the uppers. Toe kicks cover the base. Light rail trim hides under-cabinet lights. End panels give exposed sides a finished look.
Good trim work ties the cabinets to the rest of the room. You can learn more about crown molding and how it has been used in building design for centuries. Our own guide on trim work and custom carpentry detail explains how these touches shape the final style.
12. Final Inspection and Touch-Up
The last step is a full walk-through. The carpenter checks every door, drawer, and shelf. Small nicks are touched up with matching filler or paint. Screws are covered, and the space is cleaned.
The homeowner, designer, or builder then reviews the work. Any small fixes are handled before the job is closed out.
Professional vs. DIY Installation at a Glance
Some homeowners wonder if they can handle the job themselves. It is possible for simple projects, but a full kitchen is a big task. Here is a quick comparison:
| Factor | Professional Installation | DIY Installation |
|---|---|---|
| Precision | Tight, even gaps and level lines | Often uneven without practice |
| Tools | Laser levels, clamps, specialty bits | May need to buy or rent tools |
| Time | Usually completed in a few days | Can stretch over weeks |
| Wall flaws | Handled with scribing and shims | Often leaves visible gaps |
| Risk | Lower risk of damage or injury | Higher risk of mistakes |
| Finish work | Custom trim and clean details | Basic finish in most cases |
For a closer look at this topic, our comparison of DIY vs. pro cabinet installation walks through the tradeoffs in more detail.
Common Cabinet Installation Mistakes to Avoid
Even small errors can add up. Knowing the usual problems helps you ask better questions when hiring a carpenter.
- Skipping the stud search: Screwing into drywall alone leads to sagging.
- Ignoring uneven floors: A crooked base leads to a crooked countertop.
- Rushing the layout: Poor planning causes gaps and misaligned doors.
- Forgetting appliance clearances: Fridges and ranges need exact openings.
- Over-tightening screws: This can warp the cabinet frame.
To see more of what can go wrong, read our list of kitchen cabinet installer mistakes you must avoid.
How to Choose the Right Cabinet Installer
Not every installer has the same skill level. A true custom carpenter does more than bolt boxes to a wall. They solve problems and shape the look of your space. When you interview a candidate, look for these traits:
- A portfolio of finished kitchens with close-up photos
- Clear communication about timelines and steps
- Experience with both stock and custom cabinetry
- Skill in trim, molding, and built-in work
- Good reviews from past clients
Our guide on why to hire professional cabinet installers gives more detail on what to expect. If you want to check out real feedback, you can read Bucheli Trim reviews on Google from homeowners across Tampa Bay.
Custom Carpentry Adds Extra Value
Stock cabinets come in set sizes. That works for many rooms, but odd corners and tall ceilings often leave dead space. Custom carpentry fills those spots with built-in units, pantry towers, and trim that reaches the ceiling.
This is a big win for designers who need exact fits. It also helps developers add luxury touches that buyers notice. If you want to explore the difference, see our post on custom vs. stock kitchen cabinet installation. You can also learn why custom kitchen cabinets outlast store-bought ones.
Wood is the heart of this work. If you are curious about the craft itself, you can learn more about carpentry and its long history as a skilled trade.
What to Do Before Your Installer Arrives
A little prep makes the job go smoother. Here is a simple checklist for homeowners:
- Clear out the kitchen and nearby hallways
- Move pets and kids to a safe area on install days
- Confirm that all cabinet boxes have arrived
- Have appliance specs on hand for exact fits
- Plan where the crew can store tools and packaging
Planning ahead also helps with the bigger picture. Our guide on kitchen remodeling phases and the custom carpentry timeline shows where cabinet install fits in the whole project.
Take the Next Step With Bucheli Trim
A well-fitted kitchen starts with careful hands and a sharp eye. Professional kitchen cabinet installation turns good cabinets into a great kitchen. It protects your investment, boosts your home’s value, and gives you a space you will enjoy every day.
Bucheli Trim brings high-end craftsmanship, precision, and style to homes across the Tampa Bay area. Whether you are a homeowner, a designer, or a developer, our team can bring your plans to life. Ready to get started? Contact our team today to talk about your kitchen project.
FAQs
Q: How long does professional kitchen cabinet installation take?
A: Most full kitchens take two to five days, depending on size and layout. Custom work, extra trim, and tricky corners can add time. A good carpenter will give you a clear timeline after the site review.
Q: Should cabinets be installed before or after flooring?
A: It depends on the project, but many pros install base cabinets first and run flooring up to the toe kick. Others prefer finished floors first for a clean edge. Your carpenter will advise based on the floor type and layout.
Q: What tools do professionals use for cabinet installation?
A: Pros use laser levels, long clamps, stud finders, impact drivers, and shims. They also use scribing tools and trim saws for clean finish work. These tools help deliver tight, level, and secure results.
Q: Can a carpenter install cabinets I bought elsewhere?
A: Yes, a skilled carpenter can install cabinets from most sources. They will inspect the boxes for damage and check that the sizes match the plan. Custom trim can also be added to blend the cabinets into the room.
Q: Why does cabinet leveling matter so much?
A: Level cabinets keep doors swinging evenly and drawers gliding smoothly. They also give countertops a flat surface to rest on, which prevents cracks and uneven seams. Poor leveling often leads to costly repairs later.