Key Takeaways
-
Use a consistent reveal of about 3/16 inch on all four sides of every window, marking it lightly with a pencil and combination square before cutting anything.
-
Dry fit all trim pieces without nails before fastening, and adjust miter angles by a degree or two when corners are not true 90 degrees to close gaps.
-
In humid climates like Tampa Bay, choose moisture-resistant materials such as primed poplar or MDF for dry interior walls and PVC for bathrooms and exteriors.
-
Never caulk mitered joints if you plan to stain the wood; use wood filler or touch-up stain instead, and wipe away excess caulk right away on painted trim.
Window trim does more than cover gaps. It frames the view, hides rough edges, and sets the style for the whole room. A well-done window trim installation can make a plain wall feel finished and complete. A poor one can make even a new home look rushed.
Many homeowners, designers, and developers want trim that looks crisp and lasts for years. That takes careful planning, clean cuts, and the right materials. In Tampa Bay, it also takes smart choices for heat and humidity.
This guide shares 13 practical tips used by skilled carpenters. You will learn how to pick styles, prepare the opening, make tight joints, and finish the job right. Whether you plan to hire a pro or just want to understand the process, these tips will help you judge quality work. Let’s start with the basics.
Why Window Trim Installation Matters
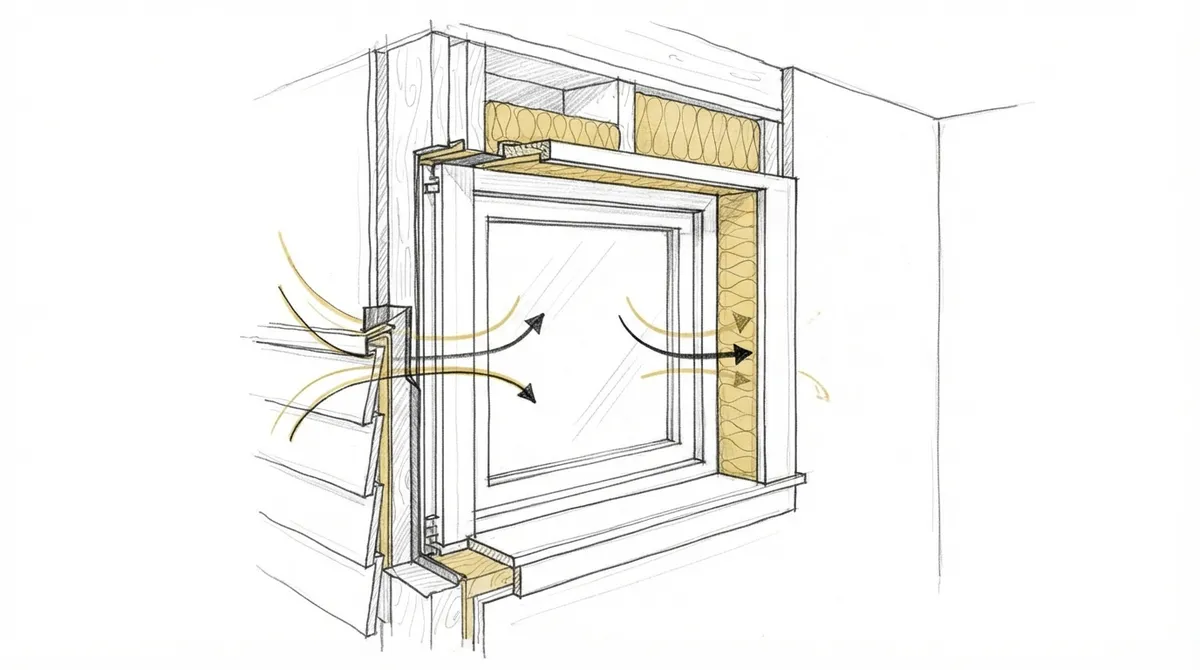
Trim is the picture frame for your window. It draws the eye and adds depth to flat walls. Good window trim installation also seals the gap between the window and the wall, which helps block drafts and dust.
For interior designers, trim is a key design tool. For developers, it is a quick way to add a luxury feel. For homeowners, it is one of the most visible upgrades in a room. You can see more ideas in our guide on custom window trim ideas that elevate your home.
Part 1: Planning Your Window Trim Installation
1. Choose the Right Trim Style First
Style sets the tone. Pick a look that fits your home before you buy any material. Common options include:
- Flat stock: Simple, clean, and modern.
- Craftsman: Thick headers and a sill, with a handmade feel.
- Colonial: Layered, classic profiles with detail.
- Mitered picture frame: Four equal sides with angled corners.
If you are unsure which look suits your space, read our comparison of flat stock vs. layered window trim.
2. Match Trim to the Rest of the Room
Window trim should work with your baseboards, door casing, and crown molding. When profiles clash, the room feels off. Try to keep the same level of detail across all trim pieces.
For example, a tall, ornate baseboard pairs well with a fuller window casing. A slim, modern baseboard looks best with simple flat casing. You can explore options in our guide to baseboard trim styles that elevate any room.
3. Pick Materials That Handle Florida Weather
Tampa Bay is warm and humid. Plain pine can swell, warp, or rot near moisture. Better choices include:
- Primed poplar or MDF: Great for dry interior walls.
- PVC trim: Strong against moisture, good for bathrooms and exteriors.
- Hardwoods like oak or maple: Best for stained, high-end looks.
Material choice affects how long your trim stays sharp. Our post on how to choose decorative wood trim goes deeper into this.
4. Measure Twice and Plan Your Reveal
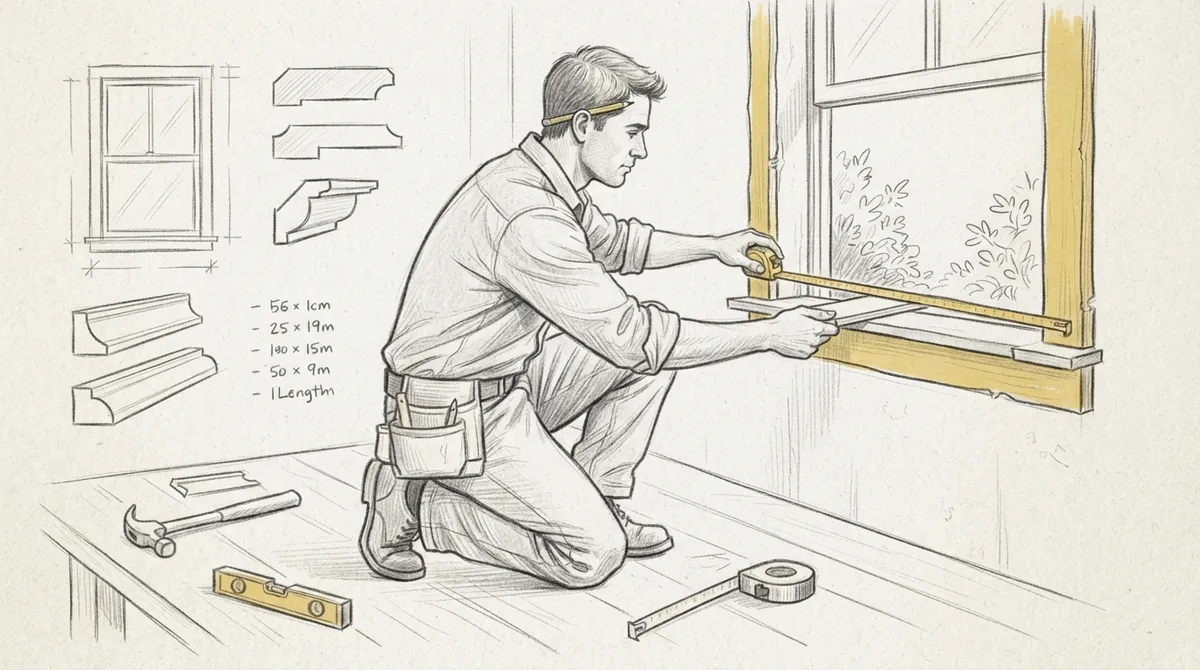
The reveal is the small gap between the window jamb edge and the trim. A typical reveal is about 3/16 of an inch. Keep it the same on all four sides of every window.
Consistent reveals look polished. Uneven ones draw attention right away. Mark the reveal lightly with a pencil and a combination square before you cut anything.
Part 2: Preparing the Window Opening
5. Check the Window for Square and Level
Before trim goes on, check the window. Use a level and a tape measure. Look for jambs that are out of plumb or sit unevenly from the wall.
Fix problems first. Shims, planing, or small drywall repairs can solve most issues. If the wall has damage, our team often recommends drywall repair before custom trim work.
6. Clean and Prep the Surface
Remove old trim carefully. Pull nails through from the back when you can, so you do not tear the wall. Scrape off old caulk and dust the area well.
A clean surface helps adhesive and caulk hold. It also shows any hidden gaps you need to fix before the new trim goes up.
Part 3: Cutting and Fitting the Trim
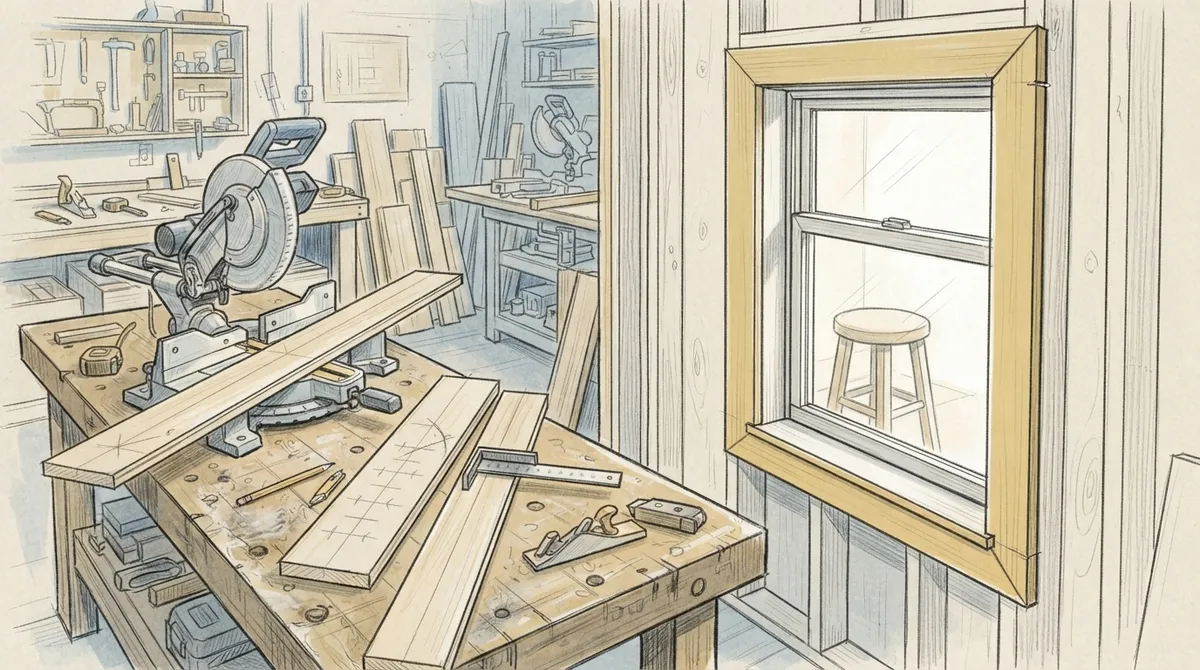
7. Use a Quality Miter Saw and Sharp Blade
Clean cuts start with good tools. A sharp, fine-tooth blade reduces tear-out. A dull blade chews the wood and leaves rough edges that are hard to hide.
Always test your saw angle on scrap wood. Walls and windows are rarely perfect, so small angle changes may be needed.
8. Follow a Step-by-Step Cutting Order
A steady order keeps the work accurate. Here is a simple process many carpenters use:
- Mark the reveal lines on the jamb.
- Cut the top piece (header) with 45-degree miters, if using a mitered style.
- Measure and cut the side pieces to fit the header.
- Dry fit all pieces without nails.
- Cut the bottom piece (sill or apron) last.
- Check the fit and adjust before fastening.
Dry fitting saves time. It lets you catch errors before they become permanent.
9. Cope or Adjust for Tight Joints
Corners seldom sit at a perfect 90 degrees. When they do not, a basic 45-degree miter can leave a gap. Skilled carpenters adjust the angle by a degree or two to close it.
This small step is a big part of fine finish work. It is one reason finish carpentry stands apart from basic woodwork.
Part 4: Fastening and Finishing
10. Use Glue and Nails the Smart Way
A thin line of wood glue on mitered joints adds strength. Then use a finish nailer to fasten trim into the wall studs and jamb. Nail into solid framing when possible.
Do not overdrive nails. Set them just below the surface so you can fill them later. Use the right nail length so it holds without poking through.
11. Fill, Caulk, and Sand for a Seamless Look
This is where good trim becomes great trim. Follow these steps:
- Fill nail holes with wood filler.
- Sand the filled spots smooth once dry.
- Caulk where trim meets the wall to hide small gaps.
- Wipe away extra caulk right away for a clean line.
Never caulk the mitered joints if you plan to stain the wood. Use filler or touch-up stain there instead.
12. Paint or Stain With Care
Prime raw wood first. Use a good quality brush and thin, even coats. Semi-gloss paint is popular for trim because it wipes clean and highlights detail.
If you want a deeper look at refinishing, see how refinishing wood trim can refresh a room. Remember that painting and staining also protect the wood from moisture.
13. Know When to Call a Professional
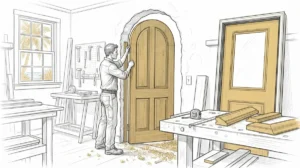
Some trim jobs are simple. Others are not. Bay windows, arched windows, and tall ceilings call for advanced skills and special tools. Mistakes on these can be costly to fix.
Hiring a skilled carpenter ensures tight joints, even reveals, and a lasting finish. Bucheli Trim serves the Tampa Bay area with high-end custom carpentry, and you can visit us on Google — Bucheli Trim to see what local customers say about our work.
Quick Comparison: Common Window Trim Materials
| Material | Best For | Moisture Resistance | Finish Options |
|---|---|---|---|
| Primed Poplar | Interior painted trim | Moderate | Paint |
| MDF | Dry rooms, smooth paint finish | Low | Paint |
| PVC | Bathrooms, exteriors | High | Paint |
| Oak or Maple | High-end stained looks | Moderate | Stain or paint |
Interior vs. Exterior Window Trim
Interior and exterior trim have different goals. Interior trim focuses on style and fit. Exterior trim must also shed water and resist sun, rain, and pests.
Exterior work needs flashing, sealants, and weather-rated materials. If you plan to upgrade your home’s curb appeal, learn how exterior window trim installation upgrades your home.
Common Window Trim Installation Mistakes
Even careful DIYers make errors. Watch for these common problems:
- Skipping the dry fit, which leads to open miters.
- Using uneven reveals around the window.
- Nailing into thin drywall instead of studs.
- Over-caulking large gaps instead of fixing the cause.
- Ignoring moisture in humid climates.
Many of these issues are covered in our post on trim carpentry mistakes that ruin your home. Avoiding them saves time and protects your investment.
Why Window Trim Matters for Designers and Developers
Interior designers often use window trim to bring a client’s vision to life. Wide casings, layered headers, and stained wood can add warmth or drama. Precision matters, since small flaws show up in photos and in person.
Developers also gain from strong trim work. Clean, detailed windows help a property stand out and feel more upscale to buyers. Learn more about the bigger picture in trim work and the custom carpentry details that define style.
Custom Trim vs. Stock Trim
Stock trim comes in set sizes and profiles. It works for basic needs. Custom trim is milled or built to fit your exact design, which allows unique shapes, wider boards, and better wood.
Custom work also fits odd or older windows that stock trim cannot match. For a closer look, see our breakdown of custom vs. stock interior trim.
Final Thoughts
Great window trim installation comes down to planning, accurate cuts, and patient finishing. Choose the right style, prepare the opening, and fit each joint with care. Each step builds toward a clean, lasting result.
If you want expert help, our team is ready to bring your vision to life with precision and style. Contact Bucheli Trim today to talk about your window trim project. You can also follow our latest work on Facebook, or learn more about carpentry as a craft.
FAQs
Q: What is window trim installation?
A: Window trim installation is the process of fitting decorative boards around a window frame. It covers the gap between the window and the wall, adds style, and gives the room a finished look.
Q: What is the best material for window trim in Florida?
A: Primed poplar works well for dry interior areas, while PVC is a strong choice for bathrooms and exteriors. Florida’s humidity can damage plain pine, so moisture-resistant materials last longer.
Q: How much reveal should I leave around window trim?
A: A reveal of about 3/16 of an inch is common. The key is to keep it the same on all sides of the window so the trim looks even and polished.
Q: Should I paint trim before or after installing it?
A: Many carpenters prime the trim before installation and apply the final coats after. This lets them fill nail holes and caulk seams first, then finish with paint for a smooth, seamless look.
Q: When should I hire a professional for window trim?
A: Hire a pro for bay windows, arched windows, tall ceilings, or any custom design. These jobs need special tools and skill to get tight joints and an even finish.